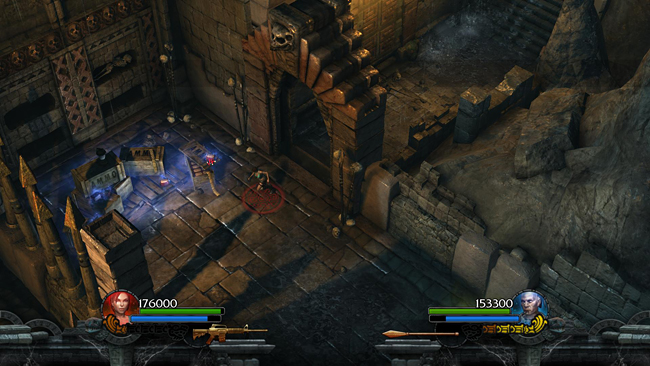
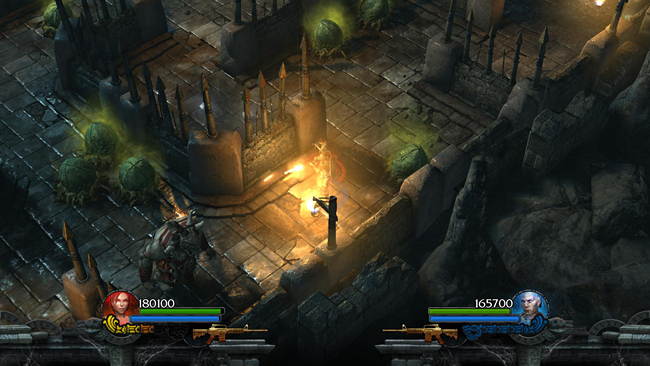
Enter the crypt and use the AMMO CACHE if you need it.
Advance into the maze just far enough to trigger the first ogre and bogman. Then quickly run back to the open area near the start before you take any poison damage. Then shoot the enemies as they approach.

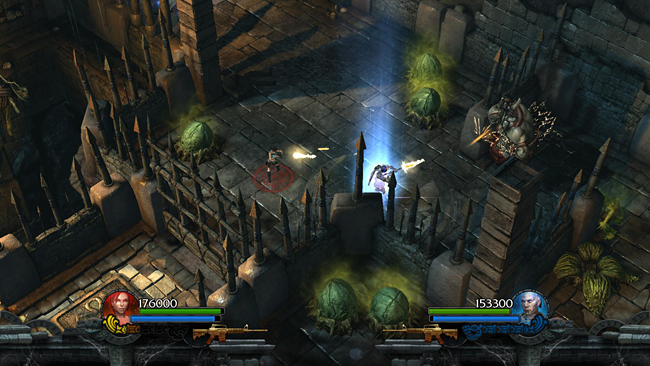
Here you run the risk of taking a little damage from the exploding ogre, but it's OK. Since it's not poison damage, it doesn't prevent you from beating the challenge.
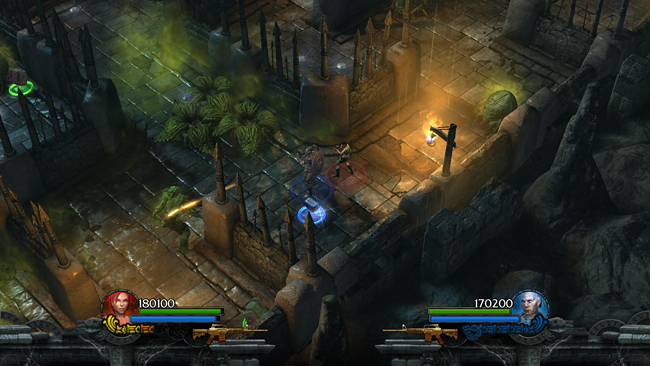
Now re-enter the maze and head for the east corner.
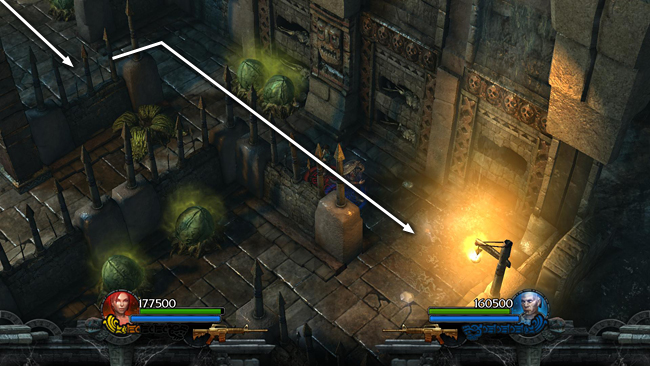
Proceed along the edge of the maze to the SW. . .
. . . just far enough to trigger the second ogre. Then either stand your ground in this corner, where there are no pods, or run back to the safe area near the entrance, wait for the ogre to approach and kill it. (You may need to go back into the maze once or twice to get its attention if the stupid thing gets hung up staring at the pretty pods.)
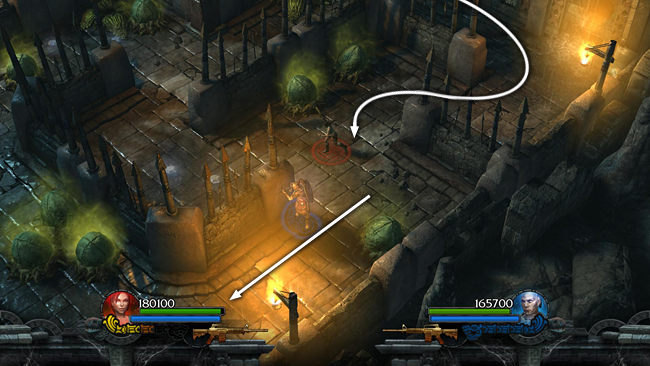
Just ahead are more pods containing bogmen. Trigger them, retreat into the clear area again and blast them as they approach.
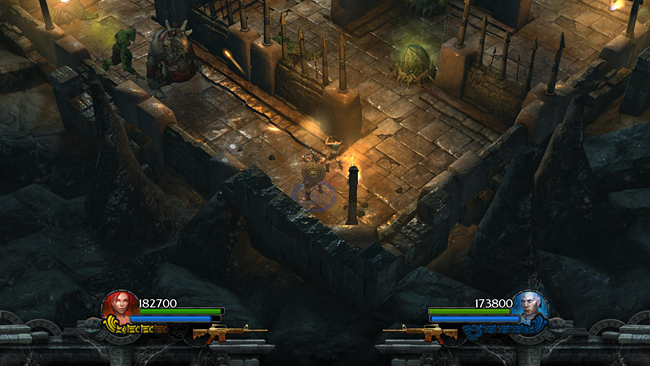
For the third ogre, proceed through the maze to the southern corner. The ogre and a bogman or two approach from the NW. If you shoot them from here, along the southwestern wall, you should be able to do it without triggering any pods.
[Part 2 | Return to the Toxic Swamp Walkthrough]
Copyright © - Stellalune (). All rights reserved. The screenshots and videos included here were made using Fraps. Feel free to copy or print this walkthrough for personal use. By all means, share it with friends, but please include this credit line so people can send me their feedback. No part of this walkthrough may be reproduced on another site without permission. As an Amazon Associate I earn from qualifying purchases. Follow this link for details about this site's advertising and privacy policy.
|