The first part of the gauntlet of traps consists of a series of pounding blocks. Run forward between them until you're interrupted by a cut scene showing the blocks you've already passed beginning to close. After the first four sets have closed, you regain control.
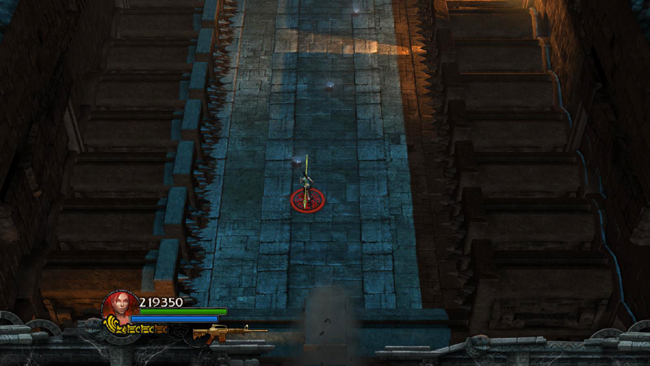
Start rolling forward (rolling is faster than running) as the blocks close behind you. There are several gems here, but unless you're going for the score challenge, don't worry too much about them; concentrate on keeping Lara alive.
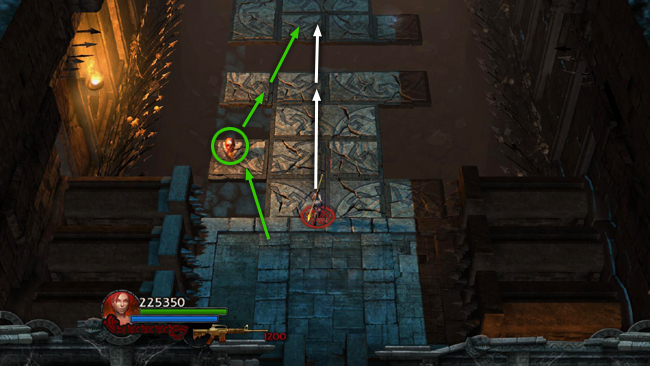
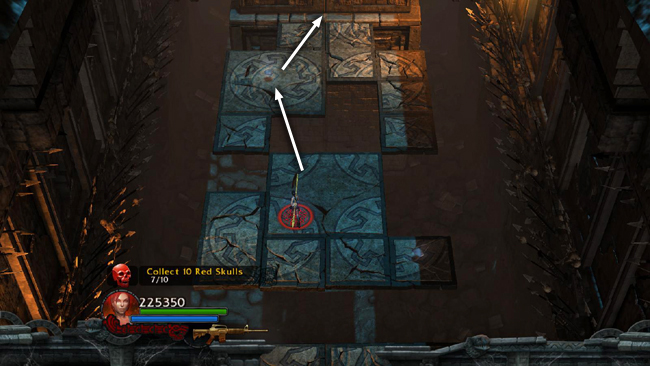
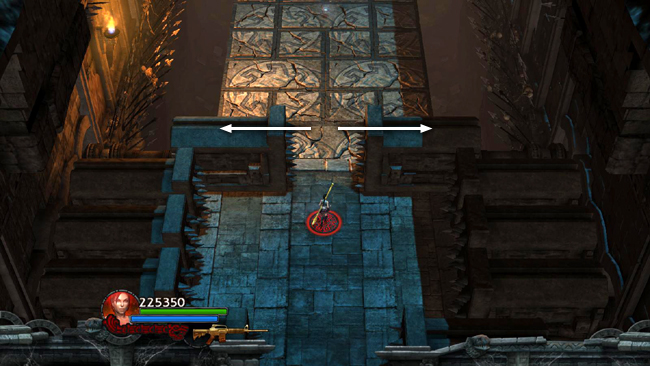
Next comes a section of break-away tiles. If you stop moving, the floor will collapse beneath you. If you're trying to get through without dying, stay near the middle and keep running as you jump across the gaps where there are missing tiles (white arrows). Otherwise, start on the left side to get the red skull (7/10). Then work your way toward the middle (green arrows).
Here's the second part of that same section.
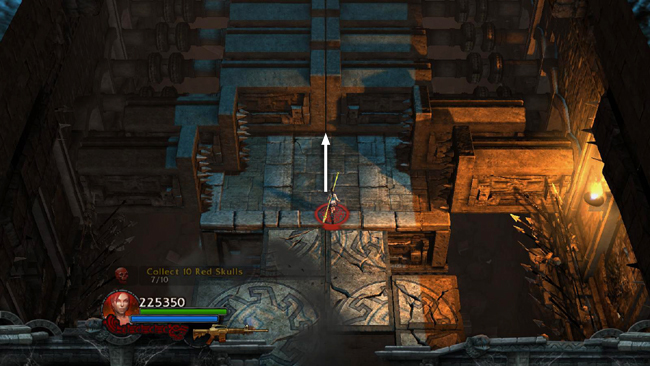
Beyond the collapsing floor there are 12 more sets of pounding blocks. This time, move forward more cautiously as the blocks ahead of you open.
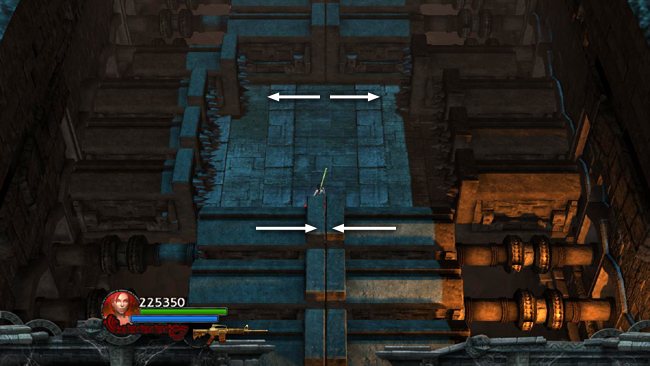
After you've cleared the first 4 sets of blocks, the ones behind you start to close again. Keep moving forward.
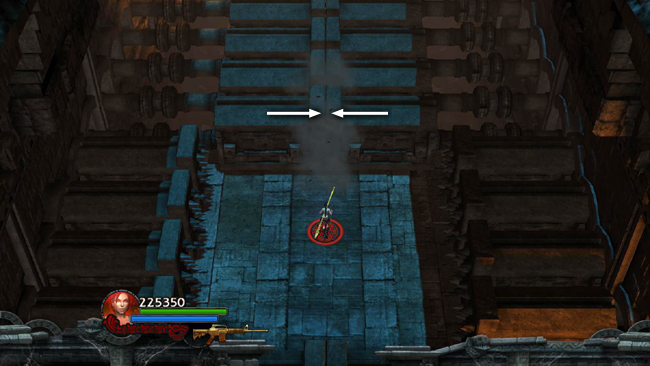
After the 8th set of blocks opens, it will close again before the next set opens. Notice how they shudder slightly before snapping shut. If Lara doesn't step back, she'll be crushed. Don't back up too far, though, since the blocks behind close as well.
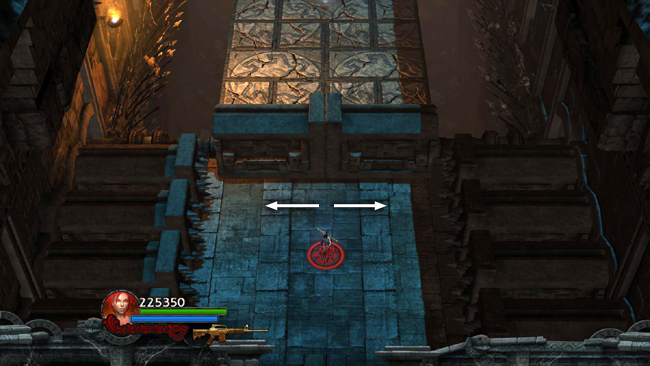
When the blocks ahead start to open again, continue moving forward. All but the last set will now open.
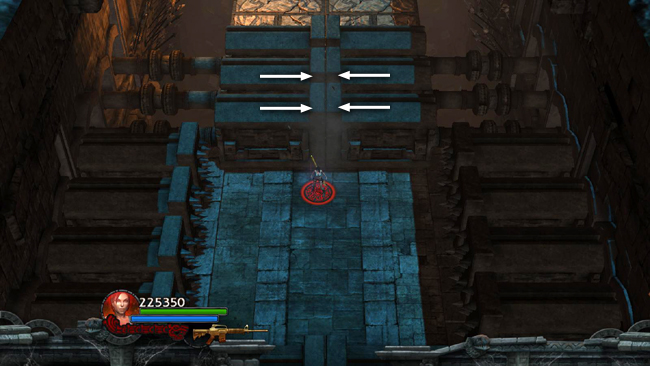
Then the second- and third-to-last sets close again. Be sure to step back out of the way. It's difficult to count blocks as you're running, so when you come to the last three sets of blocks, move back into the safe space between the 4th and 5th sets of blocks from the end, where Lara is standing in the screenshot above, and wait for the 2 sets just ahead to close.
After a moment, they'll re-open, along with the last set, so you can run through.
I realize that screenshots are not all that helpful with elaborate moving traps. This short video walkthrough also shows the sequence.
[Part 2 | Return to the Forgotten Gate Walkthrough]
Copyright © - Stellalune (). All rights reserved. The screenshots and videos included here were made using Fraps. Feel free to copy or print this walkthrough for personal use. By all means, share it with friends, but please include this credit line so people can send me their feedback. No part of this walkthrough may be reproduced on another site without permission. As an Amazon Associate I earn from qualifying purchases. Follow this link for details about this site's advertising and privacy policy.
|