STELLA'S LARA CROFT GO WALKTHROUGH - Android, iOS, PS4 and Vita, Steam, and Windows Phone/PC/Tablet
THE MIRROR OF SPIRITS - PART 6: THE CHAPEL
Updated: 4/1/17(†)
Relic Fragments: 1
Gems: 1
Follow this link for my video walkthrough.
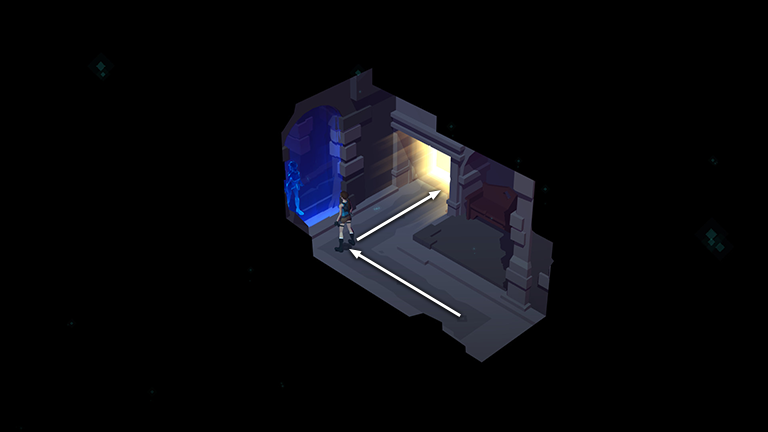
As you move forward, then right, into the chapel proper, you catch a glimpse of Spirit Lara through the shimmering portal.
In the next area, move forward to the lever. As you do this, Spirit Lara also moves forward twice, mirroring your movements just like the doppelgänger in Tomb Raider 1 or Anniversary.
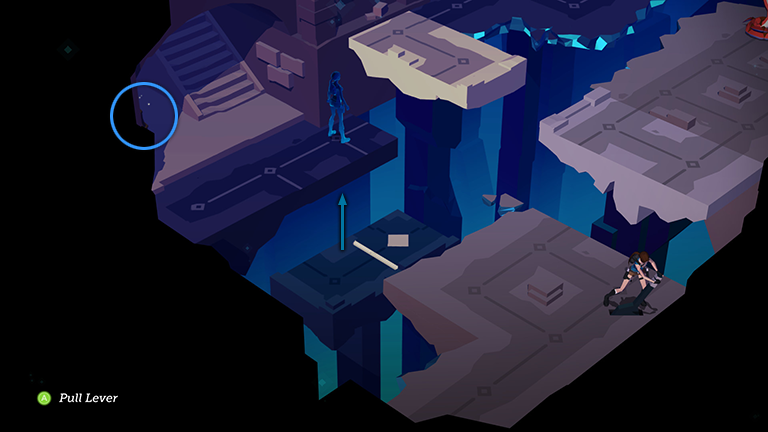
Break the vase off to the left of where the doppelgänger is standing to get a CRYSTAL (7/14). Then use the lever to raise the dark blue block near Spirit Lara.
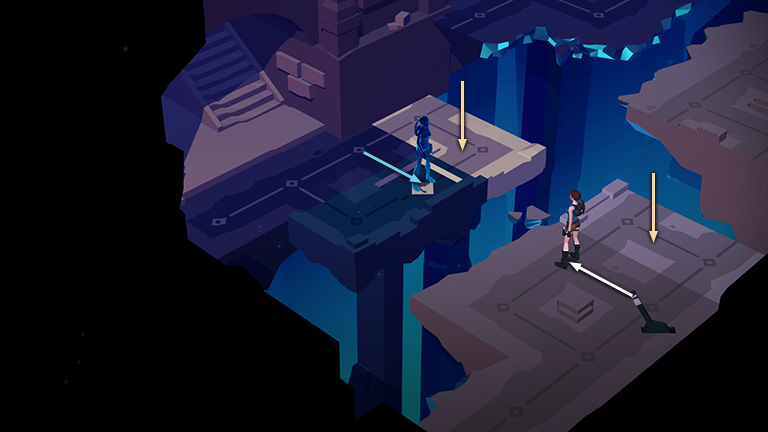
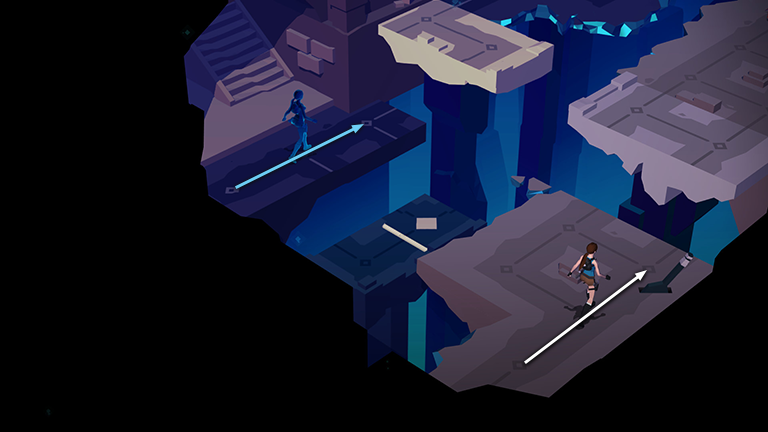
Step to the upper left. As you do, Spirit Lara steps to the lower right onto the pressure pad set into the blue block. This lowers the 2 light-colored blocks just ahead.
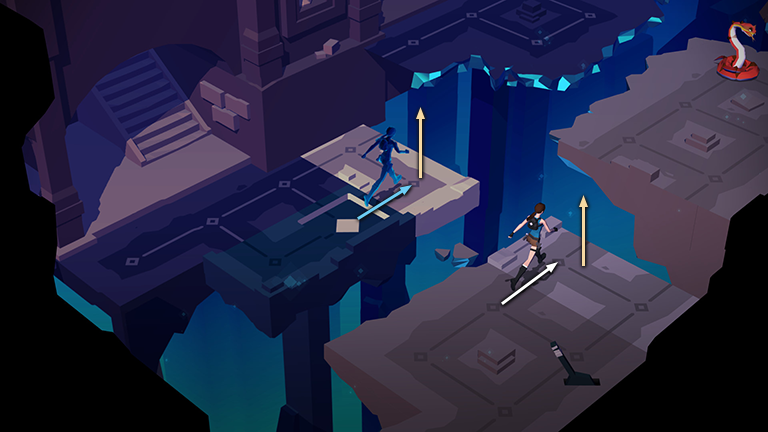
Step forward onto the gray block. Spirit Lara moves onto the tan block. Since she is no longer standing on the pressure pad, the 2 blocks rise, carrying both characters to the upper level.
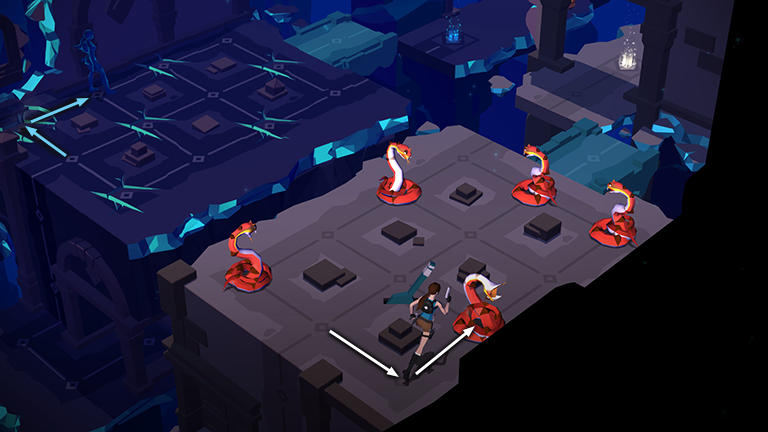
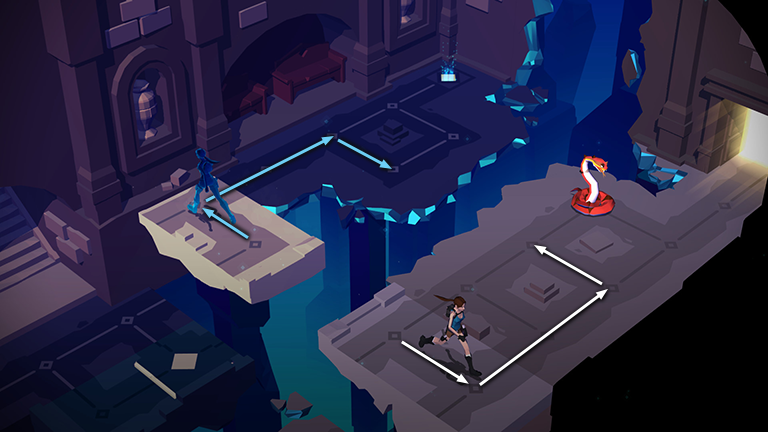 On the upper level, you can't move straight ahead because Spirit Lara's path will not let her go forward. Instead move to the right, then forward twice, then to the left. This allows Spirit Lara to follow the corresponding path on her side of the room. Approach the snake from the side to kill it. Spirit Lara also moves forward, though there's no snake on her side.
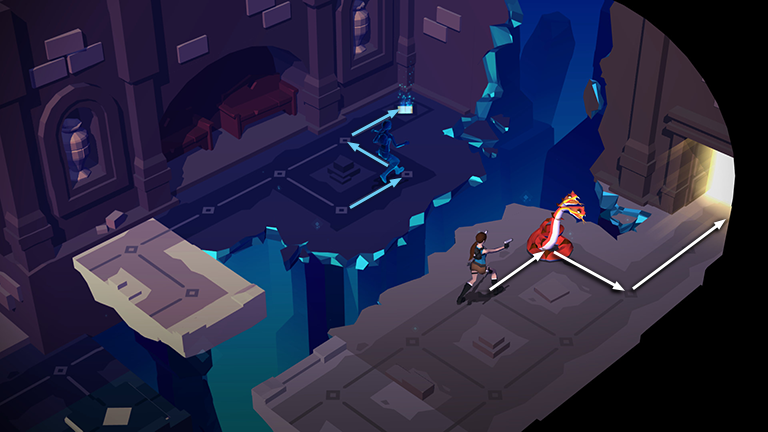
Now you can move to the exit, and Spirit Lara will do the same on the other side of the room.
In the next area, climb the wall to the upper level. Spirit Lara does the same on her side.
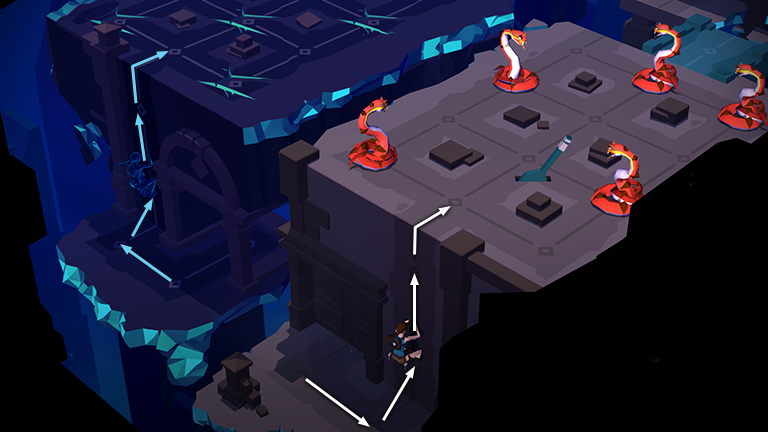
The snakes on the "reality-based" side of the room present an obvious hazard, but in order to navigate this area, you'll also need to pay attention to the cracked sections of floor on the other side of the room. Just like "real" Lara, Spirit Lara can only cross over each cracked area once. If she steps on a crack a second time, she'll fall through, and "real" Lara will also die, requiring you to restart the puzzle.
So start by moving to the right, then forward to kill the first snake on the right side of the room. Meanwhile, Spirit Lara moves left then forward, passing over the cracked floor in the left corner.
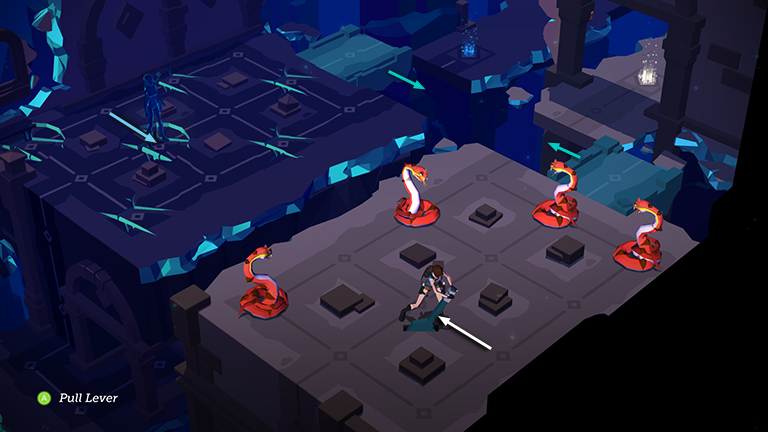
Step to the left and pull the lever to shift the 2 teal blocks toward the center of the room. Spirit Lara moves to the right, onto another cracked area.
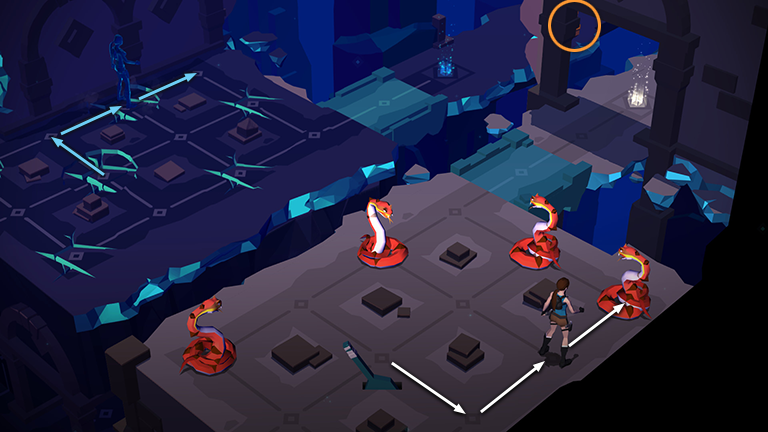
Move back to the lower right, then twice to the upper right, so Lara approaches the snake sitting in the corner from the side and shoots it. Smash the vase hidden behind the support column to the left of the exit to get another piece of the EYE OF THE ABYSS (5/10).
Meanwhile, Spirit Lara moves left then forward twice, over another cracked section, finishing in the far left corner.
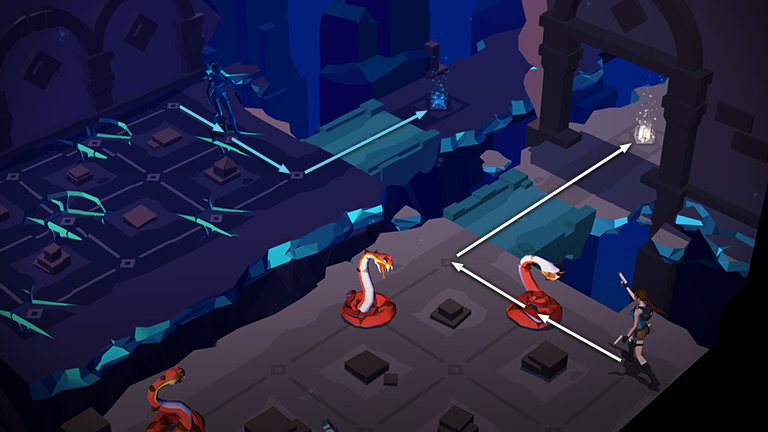
Shoot the next snake by moving one space to the upper left. Then proceed to the exit, ignoring the other 2 snakes. Spirit Lara crosses one more cracked area and then exits from her side of the room.
†UPDATE HISTORY: 4/1/17 - Walkthrough first posted.
WAS THIS WALKTHROUGH HELPFUL? If not, I apologize and invite you to contact me with any questions. If you need help right away, I recommend the r/TombRaider subreddit. Other fan-run forums are listed at tombraiders.net/stella/community.html. If this site was useful, please consider supporting it financially or in other ways. For details, visit tombraiders.net/stella/support.html. As always, I welcome your corrections/suggestions. Thank you!
Copyright © - Stellalune ( ). Screenshots for the Shard of Life expansion levels were made using the Steam version of Lara Croft GO. Feel free to copy or print this walkthrough for personal use. Share it with friends if you like, but please include this credit line so people can send me their feedback. No part of this walkthrough may be reproduced on another site without permission. As an Amazon Associate I earn from qualifying purchases. Follow this link for details about this site's advertising and privacy policy.
Stella's Tomb Raider Site: tombraiders.net.