Tomb of Hoarfrost - Side Area with Max Ammo Upgrade (part 1)

When you enter the area with the second time bomb, light 2 more braziers (36-37/51) for the brazier challenge: one on the left side of the room, one in the alcove behind the time bomb.
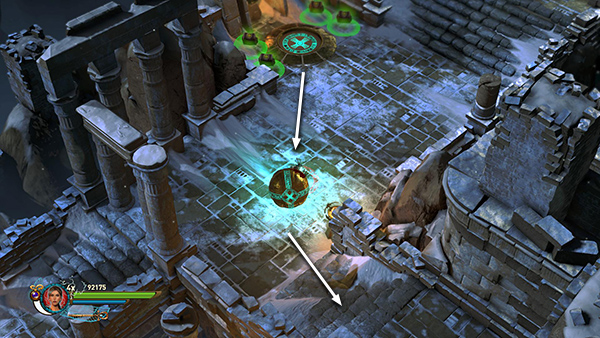
Then grab the time bomb and roll it up the stairs to the lower right.
Use the bomb to plug either of the round ice vents...
...so you can jump over it.
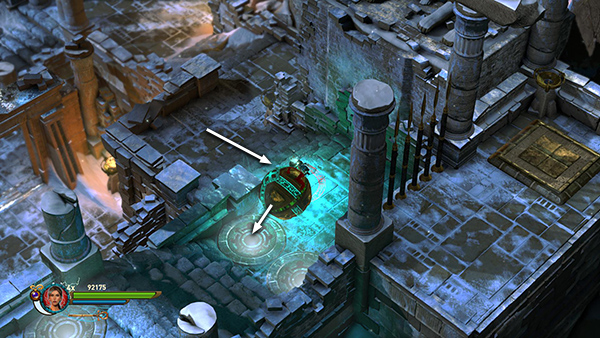
Then grab the bomb from the other side and roll it into either of the next pair of ice vents.
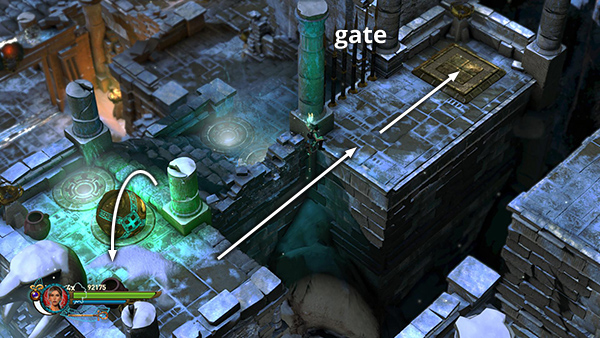
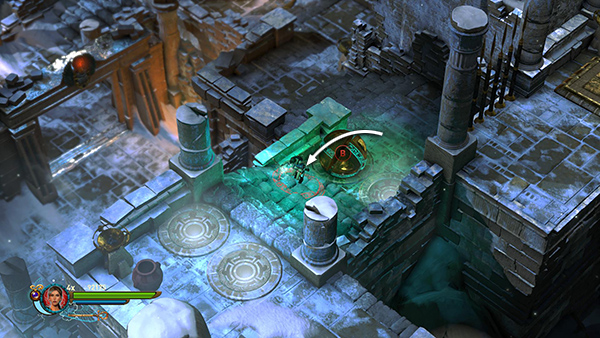
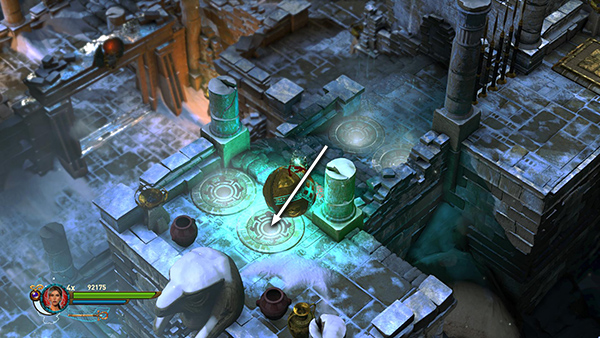
Jump over the bomb and then jump across the wide gap onto the ledge to the upper right. You can now let the bomb explode. Step on the square pressure pad to open the gate next to it. This will enable you to get back downstairs.
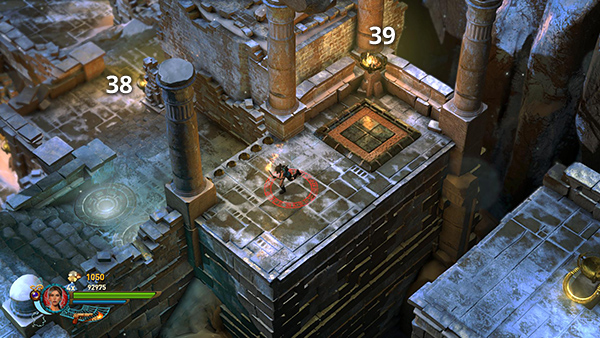
Light 5 more braziers (38-42/51) for the brazier challenge. One is on the stairs below the first pair of ice vents. One is next to the pressure pad.
One is in the corner near the second pair of ice vents.
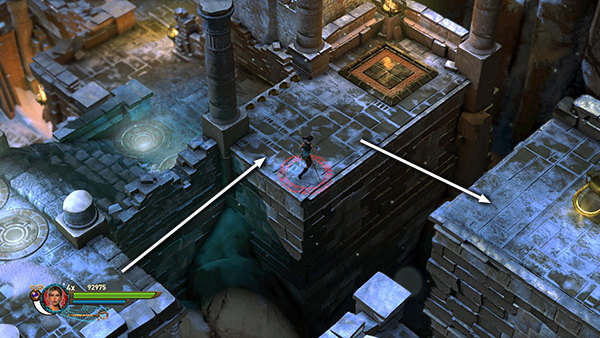
To reach the fourth, jump back across to the pressure pad, then jump to the next ledge on the right.

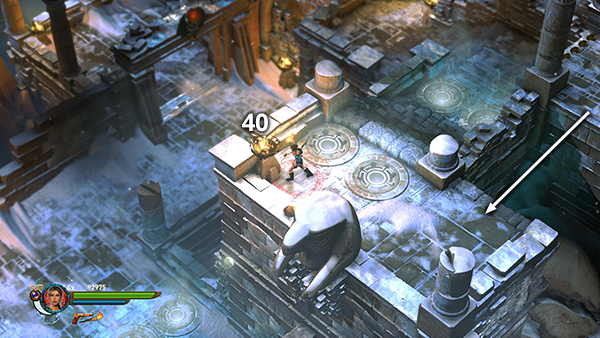
The brazier is attached to the golden grapple ring.
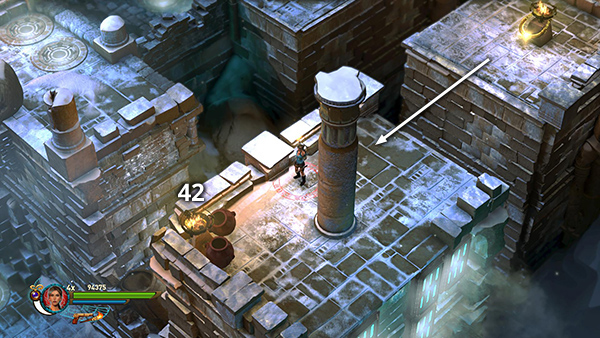
The fifth brazier is on the next ledge to the left, the one with the single round column and the ice vents below.
Copyright © - Stellalune (
). All rights reserved. The screenshots and videos included here were made using Fraps. Feel free to copy or print this walkthrough for personal use. By all means, share it with friends, but please include this credit line so people can send me their feedback. No part of this walkthrough may be reproduced on another site without permission. As an Amazon Associate I earn from qualifying purchases. Follow this link for details about this site's advertising and privacy policy.