Rise of the Tomb Raider - Flooded Archives Collectibles
Updated: 6/25/16(†)
This guide, along with the annotated level map, should help when revisiting this level. If you are playing through for the first time, you may want to follow the main walkthrough instead. Weapons, Equipment, and Outfits are covered separately.
Relics · Documents · Murals · Explorer Satchel · Survival Caches · Monolith & Coin Caches · Strongbox · Archivist Map
RELIC 1
The first relic is near the Greek Fire Depot Base Camp. Enter the the room in the northeast corner and scale the rough climbing wall to reach the hallway above. Head to the right, jumping across two concealed spike pits. You'll find the relic in the northeast corner. See the map, walkthrough, and/or this short video for details. (Click screenshot to enlarge.)
RELIC 2
This relic is in the southeast corner of the Greek Fire Depot area. It's on the left just beyond the swinging spike trap that is triggered by a pressure plate in the floor. If you missed it the first time, fast travel back to the Greek Fire Depot Base Camp and then check the map and/or follow the main walkthrough. (Click screenshot to enlarge.)
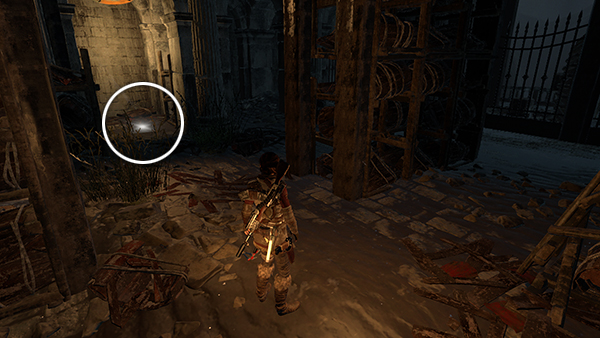
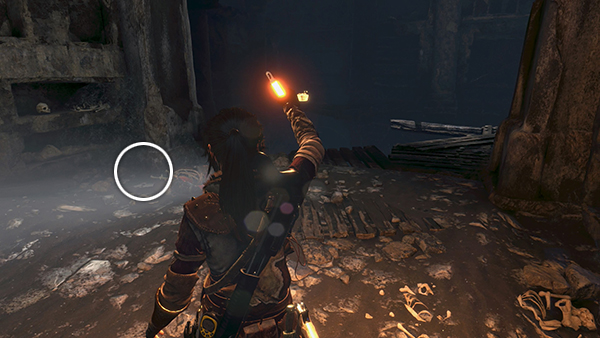
DOCUMENT 1
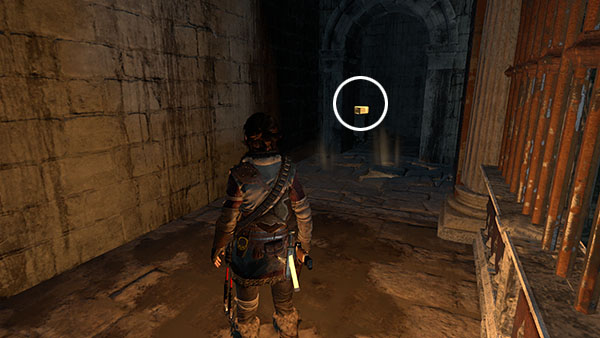
The first document is found just after you drop down through the bell tower following the confrontation with Ana. To retrieve it later, return to the Chamber of Records Base Camp and squeeze through the crack in the wall to the south. The document is ahead on the right as you enter the tower. (Click screenshot to enlarge.)

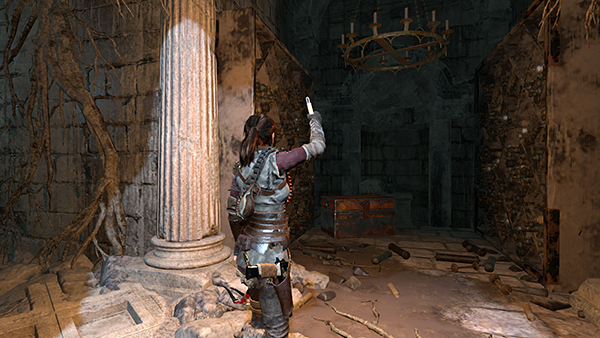
DOCUMENT 2
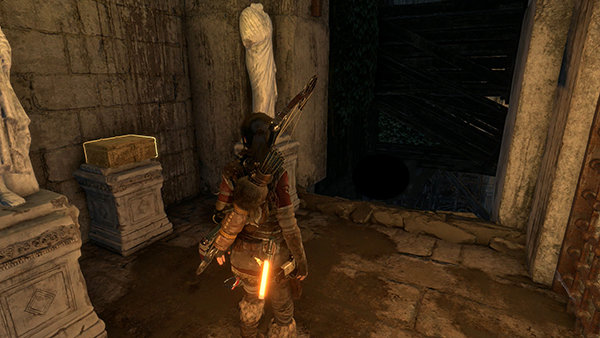
This document is in the passageway between the Chamber of Records Base Camp and the Atlas Room. If you're playing through the first time, it's at the bottom of the stairs just after you destroy the barrier by shooting the Greek fire vessels. Later on, you can fast travel to the base camp and follow the passageway to the north to find it. (Click screenshot to enlarge.)
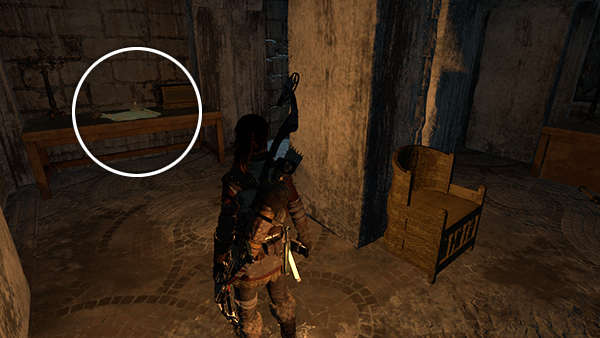
DOCUMENT 3
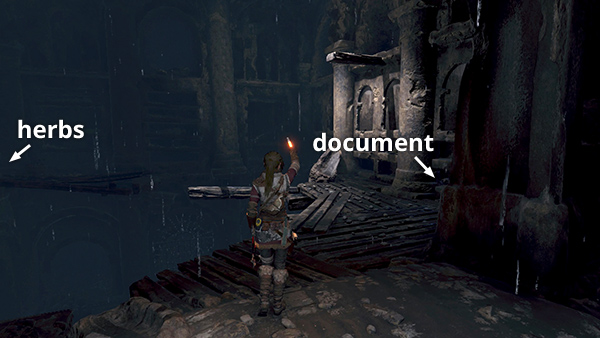
This document is on the balcony on the north side of the Atlas room. To get back there later in the game, fast travel to the Chamber of Records Base Camp and follow the passageway to the north. Use the grapple to swing across the chandeliers to reach the document. The map and walkthrough have details. To get back, scramble up onto the wall in the southeast corner (screenshot) and retrace your route to base camp. (Click screenshot to enlarge.)

DOCUMENT 4
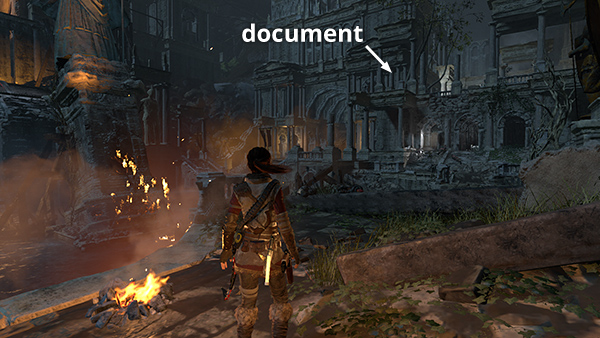
This document is sitting on the the balcony on the north side of the pool with the huge statue. If you missed it the first time, return to the Greek Fire Depot Base Camp and climb up to the balcony through the room in the northeast corner. See the map, walkthrough, and/or this short video if necessary. (Click screenshot to enlarge.)
DOCUMENT 5
This document is sitting on a crate in front of the building in the southwest corner of the Greek Fire Depot. If you missed it, return to that camp, follow the front of the buildings along the south side of the pool, swim across the stream, and then climb the stairs to reach the document. Or pick it up when you return for the last mural, below. (Click screenshot to enlarge.)

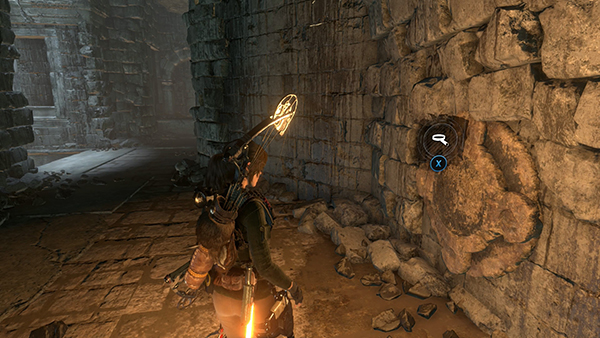
MURAL 1
The first mural is right next to the Hall of Records Base Camp, so it's easy to go back for it if you missed it the first time. (Click screenshot to enlarge.)
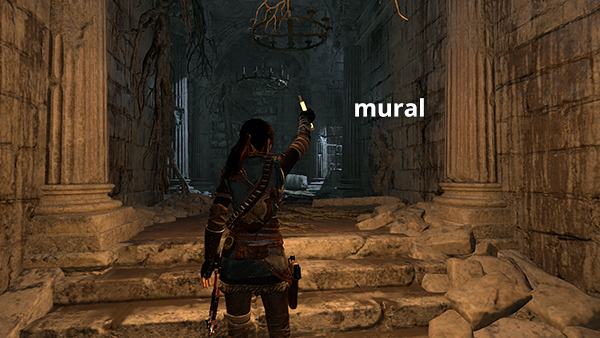
MURAL 2
The second mural is near the end of the level, just before the tunnel leading to the exit. If you missed it the first time through, return to the Ridgeline Base Camp in the GEOTHERMAL VALLEY. Then follow the path to the southeast to get back to the tunnel entrance. Drop down inside and follow the tunnel. The mural will be at the top of the stairs on the right. The walkthrough for the third mural includes more screenshots. (Click screenshot to enlarge.)
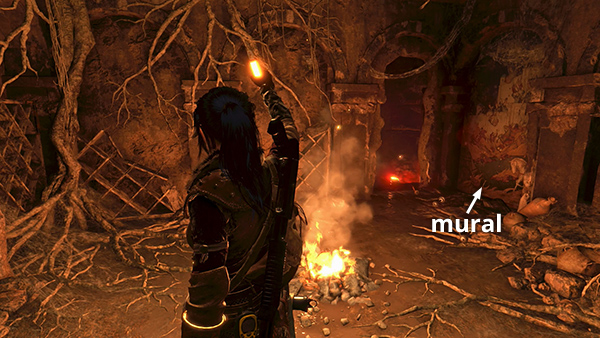
MURAL 3
The last mural can only be reached later in the game, after unlocking CLIMBING ARROWS. Return to the Ridgeline Base Camp in the GEOTHERMAL VALLEY. From there you can re-enter the FLOODED ARCHIVES, as for mural #2, above. If you continue along the passageway to the north end, you'll see a spot where you can use climbing arrows to reach a higher passageway. This leads to the mural. See the walkthrough for details and additional screenshots. (Click screenshot to enlarge.)
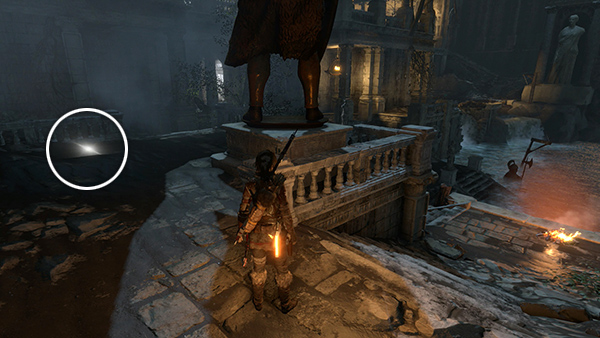
EXPLORER SATCHEL
The satchel is sitting on the the balcony in the northwest corner of the area with the pool and the huge statue. If you missed it the first time, return to the Greek Fire Depot Base Camp and climb up to the balcony through the room in the northeast corner. See the map, walkthrough, and/or this short video for details. You can find the survival caches without first finding the Explorer Satchel, but doing so will reveal the caches on your in-game map. (Click screenshot to enlarge.)

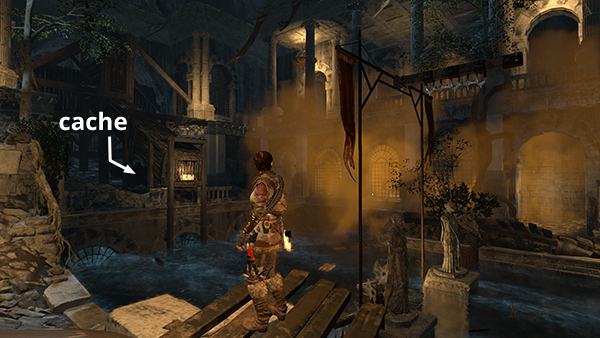
SURVIVAL CACHE 1
The first cache is in the northwest corner of the Greek Fire Depot area. Enter the dark area behind the balance beam you used to move the Greek fire vessels out toward the pool. The cache is buried in an alcove in the back left corner. (Click screenshot to enlarge.)
SURVIVAL CACHE 2
The next cache is at the top of the stairs just southeast of the Greek Fire Depot Base Camp. (Click screenshot to enlarge.)
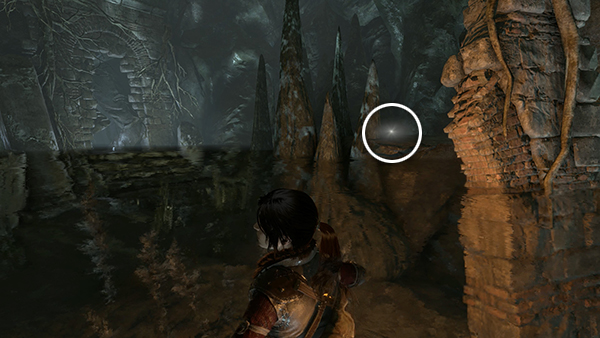
SURVIVAL CACHE 3
This cache is buried underneath the wooden chute that releases the Greek fire vessels in the southwest corner of the Greek Fire Depot area. If you missed it the first time, return to that base camp and follow the front of the buildings along the south side of the pool to get back into the corner. Or dig up the cache when you return for the last mural, above. (Click screenshot to enlarge.)
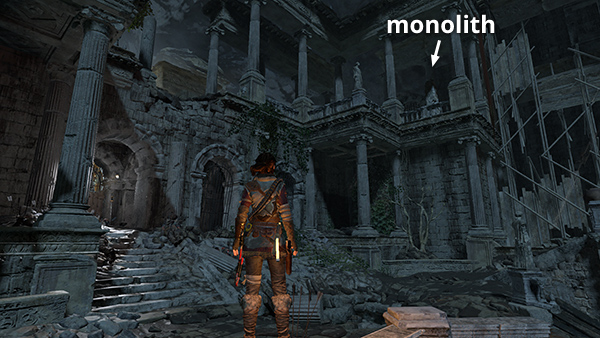
MONOLITH
The monolith is on the upper balcony on the northeast side of the Greek Fire Depot area. To get there, climb up through the room in the northeast corner, work your way around to the upper level northwest, then back across the front of the building to the northeast. See the map, walkthrough, and/or this short video for details. (Click screenshot to enlarge.)
COIN CACHE 1
The first coin cache is in the tunnel leading to the exit. To get back there after completing the level, start from the Ridgeline Base Camp in the GEOTHERMAL VALLEY. Follow the path to the southeast to reach the tunnel entrance. Then follow the tunnel back to the cache. In this screenshot Lara is facing the exit so the cache is on her right, but if you're coming from the south it will be on your left. The walkthrough for the third mural includes details and screenshots. (Click screenshot to enlarge.)
COIN CACHE 2
This cache is back near the start of the level. To find it, fast travel to the Chamber of Records Base Camp and squeeze through the crack in the wall to the south. The cache is just ahead, between the left wall and a dead body. (Click screenshot to enlarge.)

COIN CACHE 3
Start from the Chamber of Records Base Camp and follow the passageway to the north to get back to the Atlas Room. The cache is buried just to the left of the steps leading up to the pedestal that held the Atlas. The map and walkthrough have details. To get back, scramble up onto the wall in the southeast corner (screenshot) and retrace your route to base camp. (Click screenshot to enlarge.)
STRONGBOX
The only strongbox in this level is in the passageway leading to the exit. If you missed it the first time, return to the Ridgeline Base Camp in the GEOTHERMAL VALLEY. Then follow the path to the southeast to get back to the tunnel entrance. Drop down into the tunnel and continue forward. The strongbox is at the top of the stairs on the left. The walkthrough for the third mural includes more screenshots. (Click screenshot to enlarge.)
ARCHIVIST MAP
The map that reveals the locations of this level's documents and relics is in one of the dark rooms on the upper level, southeast corner, of the Greek Fire Depot area. Follow the main walkthrough if you're having trouble finding it. (Click screenshot to enlarge.)
Top of Page | Walkthrough | Collectible Guides | Main ROTTR Page
†UPDATE HISTORY: 6/16/16 - Page first posted online.
6/25/16 - Added video link to help a player who was stuck.
WAS THIS WALKTHROUGH HELPFUL? If not, I apologize and invite you to contact me with any questions. If you need help right away, I recommend the r/TombRaider subreddit. Other fan-run forums are listed at tombraiders.net/stella/community.html. If this site was useful, please consider supporting it financially or in other ways. For details, visit tombraiders.net/stella/support.html. As always, I welcome your corrections/suggestions. Thank you!
Copyright © 2015 - Stellalune (). All rights reserved. Feel free to copy or print this walkthrough for personal use. By all means, share it with friends, but please include this credit line so people can send me their feedback. No part of this walkthrough may be reproduced on another site without permission. As an Amazon Associate I earn from qualifying purchases. Follow this link for details about this site's advertising and privacy policy.
Stella's Tomb Raider Site: tombraiders.net.