Geothermal Valley - Baths of Kitezh Challenge Tomb (Part 2)
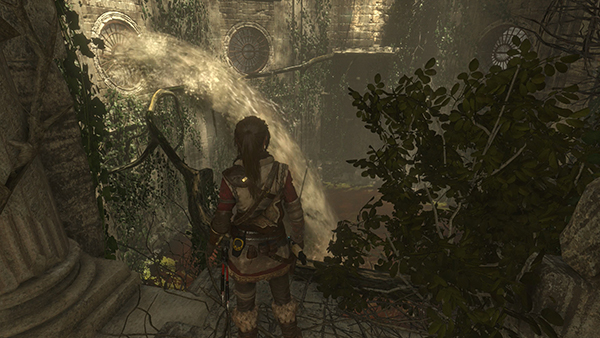
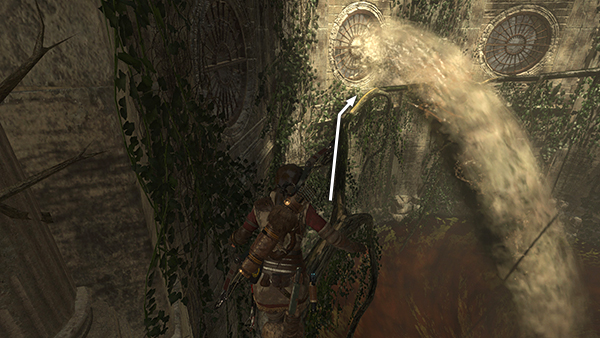
Move to the edge but do not jump into the whirlpool below or Lara will drown. Watch as the water gushes out of 3 round grates on the left wall. There's a pattern: first a torrent gushes out of the middle grate...
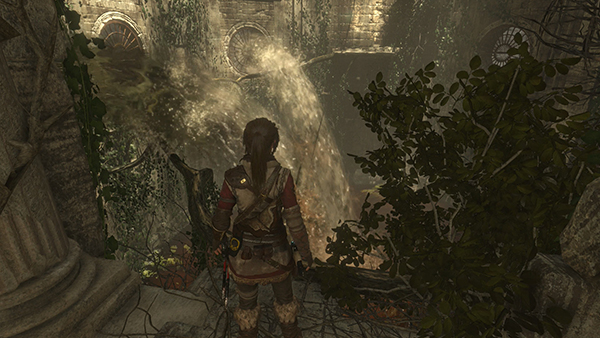
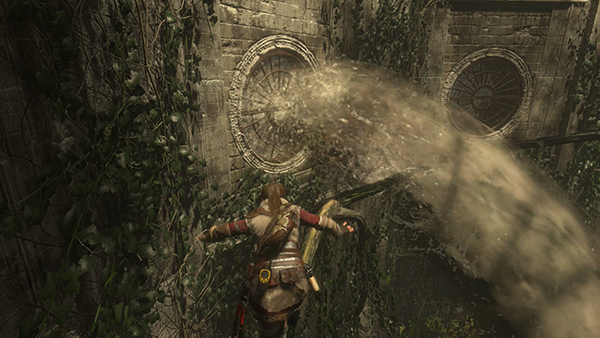
...then the first and third grates simultaneously...
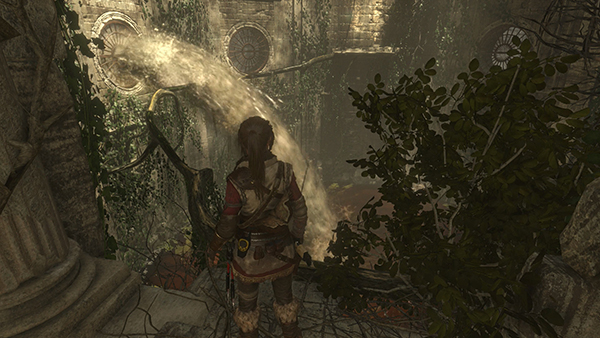
...then the middle grate again, and so on.
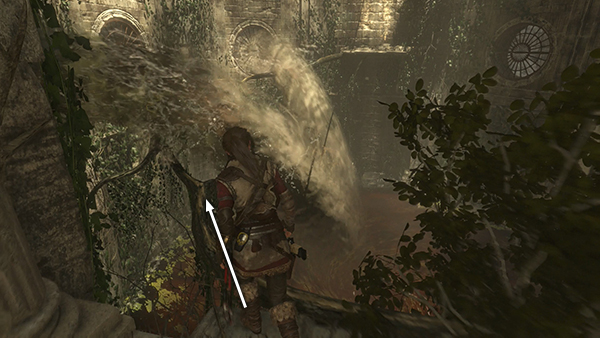
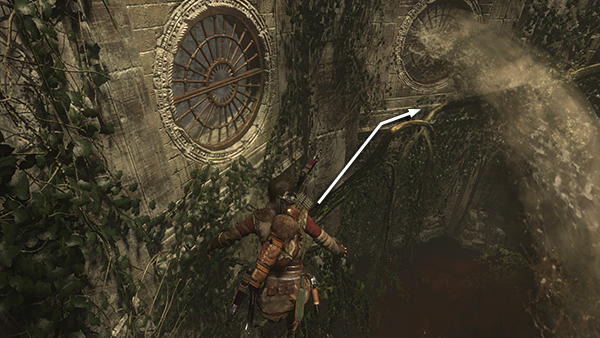
In order to cross the twisted branches without being flushed away, you'll need careful timing. As the water from the first and third grates starts to subside, step out onto the branch...
...and walk forward just until Lara is standing on the lighter-colored section of the branch between the first and second grates.
Wait for the middle grate to gush then subside.
Then move forward into the space between the second and third grates. This safe spot is also lighter in color.
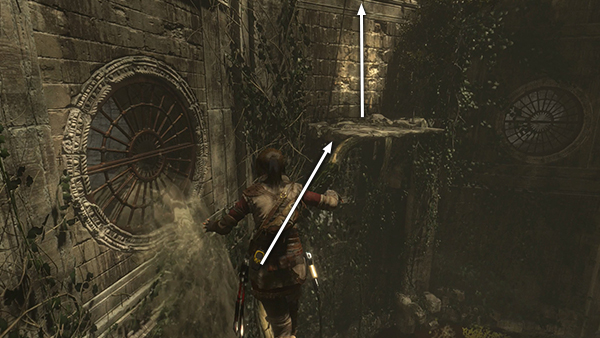
Finally, wait for the third grate to gush and subside, and then continue to the far ledge. Scramble up the wall into the room above.

On the left is the Whirlpool Sanctuary Base Camp and a box containing a relic (12/13), a Scroll Case from the Time of Adaptation set.
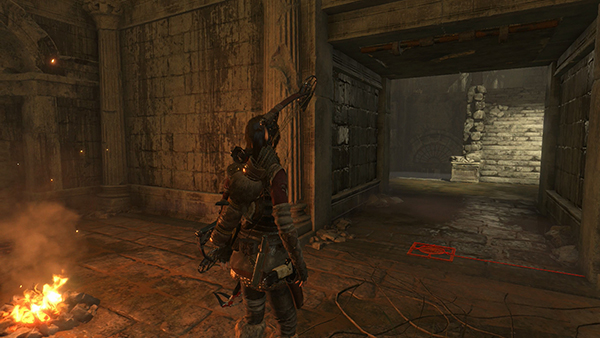
There's a swinging spike trap in the doorway ahead, which is triggered by a square button in the floor. It's possible to avoid it by jumping over the button or shooting it, but if you do trigger the trap...
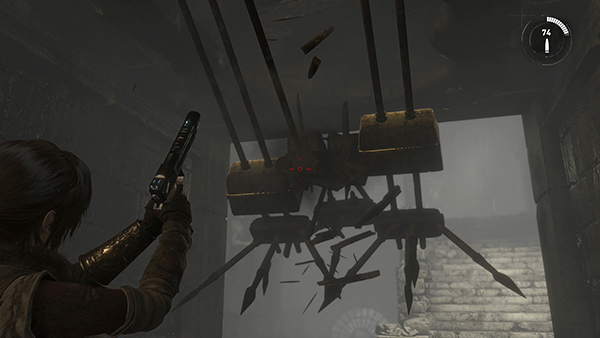
...3 sets of spikes swing down toward you. Quickly shoot the 3 wooden blocks holding up the spikes to disable the trap.
[Part 1 | Part 3 | Return to the Challenge Tomb Walkthrough]
Copyright © - Stellalune ( ). All rights reserved. Feel free to copy or print this walkthrough for personal use. By all means, share it with friends, but please include this credit line so people can send me their feedback. No part of this walkthrough may be reproduced on another site without permission. Follow this link for details about this site's advertising and privacy policy.