The Lost City - Eliminating the Deathless in the City Streets (Part 1)
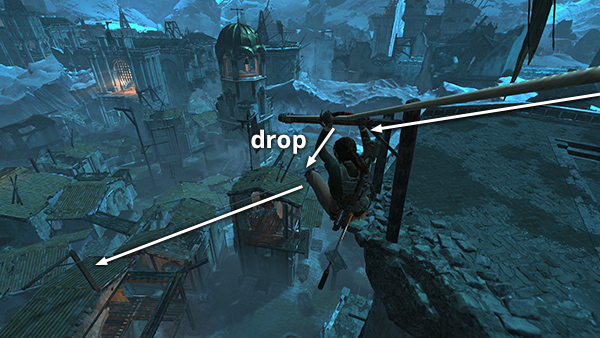
Slide down the zip lines from the base camp into the city. If you have not yet unlocked the Zipper Achievement, this is another good place to do it. As Lara approaches the end of the first zip line, briefly press B/C to let go of the line and grab the one below. The trick is to do it before Lara drops automatically but not so soon that you miss the second line and die. If you don't make it, you can reload the last checkpoint (as long as you do so before landing on the roof below) or your last campsite save, which should put you back at the top of the zip line.
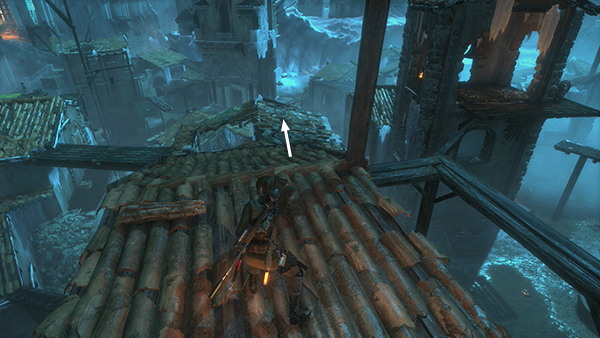
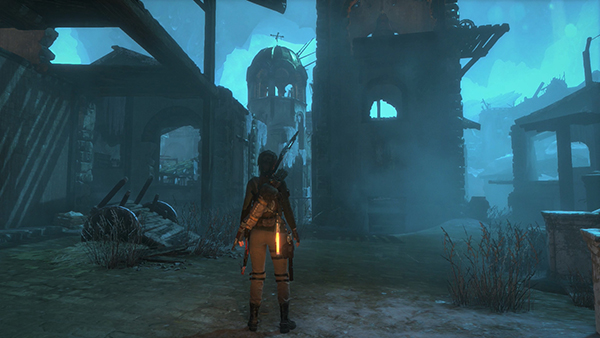
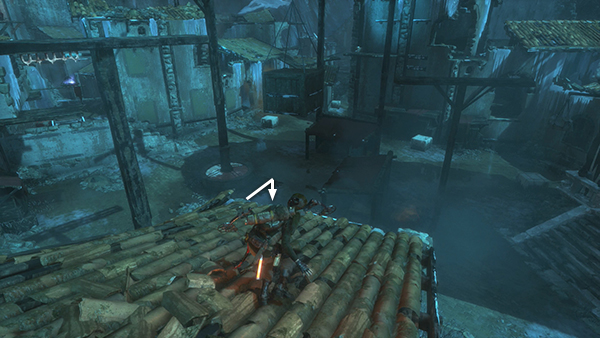
After sliding down, Lara lands on the roof of the building marked #1 on the level map. She says, "The Deathless are patrolling the streets. Got to stay out of sight," making things sound more dire than they actually are. If you act quickly, you can easily take out the first 2 enemies without being spotted.
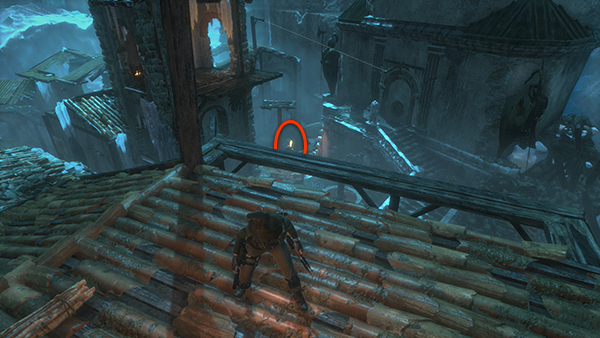
Turn around to face the building with the large statues in front of it. Equip the Bolt-Action Rifle and look for a Deathless swordsman approaching from the northeast.
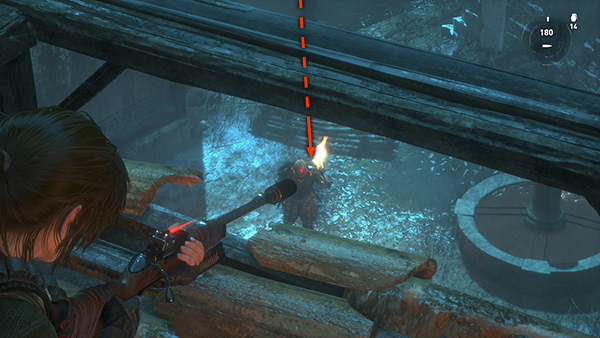
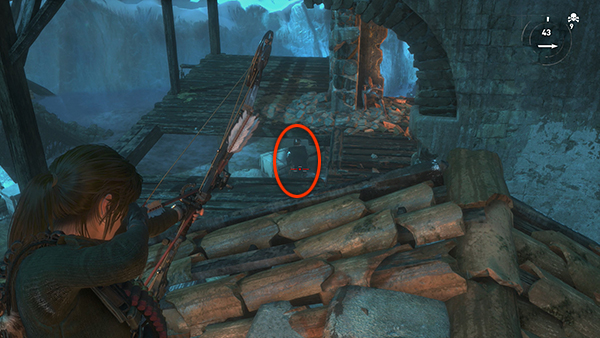
Zoom in (by pressing Z or clicking the right stick) and wait for him to pass under the wooden beam running alongside the building. If you can manage to get a headshot...
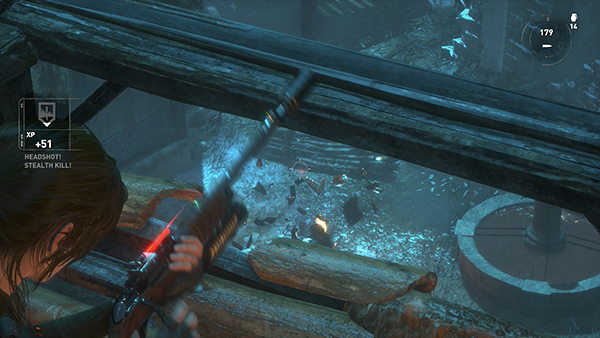
...that should take care of him. If you don't have the Bolt-Action Rifle, use a poison arrow.
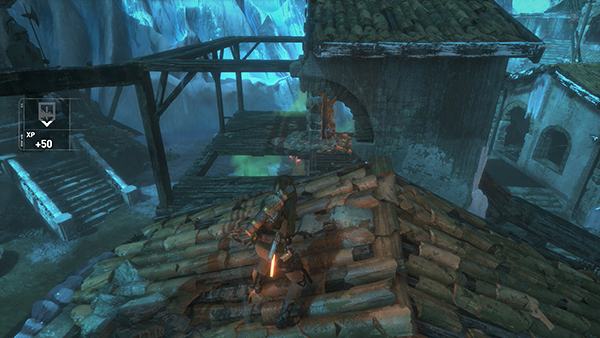
Now turn left and jump over to the roof of the next building to the north (#2 on the map).
Turn around and look for the next Deathless warrior underneath the awning on the left side of the first building. He's wearing a helmet, so a headshot will be tricky, and if you only wound him, he'll start lobbing hot coals.
So kill him quickly with a poison or explosive arrow, or a few rifle shots.
Drop down and loot both of their packs. Yes, there are many other collectibles here. You can certainly pick things up as you go, but I will cover the major items after we take care of all the enemies.
Face north and look for a tall tower with spikes sticking out of its golden dome. Head toward this tower between the buildings.
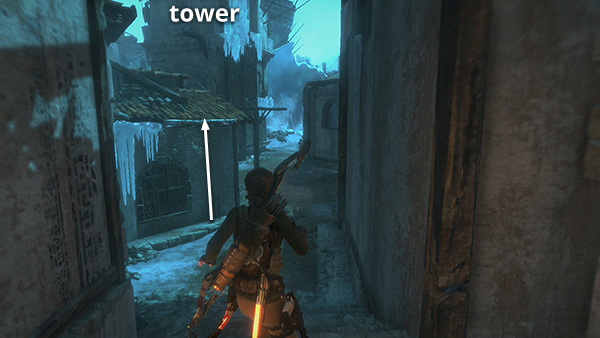
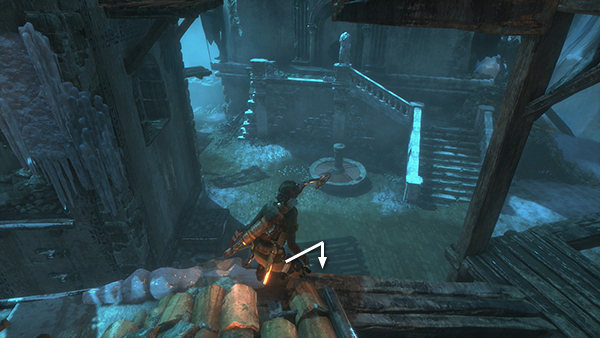
At the bottom of the steps, before you actually reach the tower, scramble up onto the roof of the building on the left (C on the level map).
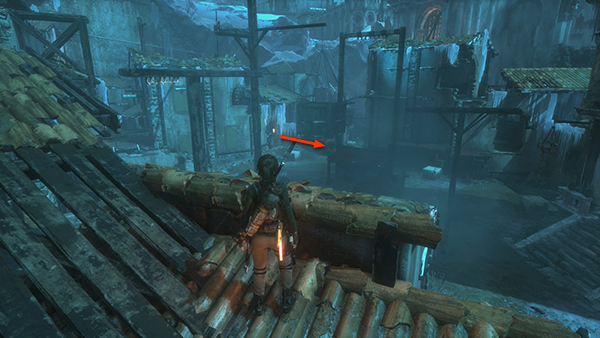
Move toward the peak of the roof but stay here under partial cover. The next 2 enemies, an archer and a swordsman, enter the courtyard below at the far left corner.
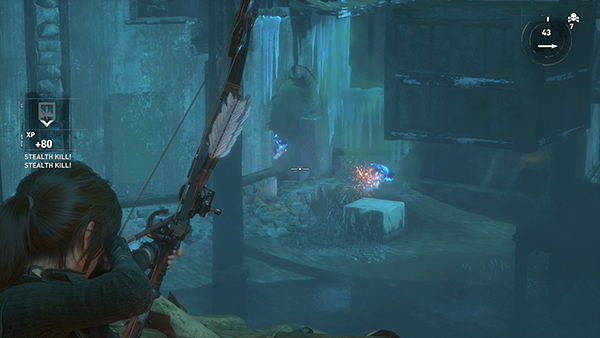
If you hit them while they're still close together in the doorway, one poison arrow may be enough. Otherwise follow up with a second arrow or rifle shot.
Drop down and loot their packs as well.
[Part 2 | Return to The Lost City Walkthrough]
Copyright © - Stellalune ( ). All rights reserved. Feel free to copy or print this walkthrough for personal use. By all means, share it with friends, but please include this credit line so people can send me their feedback. No part of this walkthrough may be reproduced on another site without permission. As an Amazon Associate I earn from qualifying purchases. Follow this link for details about this site's advertising and privacy policy.