Copper Mill - Red Mine Challenge Tomb (Part 1)
In the part of the Copper Mill where you first learn to craft molotov cocktails, there's a side room with a strongbox. The entrance to the Red Mine Challenge Tomb is here. Check the main walkthrough for details.
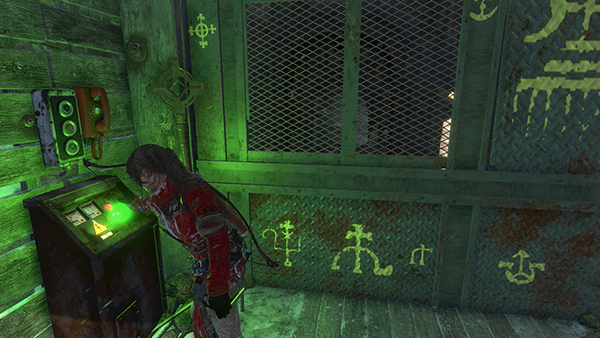
Use the console with the green light to open the large metal door with the painted glyphs.
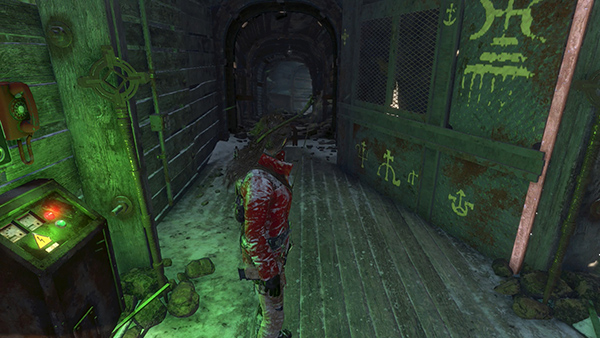
Enter and follow the tunnel.
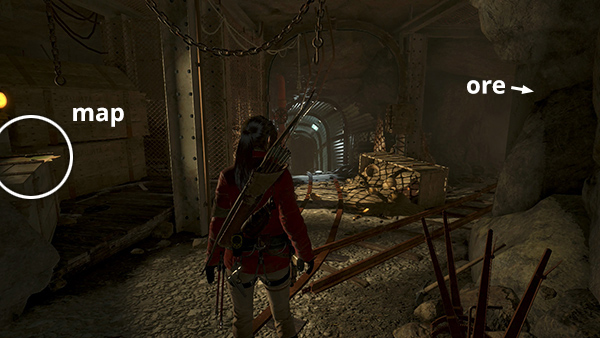
At the fork, look to the left to find an Archivist Map (7/9), which reveals the locations of various collectibles you've already found if you followed this walkthrough. There's some magnesite ore in a dead-end passage to the right.
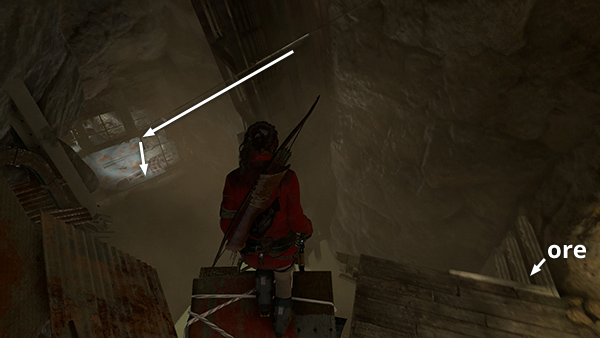
Follow the main tunnel to a ledge overlooking a vertical shaft. You can ride the zip line down, or climb down the ledges on the right to find more magnesite, then wade through the shallow pool to reach the ledge where the zip line ends.
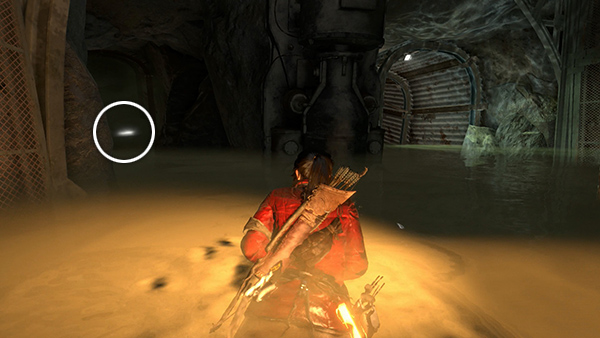
Continue to a flooded area. Swim forward to another fork. There's a flashing light in the dead-end passageway to the left. This is a survival cache (16/21). You can dig it up now even though it's not shown on your map yet.
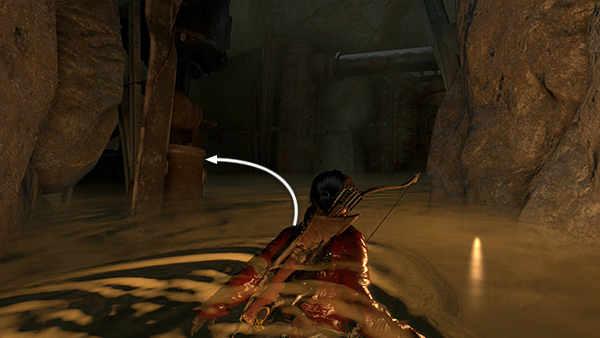
Swim back to the main passage, make a U-turn to the left, and keep going.

When you emerge from the water, take cloth and a bottle from the boxes.
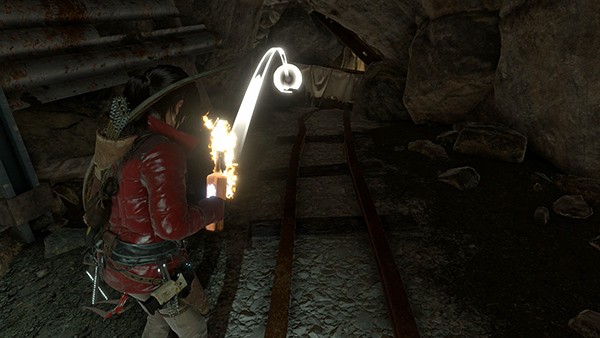
Craft a molotov and use it to burn the flammable barrier so you can continue.
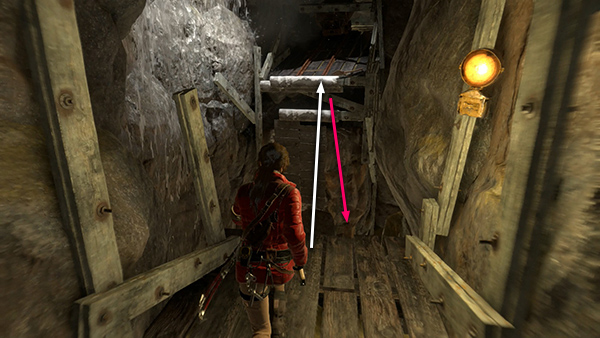
Jump across the open shaft to grab the ledge on the other side. It does not hold...

...and Lara tumbles down a chute into a lower tunnel.
[Part 2 | Return to the Red Mine Walkthrough]
Copyright © - Stellalune ( ). All rights reserved. Feel free to copy or print this walkthrough for personal use. By all means, share it with friends, but please include this credit line so people can send me their feedback. No part of this walkthrough may be reproduced on another site without permission. As an Amazon Associate I earn from qualifying purchases. Follow this link for details about this site's advertising and privacy policy.