All Hallows - Climbing to the Top of the First Room (part 2)
Return to the stone pillar near the entrance, climb up, and work your way back around the suspended platforms to the ledge next to the tall stone pillar. (Check the screenshots in part 1 if you need a refresher.)
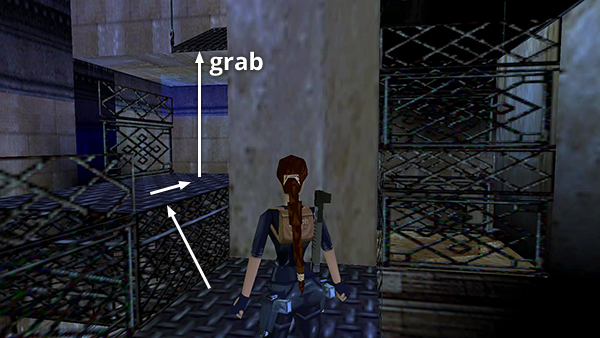
Vault up onto the low ledge as you did before but this time, instead of jumping onto the angled platform ahead, turn right, walk to the edge, keeping the cement pillar on your right, and pull up onto the small, angled platform above.
Take a running jump to grab the ledge ahead. Pull up and get some flares.
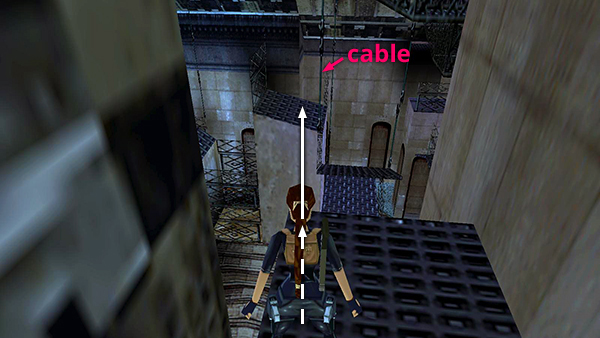
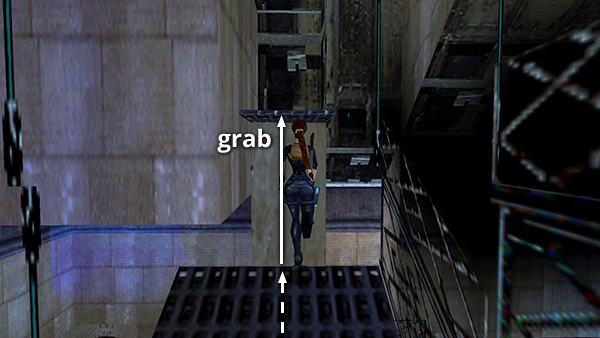
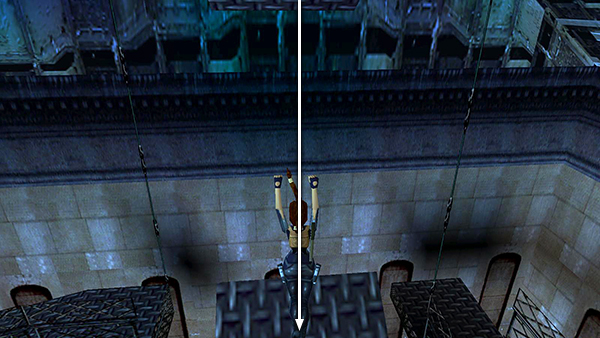
Turn around and take a running jump to land on top of the rightmost of the two cement pillars. Watch out for the vertical support cable in between.

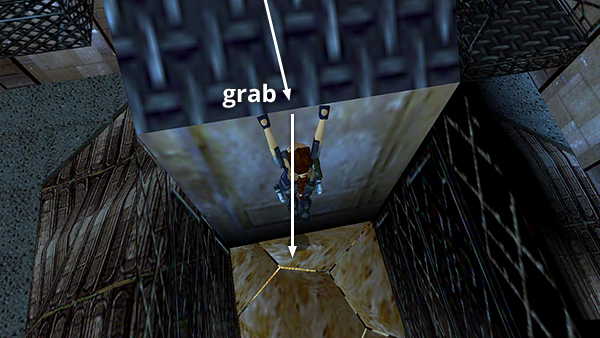
Make sure Lara's health is at 100%. You'll lose nearly all of it in this next maneuver. Walk to the high side of the pillar and jump up to grab the grating.
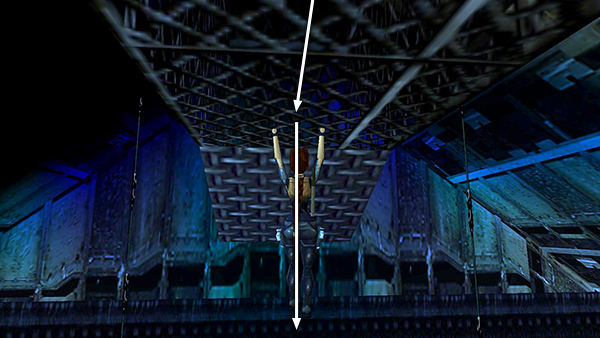
Monkey swing to the middle of the last square of grating. Then drop onto the other angled pillar.
...
Slide back, grab the edge, and let go to drop through a break-away tile in the cathedral dome...
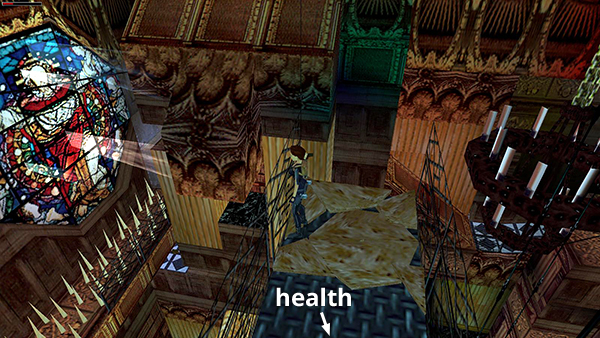
...to land on a catwalk below. There's a large medi pack nearby for a quick fix-up.
Copyright © 1998- - Stellalune (
). All rights reserved. Feel free to copy or print this walkthrough for personal use. By all means, share it with friends, but please include this credit line so people can send me their feedback. No part of this walkthrough may be reproduced on another site without permission. Follow this link for details about this site's advertising and privacy policy.