All Hallows - Crushers, Burners, and Ductwork
Go through the passage behind the revolving bookcase and drop down several times until you come to a metal ledge near spikes. Pick up the small medi pack.
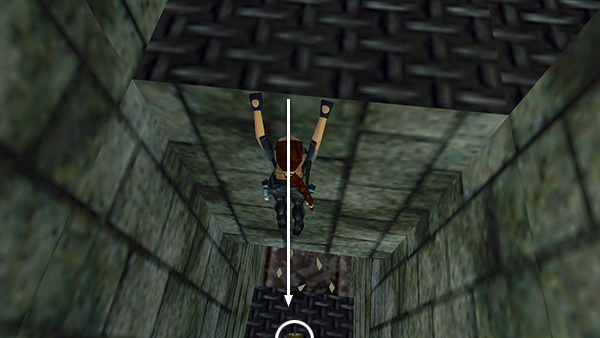
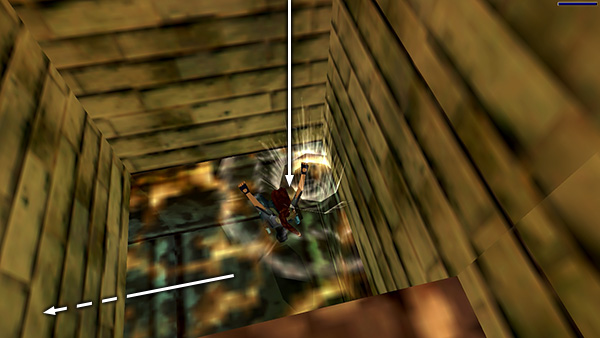
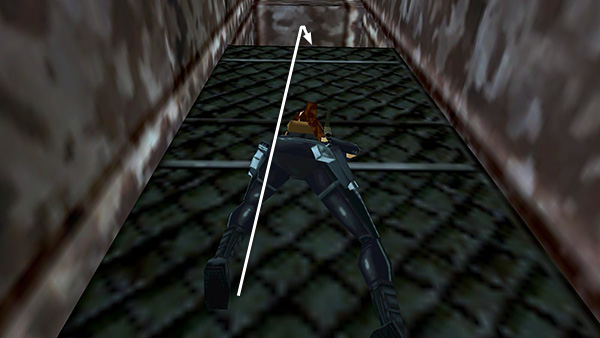
Then stand near either wall and take a standing jump to grab the ceiling grates. Monkey swing forward, staying as close to the wall as possible. Lara will still take some heat damage as the metal pipes amid the spikes ignite, but she should not actually catch fire. (If she does, just quickly swing forward and drop into the pool as shown below.)
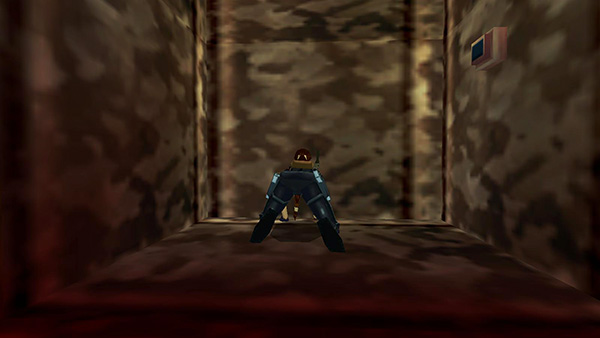
Continue to monkey swing above the spikes, and let go when you hear a "clank" to drop into a pool between the spikes and the burner.
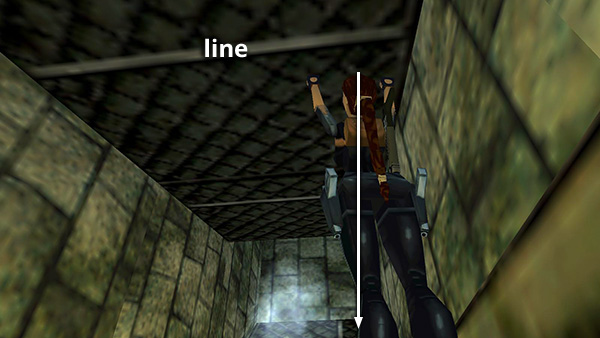
If you can't hear the game audio, just make sure to swing forward past the second-to-last silver line on the grating, then drop.
Turn left and follow the short, underwater passage to a crusher like the ones in Lud's Gate.
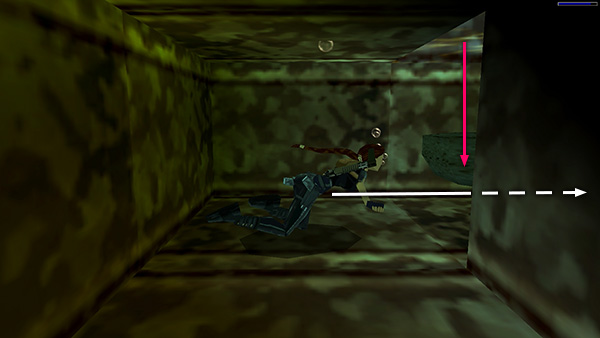
Stay close to the bottom facing the crusher and wait. As soon as the crusher starts to pound down, swim forward. Lara should pass beneath it before it comes down again.
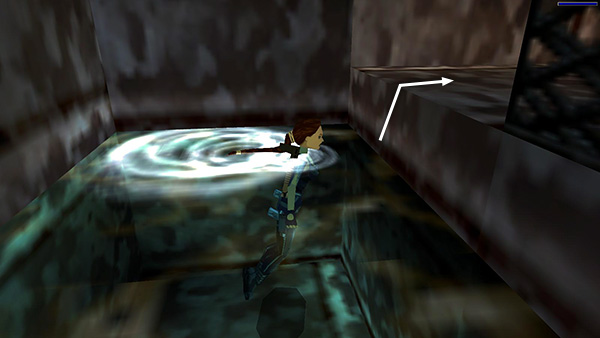
Climb out of the water.
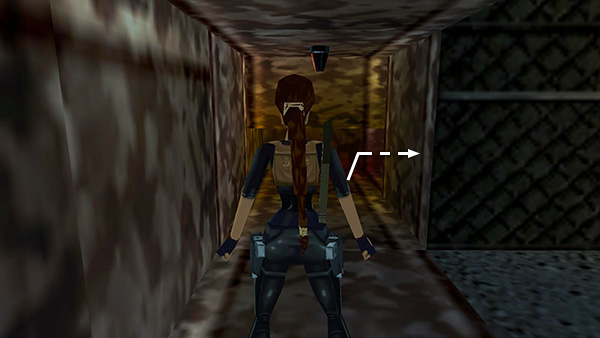
Crawl forward through the low opening, then around to the right.
Press the button on the wall.
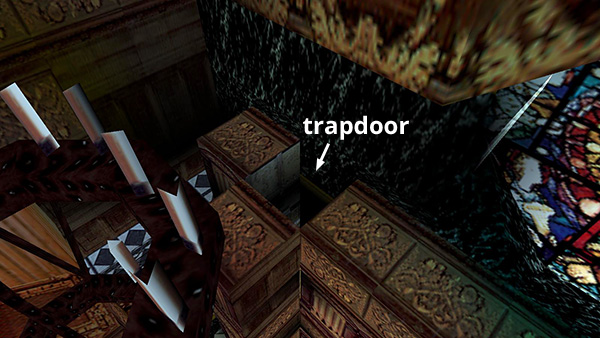
This opens a trapdoor back in the main room of the cathedral.

Turn so the button is on Lara's left and pull up onto the ledge above the crawlspace to get another small medi pack. Drop down and return through the crawlspace to the ledge near the water.
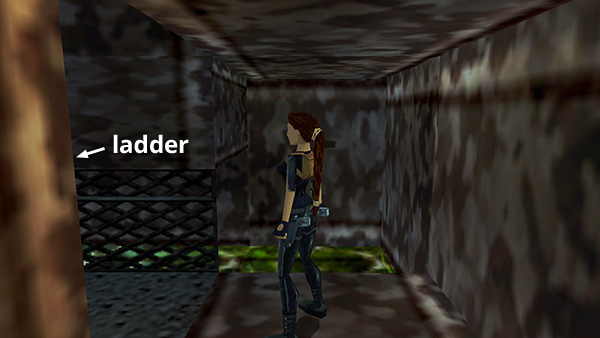
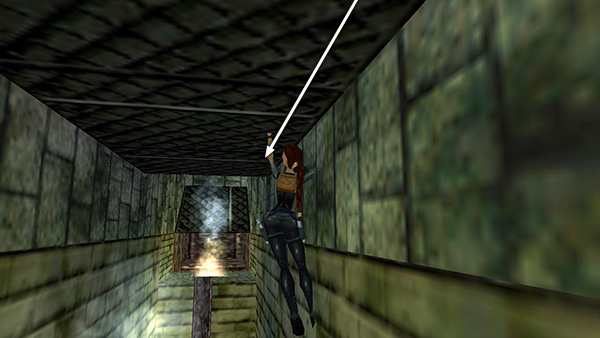
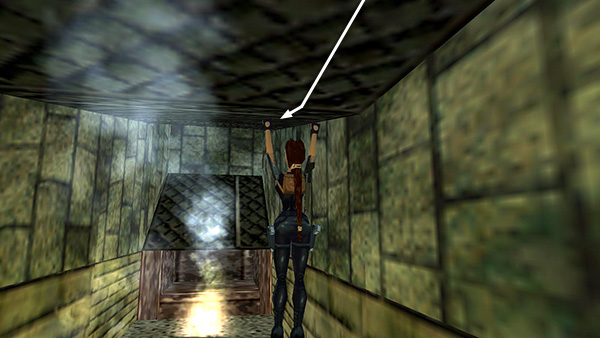
Turn around to spot a grating ladder in the alcove.
Climb to the top.
Copyright © 1998- - Stellalune (
). All rights reserved. Feel free to copy or print this walkthrough for personal use. By all means, share it with friends, but please include this credit line so people can send me their feedback. No part of this walkthrough may be reproduced on another site without permission. Follow this link for details about this site's advertising and privacy policy.