Temple Ruins - Treetops above Starting Area
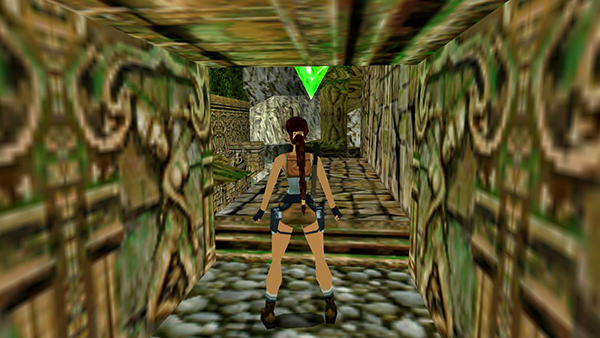
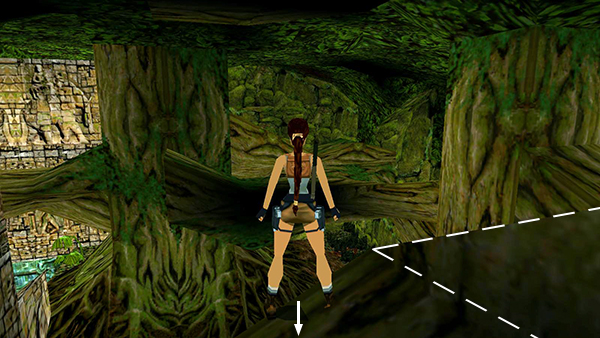
When you follow the passageway leading out of the COURTYARD WITH THE HUGE MUDSLIDE, you emerge on a ledge with a save/power-up crystal overlooking the area at the beginning of the level.
Jump from the end of the ledge to the wide branch on the left.
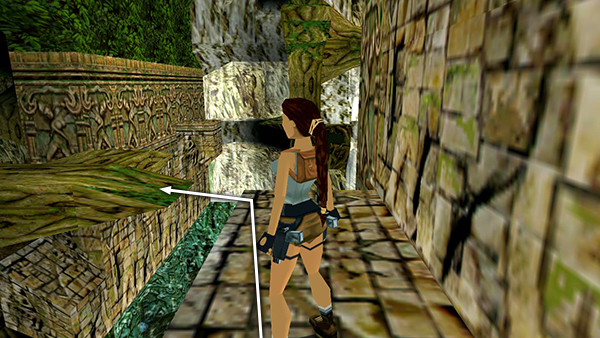
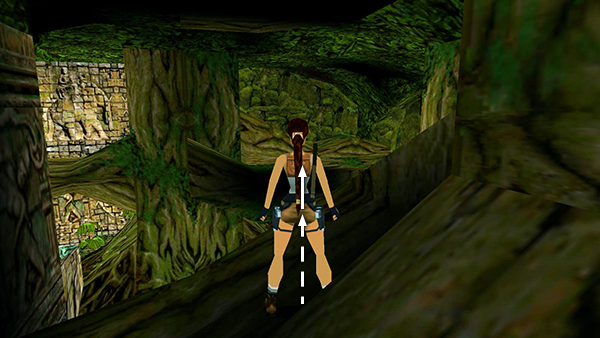
Walk toward the tree trunk. Then take a running jump to the branch ahead and to the right (the one that bends upward at the end).
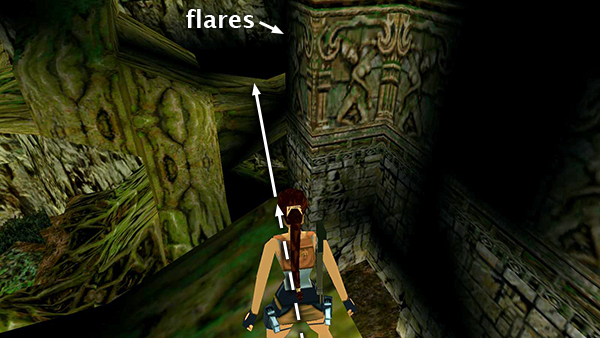
Turn right and take a running jump to the next branch, between the tree trunk and the stone wall. For this jump, be sure to start from the very end of the bent branch, which is higher, and don't press Action or Lara won't jump far enough. In an alcove at the right end of this branch are some flares.
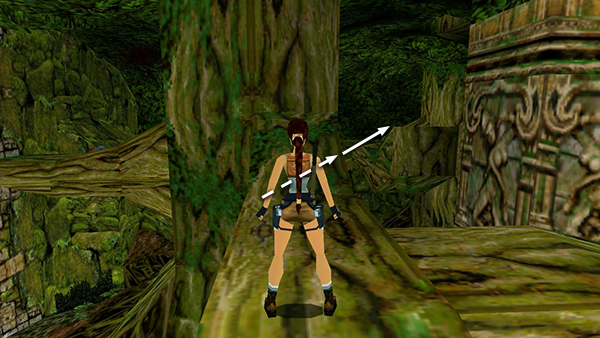
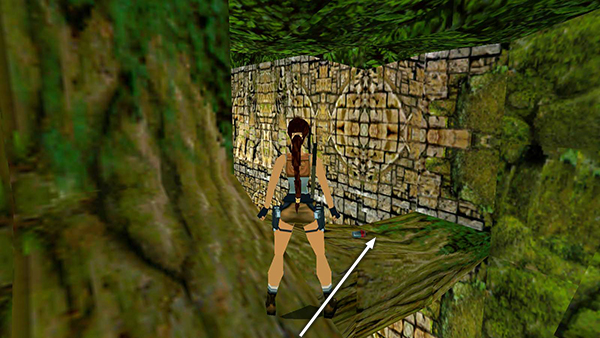
After picking up the flares, walk back along this branch, turn left and take a running jump to grab the branch that extends from the other big tree to the right. This is an especially tricky jump. It helps to first position Lara at the edge, about a step to the left of the angled block that meets the tree trunk, as shown above. Pivot so she's facing the middle of the branch you're aiming for. Then hop back once...
...take the running jump...
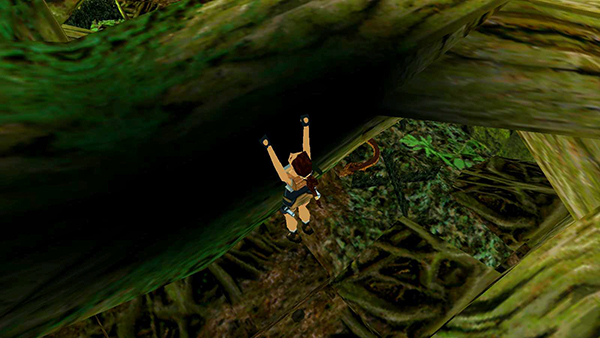
...and grab.
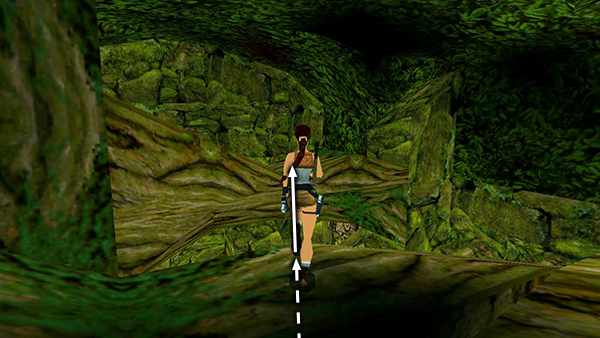
Pull up, face the next branch, and aim for the inverted 'V' where the branch slopes downward in the middle. Then take another running jump, without pressing Action, to land there.
Move in toward the trunk a little and take a standing jump to the branch with the Desert Eagle clips.

Then take a running jump past the tree trunk back to the branch above the water. For this jump, you'll want to aim just to the right of the tree trunk and don't press Action.
Copyright © 1998- - Stellalune ( ). All rights reserved. The screenshots and videos included here were made using Fraps and the classic Tomb Raider widescreen patch by Mr. Fourblack. Feel free to copy or print this walkthrough for personal use. By all means, share it with friends, but please include this credit line so people can send me their feedback. No part of this walkthrough may be reproduced on another site without permission. As an Amazon Associate I earn from qualifying purchases. Follow this link for details about this site's advertising and privacy policy.