Chasm Ziggurat - Battle atop the Ziggurat - Phase Two (continued)
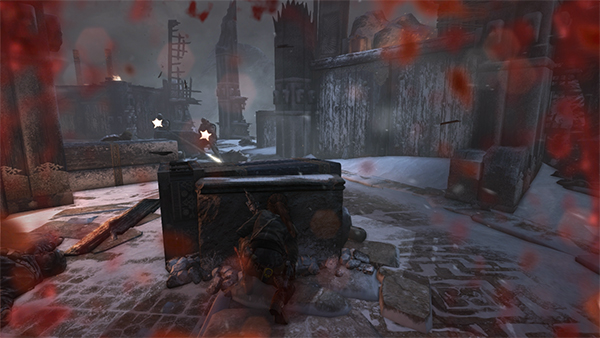
If things get hairy, don't be afraid to use a grenade or two. You're almost at the end of the game now, so don't hold back. You should be able to pick up a few grenades later when you search these guys' bodies.
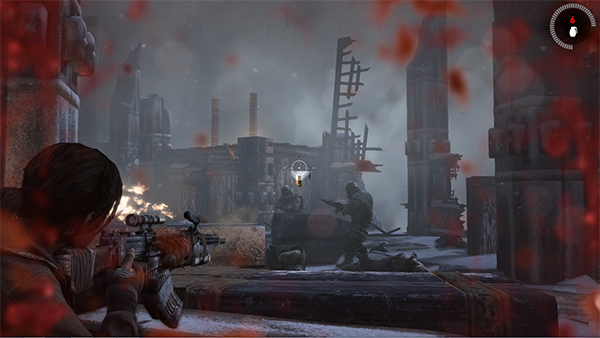
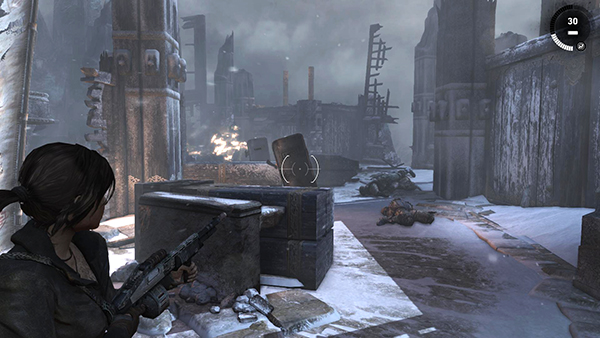
Aim just above the heads of a group of enemies.
If the resulting blast doesn't kill them, it should at least weaken them so they're easier to pick off.
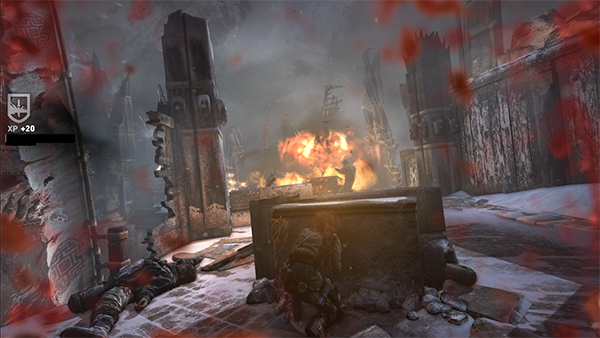
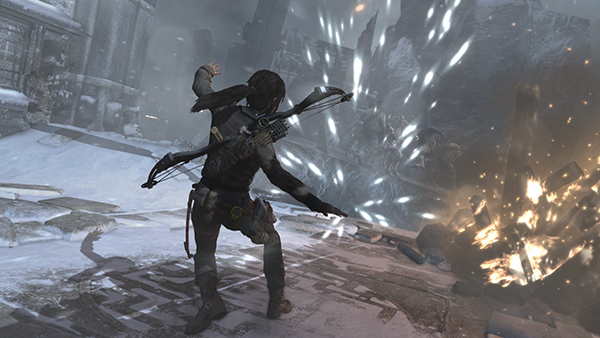
After you've killed this group, there's another checkpoint, and the wind begins to blow even more fiercely. A bolt of lightning strikes the ground ahead. Then 2 more men with metal shields appear.
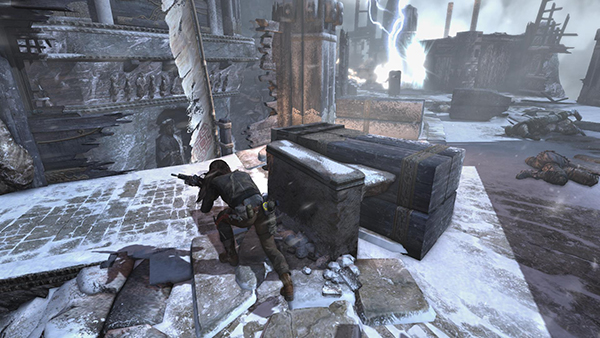
The stiff wind prevents you from climbing onto the ledge on the right, so you can't avoid them. You can, however, hit them with grenades as they approach. Or wait for them to get close and use the Dodge Counter/Dodge Kill maneuver again. (See Part 1 if you need a review.) Fortunately they're fairly courteous about taking turns attacking you. So it's possible to defeat them both at close range.
When you've defeated the shield guys, loot all the bodies lying about and proceed forward toward the barrier made of flaming debris. Lara yells out to Mathias, urging him to stop the ritual, as the storm intensifies. The debris blows away, and another lightning bolt hits, collapsing the walkway and sending more enemies from both factions plummeting into the chasm.
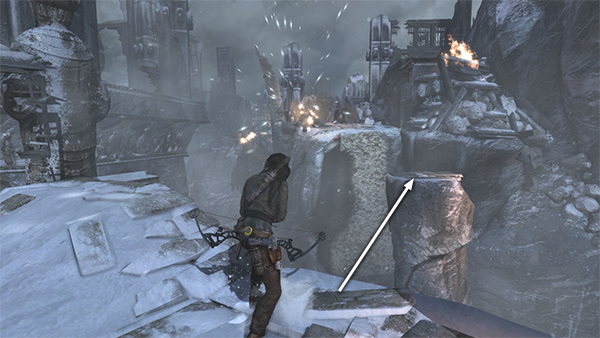
Move to the edge of the chasm and jump forward to grab the edge of the tall, stone pillar.
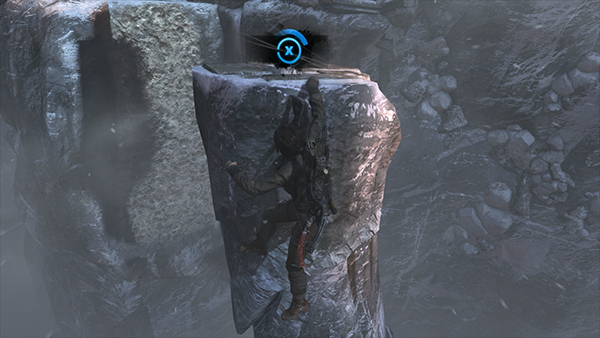
Press Interact at the on-screen prompt to keep Lara from losing her grip.
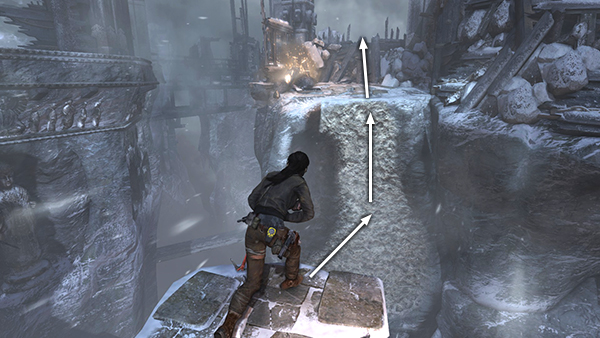
Then pull up and jump over to the climbing wall. Climb to the top and move forward up the wooden ramp.
[Part 2 | Return to the Chasm Ziggurat Walkthrough]
Copyright © 2013- - Stellalune (). All rights reserved. The screenshots and videos included here were made using Fraps. Feel free to copy or print this walkthrough for personal use. By all means, share it with friends, but please include this credit line so people can send me their feedback. No part of this walkthrough may be reproduced on another site without permission. Follow this link for details about this site's advertising and privacy policy.