Geothermal Caverns - Rescuing the Captives - Part 2
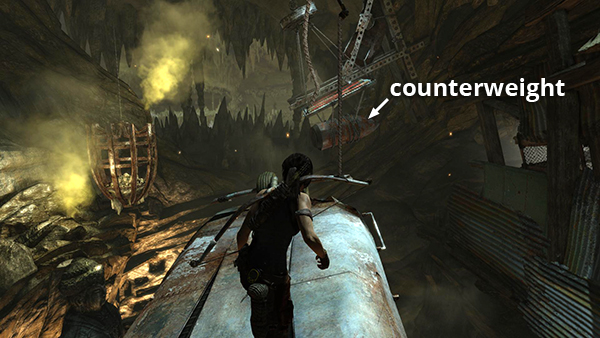
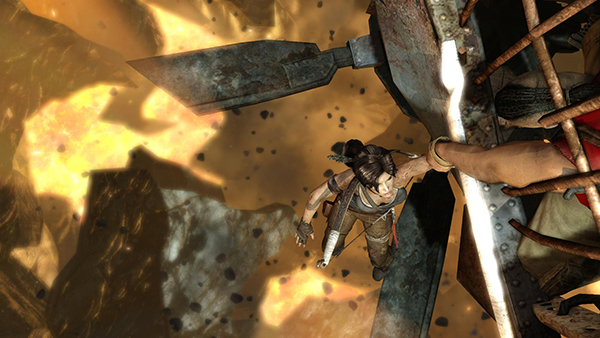
Reyes says something about the second counterweight being locked down over there. "Over there," being straight ahead after you've just climbed up.
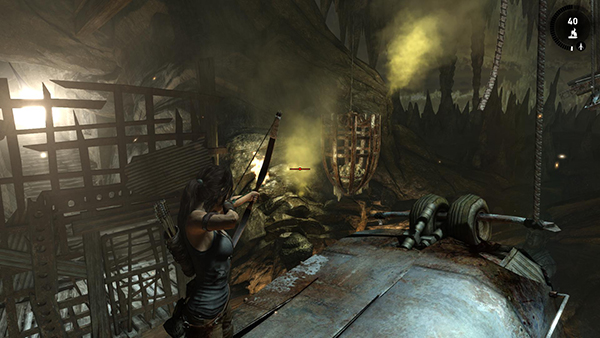
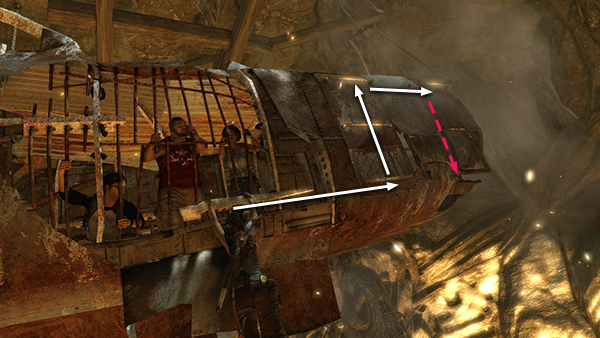
In order to free it, you need to shoot fire arrows into the 2 gas vents ahead on the left. Aim for the left one first. When it explodes, it moves the dangling cage closer to the other gas vent.
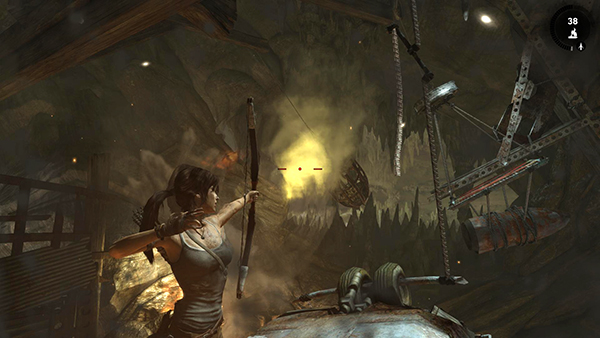
Quickly target the second vent and shoot.
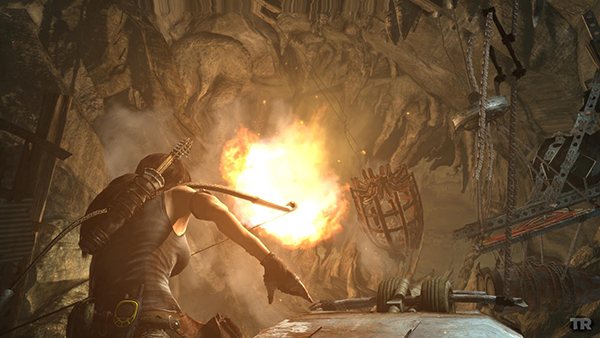
If your timing is good, the second explosion will fling the cage into the counterweight. If you miss, just wait a moment for the gas to start flowing and then try again.
When you succeed in freeing the second counterweight, the whole cage pitches downward on one end. Lara loses her footing, but Jonah grabs her hand, keeping her from falling into the fiery pit below.
She's then able to grab onto a metal bar running along the bottom on the cage. Climb to the right, upward, then right again. At this point, the bar from which Lara is hanging breaks, and she slips.
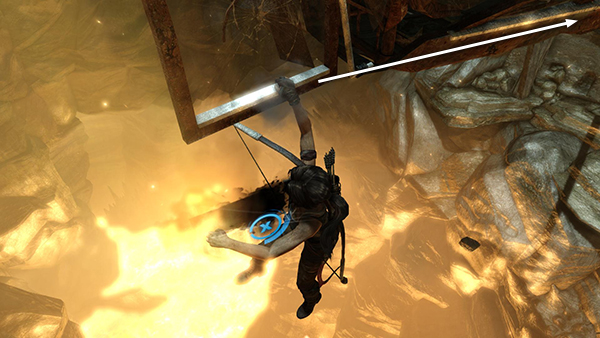
Press Interact to grab a lower handhold and keep from falling. Then traverse to the right...
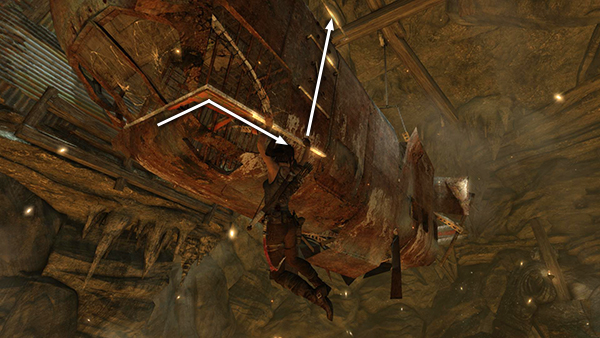
...around the corner, and then upward, onto the roof of the cage once more.
[Part 1 | Part 3 | Return to the Geothermal Caverns Walkthrough]
Copyright © 2013- - Stellalune (). All rights reserved. The screenshots and videos included here were made using Fraps. Feel free to copy or print this walkthrough for personal use. By all means, share it with friends, but please include this credit line so people can send me their feedback. No part of this walkthrough may be reproduced on another site without permission. As an Amazon Associate I earn from qualifying purchases. Follow this link for details about this site's advertising and privacy policy.