Shantytown - First Area Center - Part 1
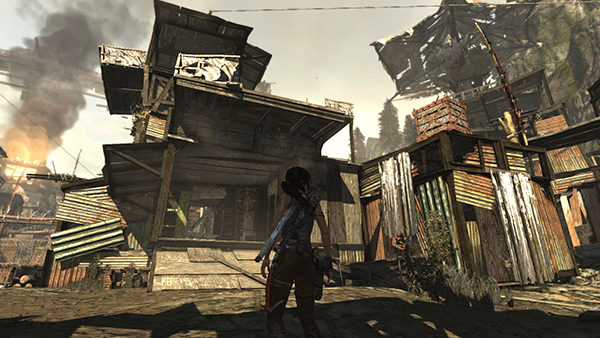
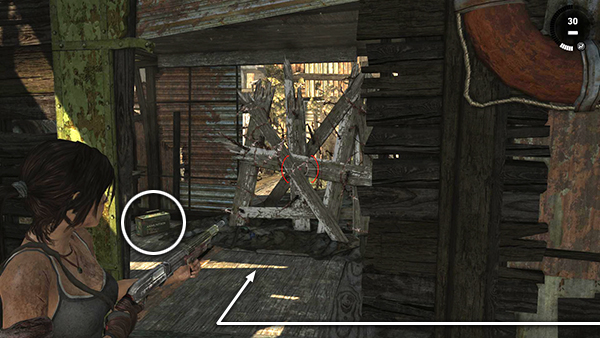
Face the building below and across from the helicopter.
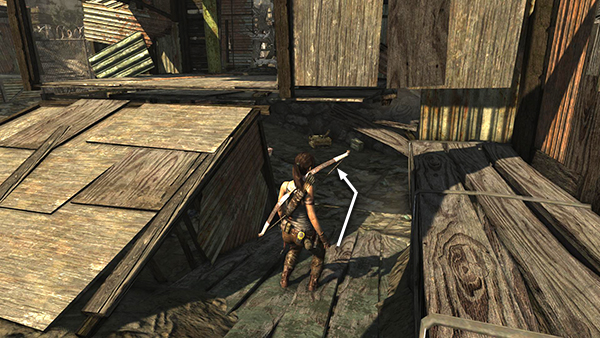
To the right of the plywood ramp leading into the building is a low opening. Go through to find a salvage crate, shotgun shells and rifle/SMG ammo under the floor. Exit the way you came. Then go up the ramp into the building.
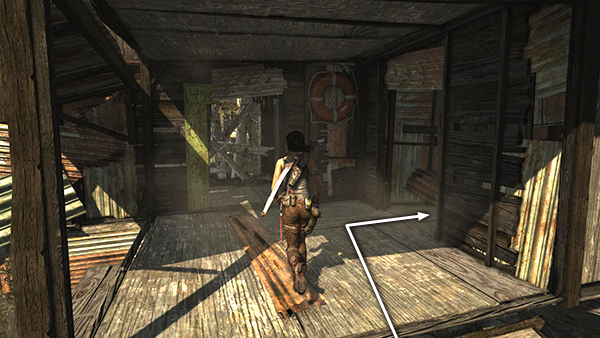
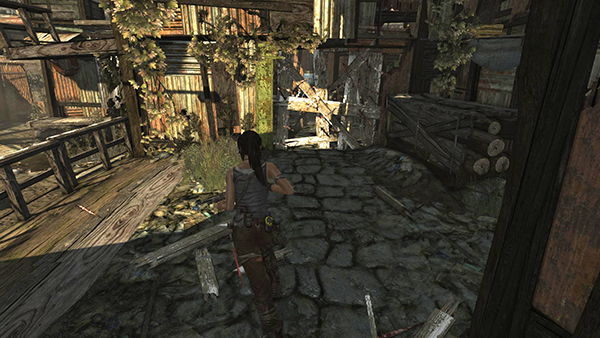
Turn into the first room on the right.
Inside is a relic (1/7), a Decorative Inro. Ignore the doorway with the plank barrier. It just leads back outside. Instead return through the doorway where you entered.
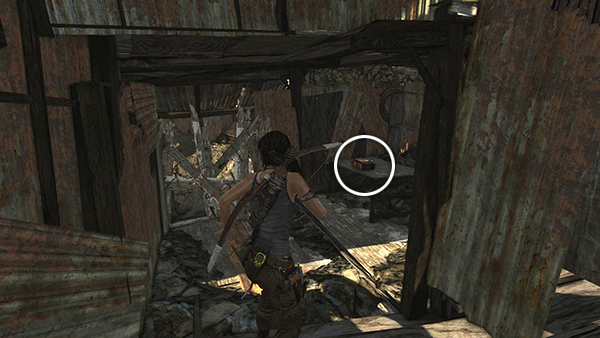
Turn right into the next small room. Pick up the shotgun shells and shoot out this plank barrier.
Go through a small, open area with some logs stacked on the right. Shoot out another barrier straight ahead and enter the next room.
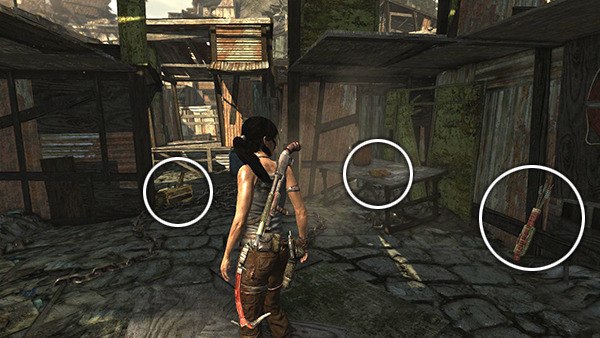
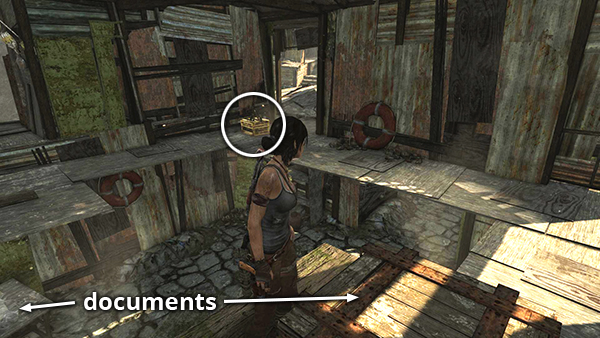
Here, on the table on the right, you'll find a document (1/5), a note from Grim, which is part of the Endurance Crew set, plus some arrows and a salvage crate.
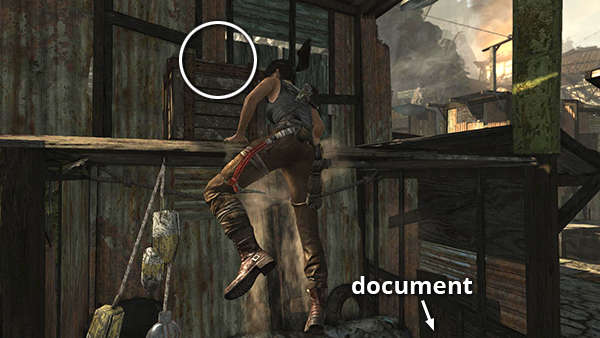
Climb up onto the ledge opposite the document table—the one with the dangling fishing floats—to find another document (2/5) from the Confessions of a Solarii set.
Move to the other side of this same level and crack open the salvage crate.
If you like you can climb to the upper floors of this building and the one closer to the helicopter to find a few more goodies—shotgun shells on both the top level and middle level (southwest corner) of the building with the documents, plus a food cache, arrows and rifle/SMG ammo at the top of the taller building. When you have them, return to the room where you found the 2 documents.
[Part 2 | Return to the Shantytown Walkthrough]
Copyright © 2013- - Stellalune (). All rights reserved. The screenshots and videos included here were made using Fraps. Feel free to copy or print this walkthrough for personal use. By all means, share it with friends, but please include this credit line so people can send me their feedback. No part of this walkthrough may be reproduced on another site without permission. As an Amazon Associate I earn from qualifying purchases. Follow this link for details about this site's advertising and privacy policy.