Shipwreck Beach - Out to the Galleon and Back - Part 3
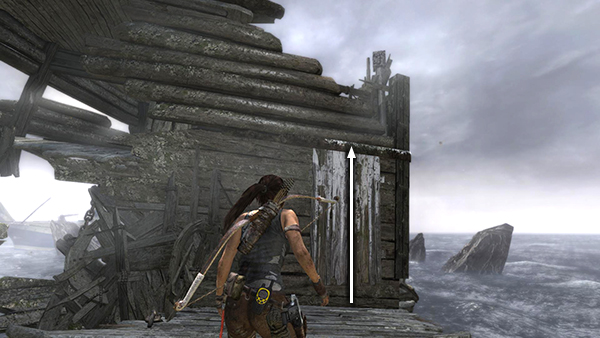
Scramble up the painted wall near where the second baddie was standing.
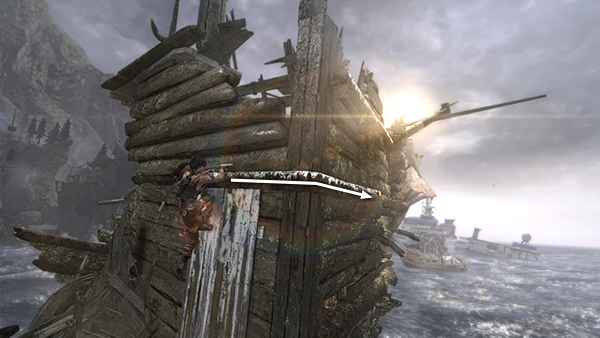
Climb around the corner to the right.
While hanging onto the whitish plank on the side of the galleon's hull, jump straight up to grab the upper edge, climb further to the right, jump across the gap where the hull is broken, and grab again on the other side.
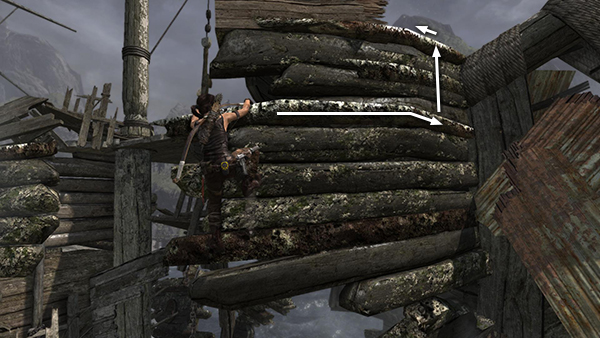
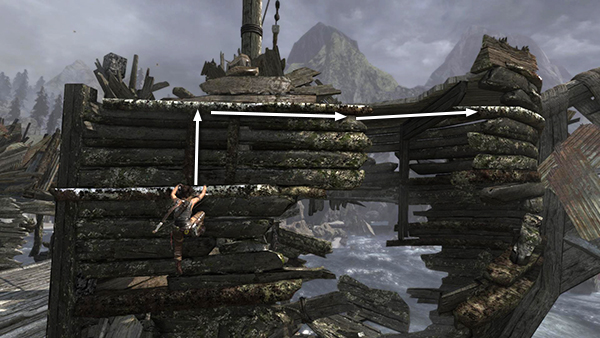
Continue climbing around to the right until you can pull up onto the deck.
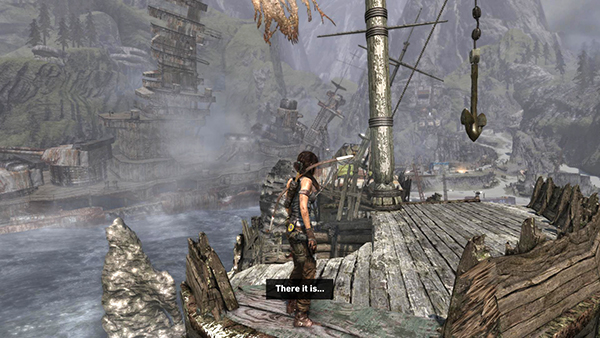
Lara spots the BLOCK AND TACKLE supporting the ship's anchor above the deck.
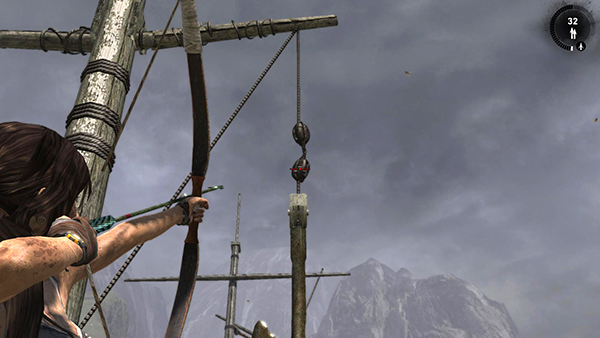
Shoot one of the pulleys to cut it loose.
Doing so causes the mast to topple over. When you approach the block and tackle, Lara picks it up automatically.
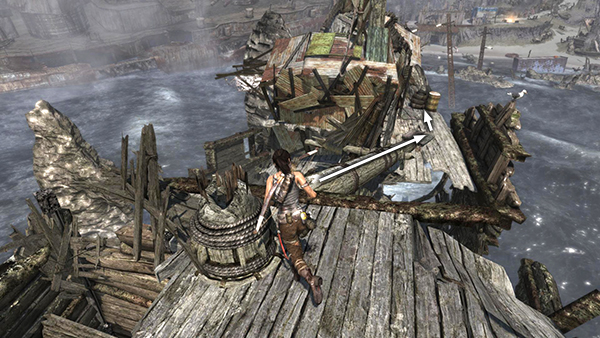
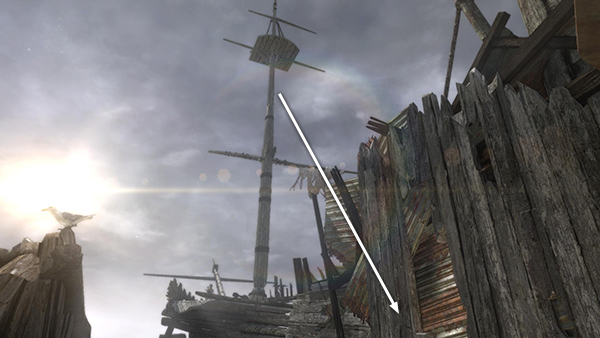
Use the fallen mast as a bridge to reach the section of the ship below. Move forward and use the barrels on the right for cover.
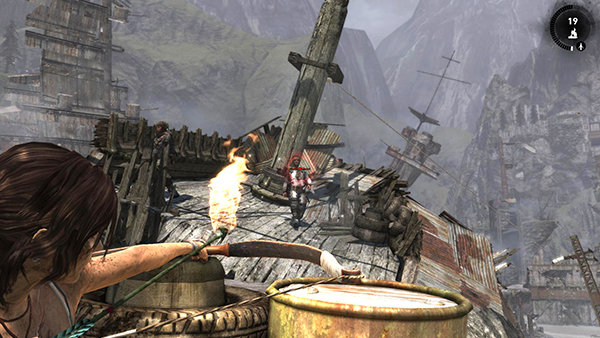
Take out the 2 enemies on the deck ahead, plus a third man who climbs up onto the deck behind them. Try to kill the one with body armor first, since he'll jump across the gap and attack you up close if you don't eliminate him quickly. (Notice his light-colored armor plates in the screenshot above.) Then deal with the others.
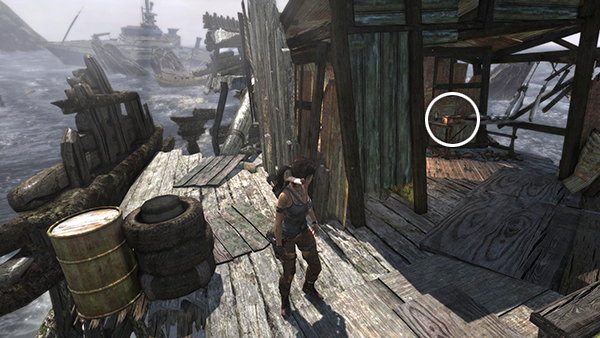
Afterward, go into the covered area on the left to find a relic (1/6), a Brown Jade Ink Box from the Yuan Dynasty Jade set. Examine the back of it for more info and XP.
[Part 2 | Part 4 | Return to the Shipwreck Beach Walkthrough]
Copyright © 2013- - Stellalune (). All rights reserved. The screenshots and videos included here were made using Fraps. Feel free to copy or print this walkthrough for personal use. By all means, share it with friends, but please include this credit line so people can send me their feedback. No part of this walkthrough may be reproduced on another site without permission. As an Amazon Associate I earn from qualifying purchases. Follow this link for details about this site's advertising and privacy policy.