
After crossing the checkpoint at the top of the ladder, turn around to face out over the lava pool. Take a running jump off the ledge above the ladder and grapple the ring on the ceiling and swing across the gap to the ledge on the far side.
Quickly move out of the way of the flame jet and pick up the large medipack (not shown).
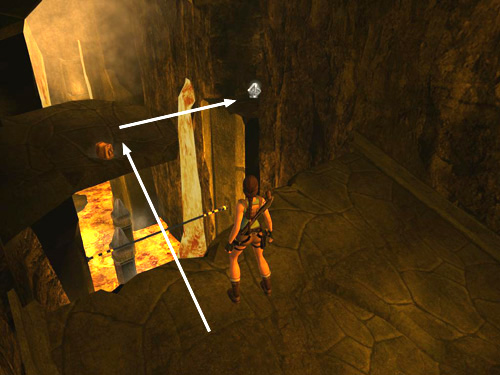
Turn left and approach the edge of the ledge overlooking the lava pool you just came across. Take a running jump to the ledge jutting out of the left wall, where you'll find another large medipack. Turn right and take another running jump across the gap to the ledge with ARTIFACT #4.
NOTE: In the Nintendo Wii game, the artifact is in the same spot; you just can't see it at first. It's behind a stone wall that must be cracked open with the pickaxe.
Return to the ledge above the ladder the way you came, except that you won't need to grapple-swing across on the way back. Lara can make it using a running jump, as long as you hold down the Jump key.
[Return to the Final Conflict Walkthrough]
Copyright © 2007- Stellalune (). All rights reserved. The TRA screenshots included here were made using Fraps. Feel free to copy or print this walkthrough for personal use. By all means, share it with friends, but please include this credit line so people can send me their feedback. No part of this walkthrough may be reproduced on another site without permission. As an Amazon Associate I earn from qualifying purchases. Follow this link for details about this site's advertising and privacy policy.
|