Kingdom - Network of Cages with Switches Part 2
NOTE: The numbers and letters for the various switches and gates correspond to the diagram in the main walkthrough.
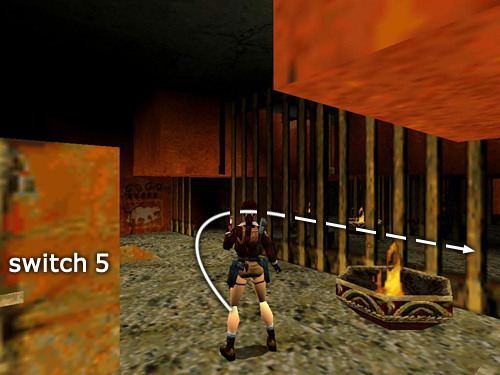
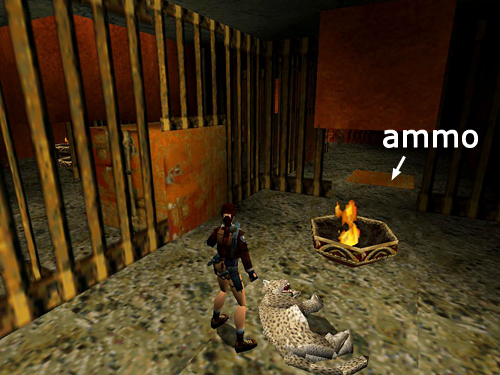
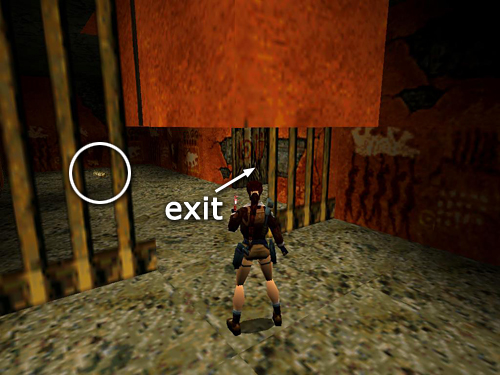
When it's dead, go back the way it came: straight ahead through gate G, left through gate D, left again through gate C, and straight on through gate E into the cage with the pool.
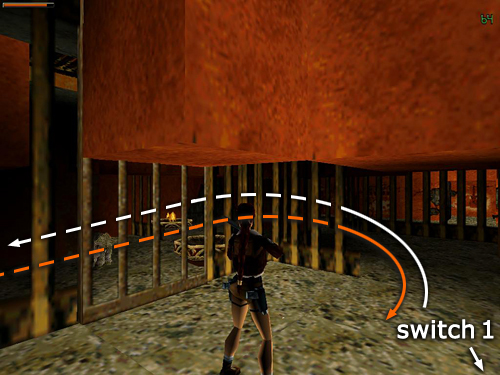
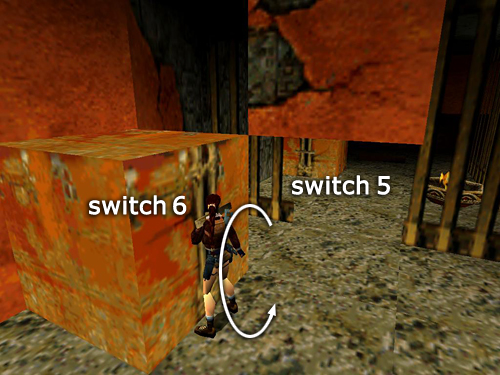
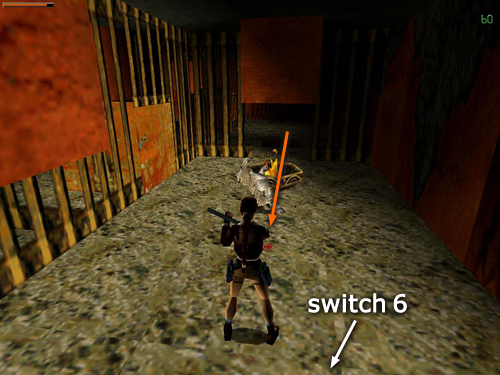
If the leopard doesn't charge immediately when you open gate H, it means he's trapped behind gate F and can't get to you. Pull switch #6 again to let him out into the room with the pool between F and H. Then pull #6 again to let him in to you.
[Part 1 | Return to the Kingdom Walkthrough] Copyright © 1999- - Stellalune (). All rights reserved. The screenshots and videos included here were made using Fraps. Feel free to copy or print this walkthrough for personal use. By all means, share it with friends, but please include this credit line so people can send me their feedback. No part of this walkthrough may be reproduced on another site without permission. As an Amazon Associate I earn from qualifying purchases. Follow this link for details about this site's advertising and privacy policy. |