Sleeping with the Fishes - Third Pool - Secret #2 (part 1)
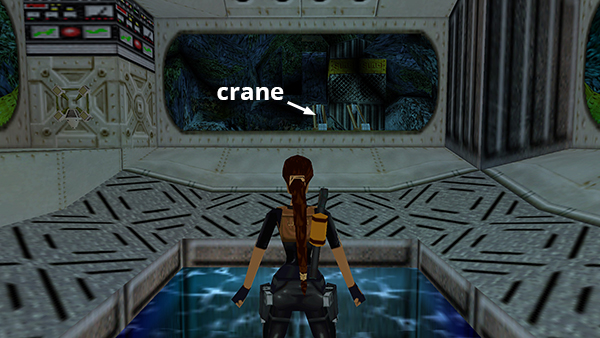
After using the CIRCUIT BULBS to open the yellow door, as shown in the previous section, face the window with the crane outside and jump back in the pool once more.
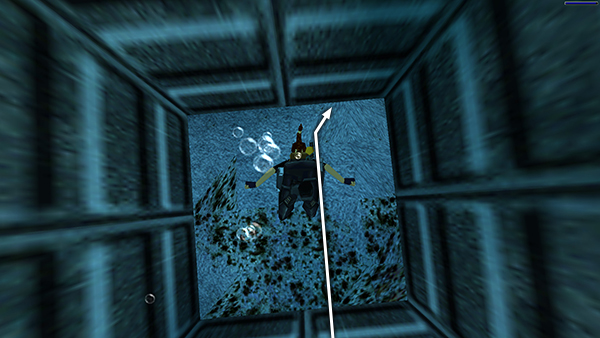
Swim down to the bottom...
...then up the rocky slope and past the right side of the crane, following the globe lights on the sea floor.
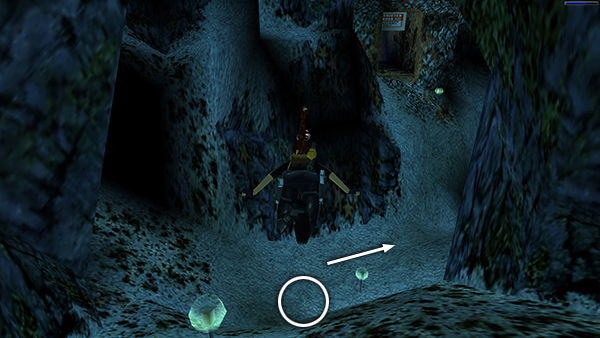
Near the third light globe, there's a bunch of harpoons lying on the bottom. Grab it and then swim to the right, past the third globe.
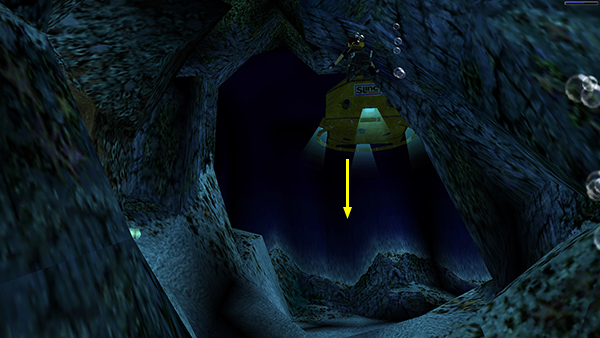
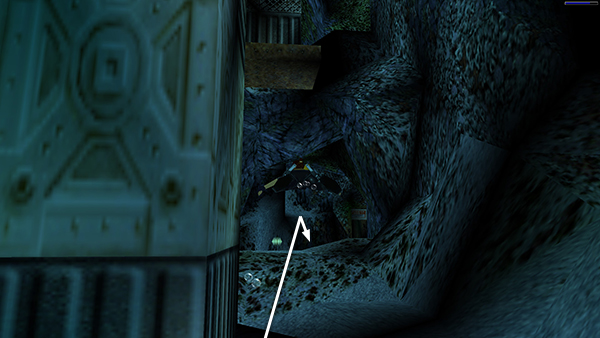
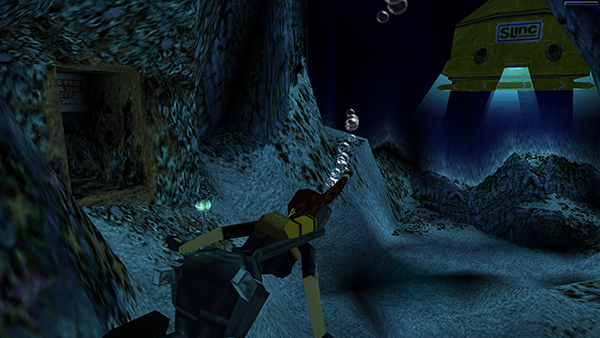
The current sucks Lara to the top of the large cave opening, and you see another submersible descending to deliver 2 more scuba divers.
At this point, you can try to harpoon the divers...
...or turn around and head for the small opening in the ceiling of the cave, where you found the second CIRCUIT BULB.
Then climb out of the water and shoot the divers through the opening.
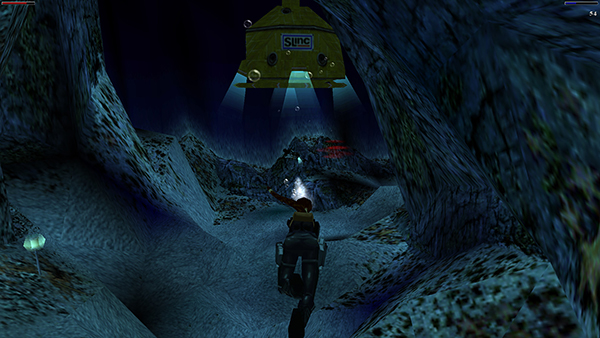
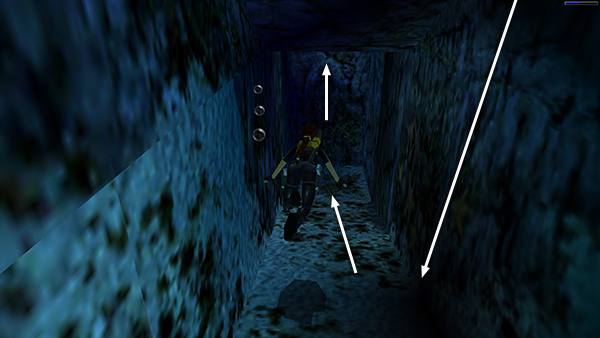
When the coast is clear, Swim toward the second submersible. Approach the "Restricted Area" door but instead of going in...
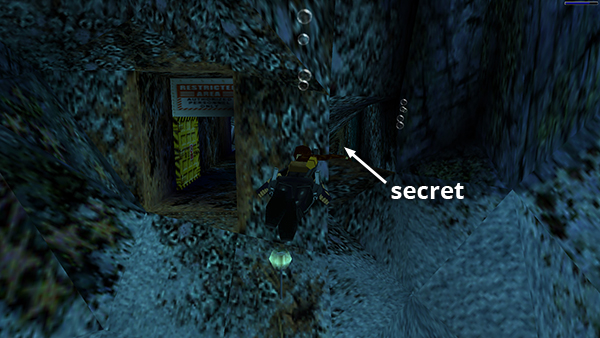
...swim into the narrow tunnel just to the right of it. This is SECRET #2.
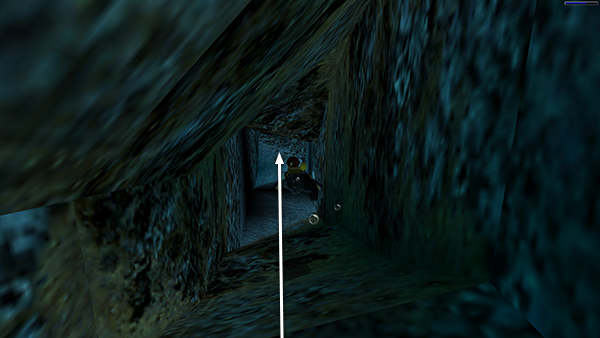
Follow the rocky tunnel to a cave.
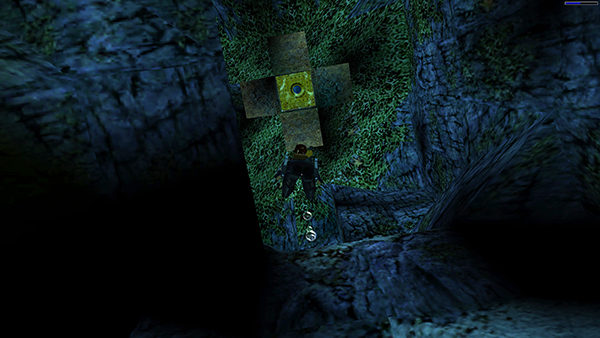
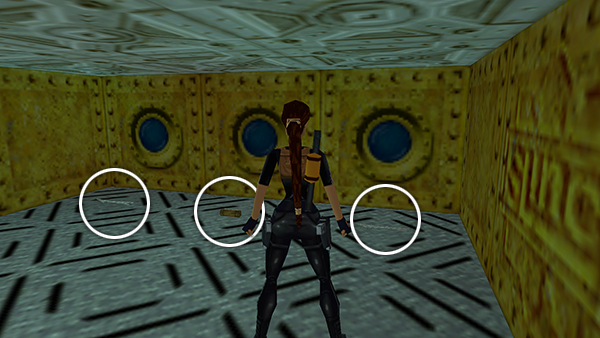
You're going to need air soon, so Ignore the flares and shotgun shells for now and swim straight ahead then down into the square hole in the floor.
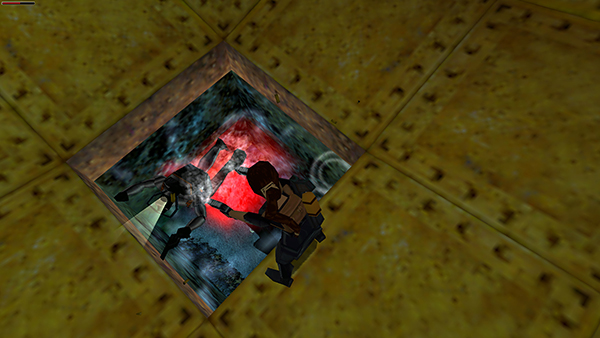
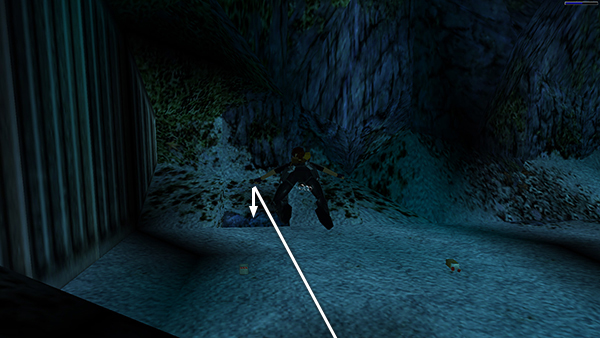
Follow this tunnel to the right and upward...
...to a room where you can breathe, pick up 2 bunches of harpoons and a small medi pack, and save the game.
[Part 2 | Return to the Sleeping with the Fishes Walkthrough]
Copyright © 2000- - Stellalune (
). All rights reserved. Feel free to copy or print this walkthrough for personal use. By all means, share it with friends, but please include this credit line so people can send me their feedback. No part of this walkthrough may be reproduced on another site without permission. Follow this link for details about this site's advertising and privacy policy.