It's a Madhouse! - Hedge Maze and Secret #1 (part 3)
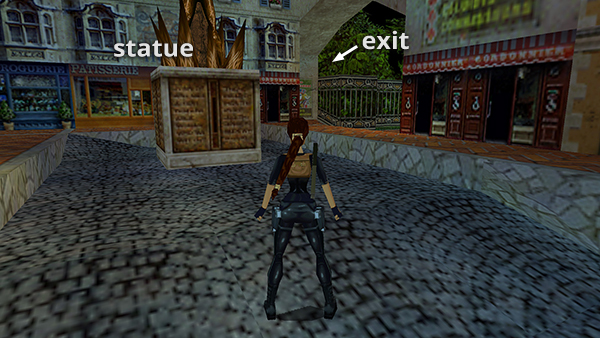
Return to the top of the hill. Turn right at the GOLDEN STATUE. (Make sure you pulled the switch on the back of it. The switch should be in the down position to ensure the trapdoor is open for secret #3.) Climb back onto the ledge with the broad-leafed plant where you entered this area.
Drop into the TIGER ENCLOSURE...
...and follow the ramp back to the top.
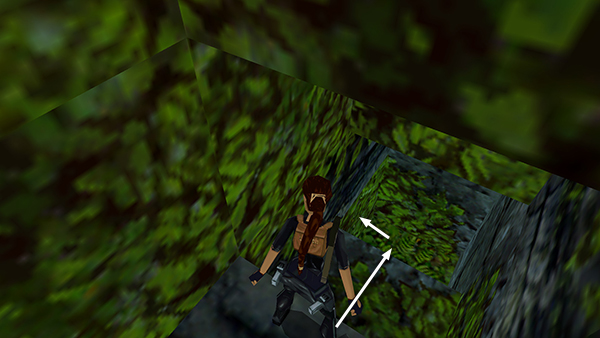
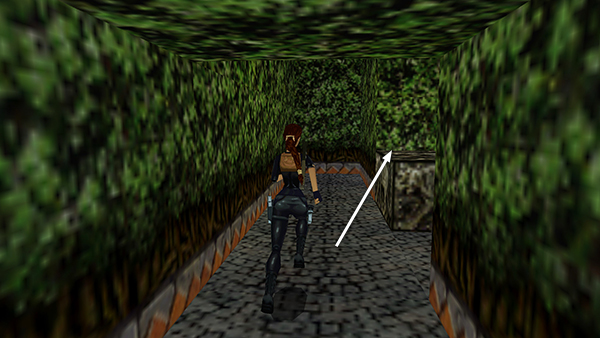
Turn right. (At this point you'll be following the path marked with orange dots in the map that accompanies the main walkthrough.)
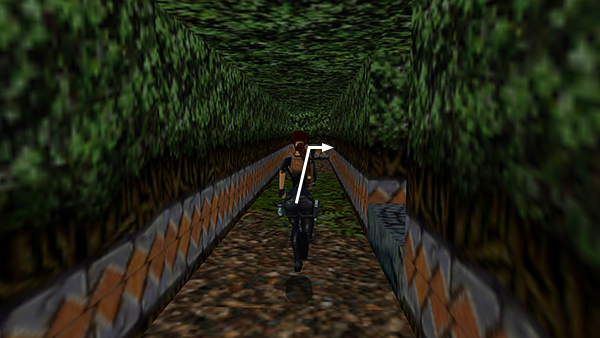
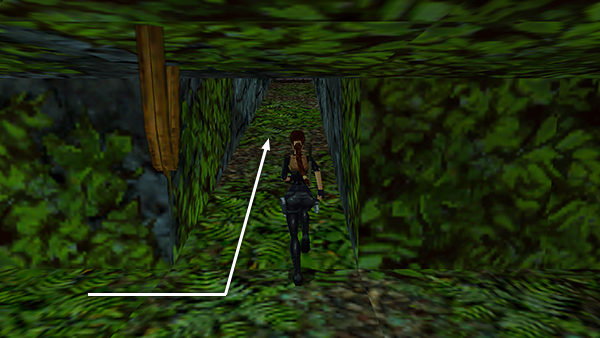
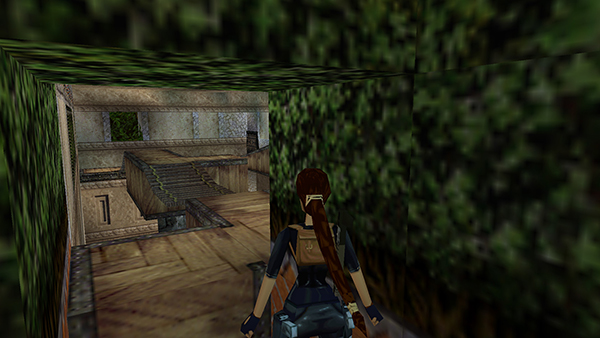
Pass the first entrance into the HEDGE MAZE and continue to the end of the greenery-enclosed tunnel. Turn right...
...run into the maze, and hop up onto the gray block. (This block is marked B2 on the map.)
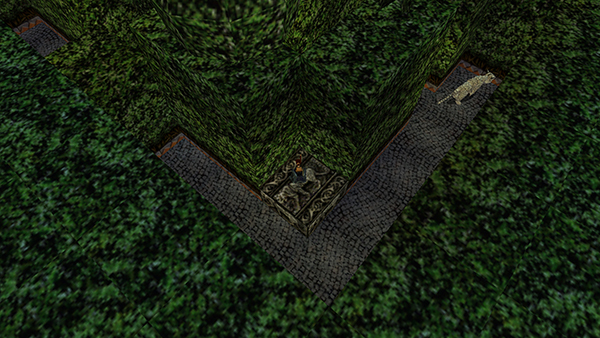
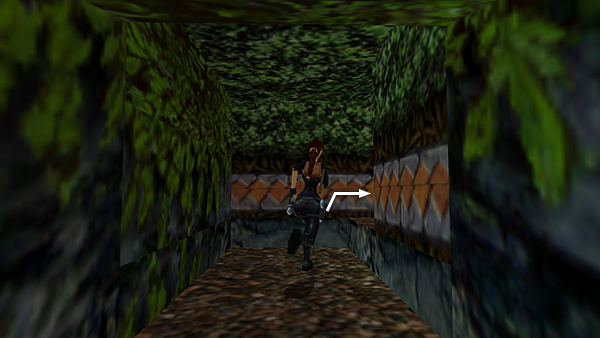
Another tiger emerges from the opening on the right.
Again, you can probably shoot it with pistols from the safety of the block, but you may have to hop down and back up again to draw the tiger out of hiding.
NOTE: If you don't care about getting all the kills, just avoid this block and the tiger won't appear.
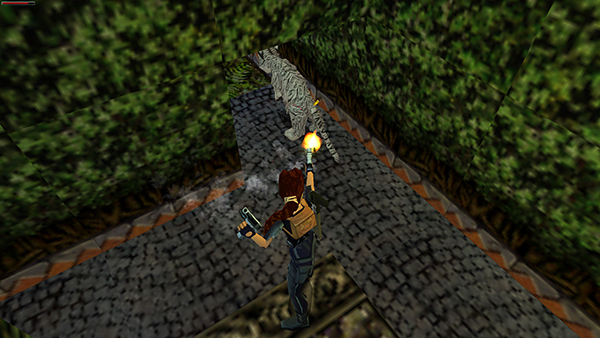
Now continue through the maze to the corner farthest from the tiger enclosure, following the path marked with orange dots on the map. The doorway in that corner leads into the MONKEY PLAY AREA, a room with many wooden blocks and bridges.
Copyright © 2000- - Stellalune (
). All rights reserved. Feel free to copy or print this walkthrough for personal use. By all means, share it with friends, but please include this credit line so people can send me their feedback. No part of this walkthrough may be reproduced on another site without permission. Follow this link for details about this site's advertising and privacy policy.