It's a Madhouse! - The Aviary (part 2)
At this point the Aviary entrance should be on Lara's left and the carved stone column on her right. Take a running jump across the wide gap above the piranha pool to grab the edge of the walkway ahead. Pull up, make your way to the far left end of the walkway, and jump over to the ledge with the small medi pack.
Pick it up. Then roll and shoot another vulture before it can knock Lara off the ledge.
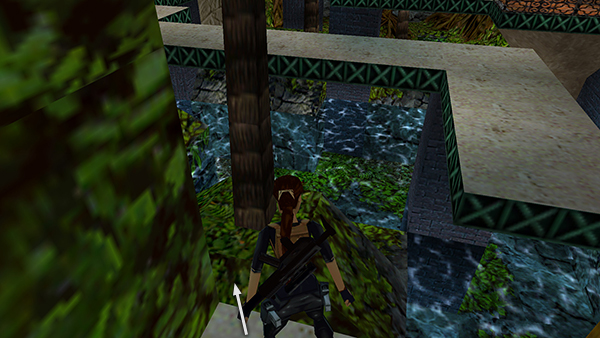
Step off the left side of the ledge to land on the flat top of the small island below.
Turn around again, walk to the edge of the island, and jump straight up to grab the ladder made of branches.
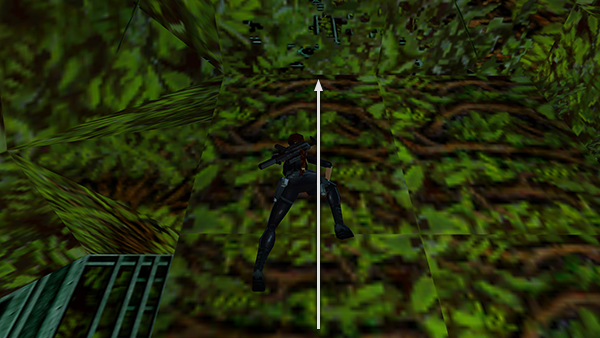
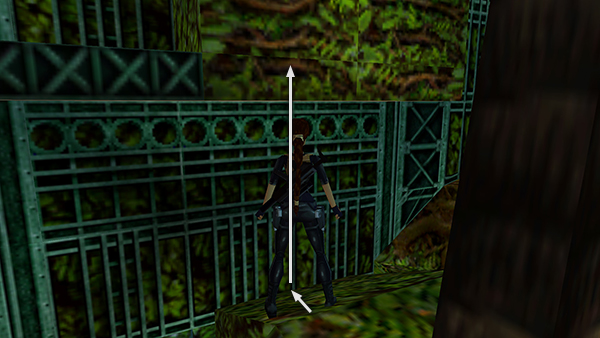
Climb to the top.
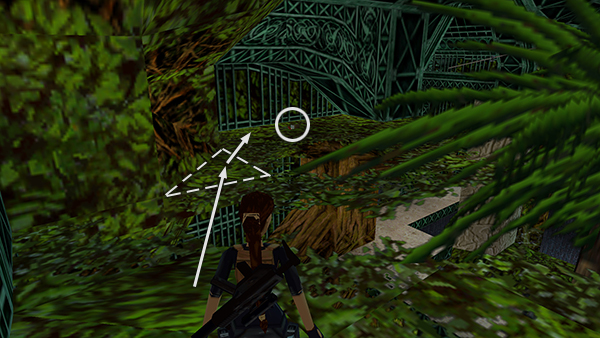
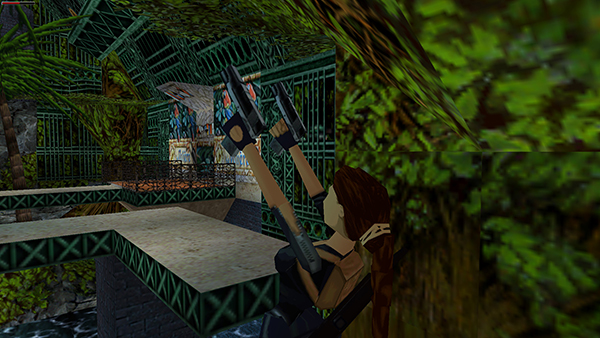
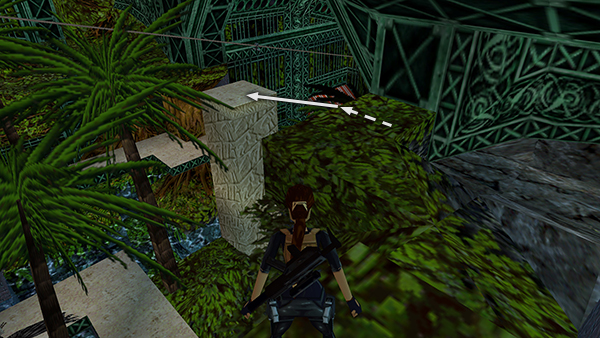
Turn right and walk to the end of the ledge. (Be careful not to fall through the transparent areas. Lara won't step off the solid ledge as long as you hold the Walk button.) Take a standing jump to the leafy triangular ledge ahead. (It's outlined in the screenshot above.) From there, take a standing jump with Action onto the green ledge below the metal arch. Pick up the shotgun shells.
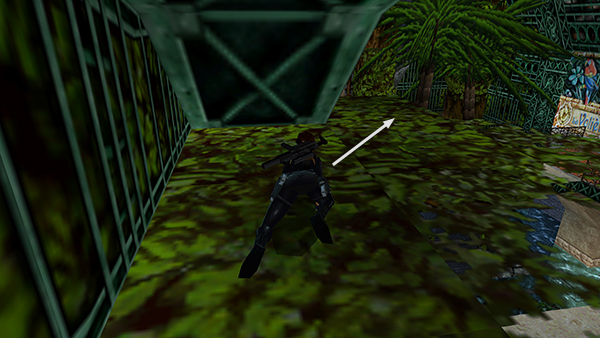
Then crawl under the arch onto the left end of the ledge. (You can also take a carefully angled standing jump, but crawling is safer.)
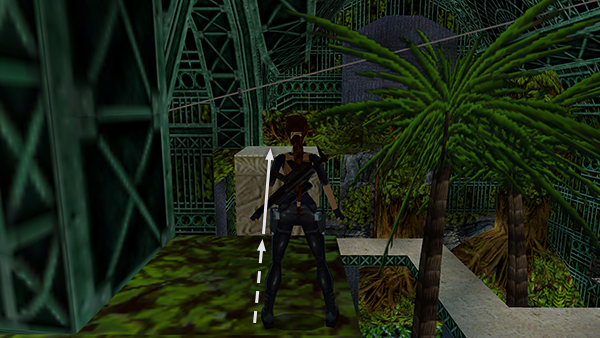
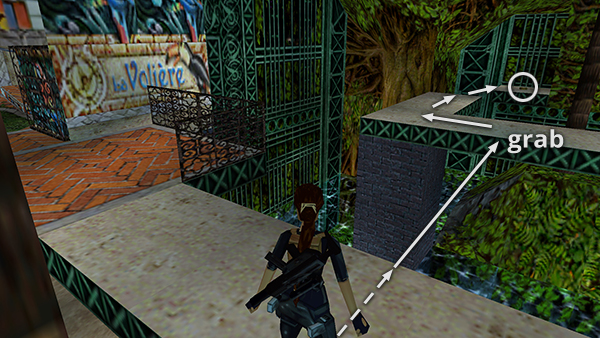
From there, take a running jump to the top of the carved stone pillar below the zip line handle.
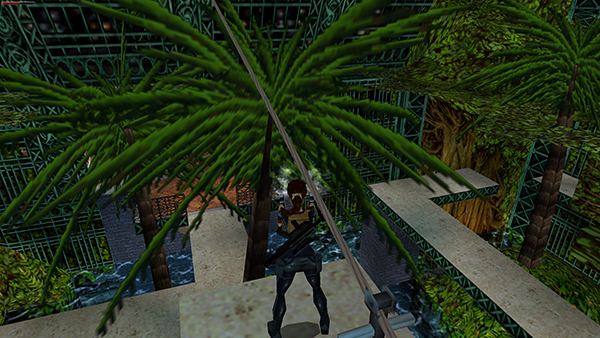
Kill another vulture that approaches from below on the right.

Before riding the zip line, take a running jump over to the green ledge in the treetops. Walk to the top of the slope near the gray brick wall to get some grenades.
NOTE: If you don't yet have the GRENADE LAUNCHER, you'll find it here instead of the grenades.
Move back down the ledge and take a running jump back to the carved pillar below the zip line handle.
IMPORTANT: Before riding the zip line, make sure you have everything you need in the previous areas. You will not be able to return to this area from below. Check the notes in the main walkthrough if necessary.
Copyright © 2000- - Stellalune (
). All rights reserved. The screenshots and videos included here were made using Bandicam and the classic Tomb Raider widescreen patch by Mr. Fourblack. Feel free to copy or print this walkthrough for personal use. By all means, share it with friends, but please include this credit line so people can send me their feedback. No part of this walkthrough may be reproduced on another site without permission. As an Amazon Associate I earn from qualifying purchases. Follow this link for details about this site's advertising and privacy policy.