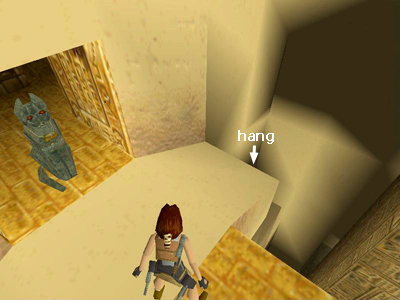
Exit the switch room and immediately turn left.

Hang from the edge and drop onto the ledge just below.
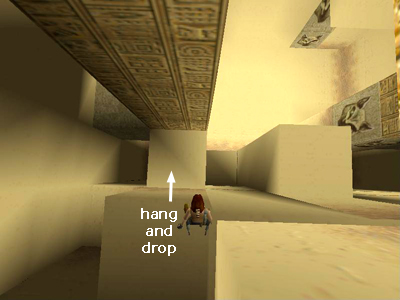
Turn so the tall, square column with carved hieroglyphs is directly behind Lara. Step back and grab the edge of the ledge. Then let go and drop to the square ledge below.
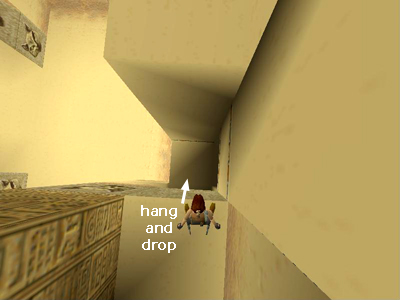
Turn so the tall column with the carved hieroglyphs is on Lara's right. Step back and grab the edge of this ledge. Then let drop to the ledge below.
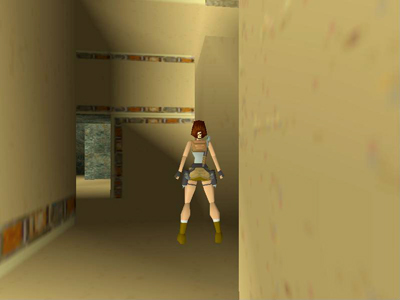
Turn left and go forward through the small, square doorway leading to secret #3.
This screenshot doesn't show the hazards, but there's a spike pit off to Lara's right and deadly hot sand in the brightly lit area behind her. Avoid these.
[Return to the Walkthrough]
Walkthrough text and diagrams copyright © 1998- Stellalune (email ). All TR1 screenshots were made using Glidos and Fraps. Feel free to copy or print this walkthrough for personal use. By all means, share it with friends, but please include this credit line so people can send me their feedback. No part of this walkthrough may be reproduced on another site without permission. As an Amazon Associate I earn from qualifying purchases. Follow this link for details about this site's advertising and privacy policy.
|