Fourth Challenge Tomb - Single-Player Version (Part 1)
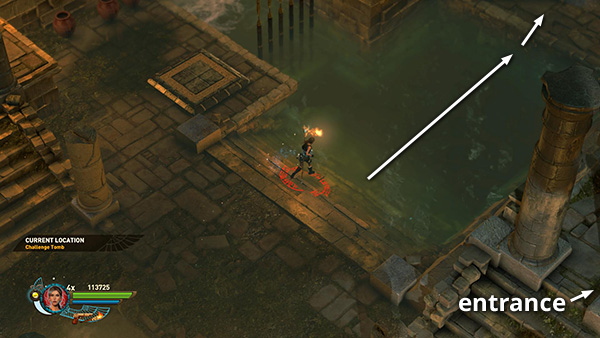
Swim across the pool in the lower corner of the tomb.
There's a crumbling wall here, behind which you can glimpse a time bomb and some goodies. You'll need to use a different bomb to blow up the wall.
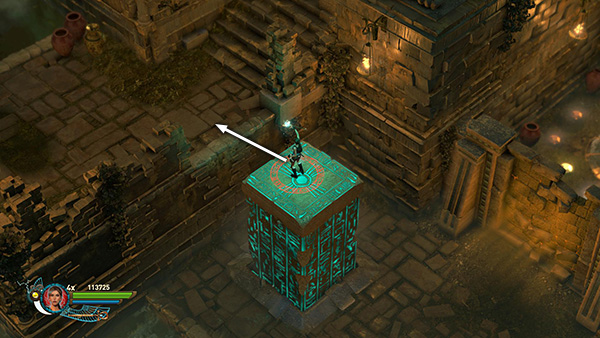
Use the staff to raise the column with Osiris's Glyphs so you can jump onto the ledge on the left.
From there, jump across the narrow channel to the square platform with flowing water on all sides. Move to the lower corner of this platform and jump across the water to the next ledge on the left.
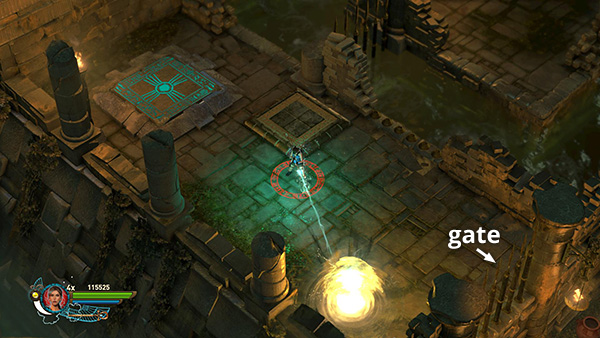
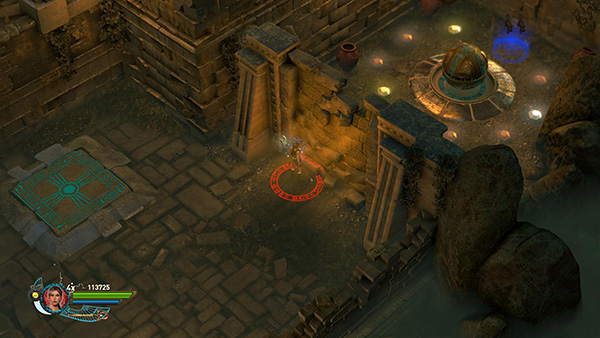
Destroy the Mark of Set to open the gate nearby. (You don't need to go through now, but this will make things easier later when you're moving time bombs around.)
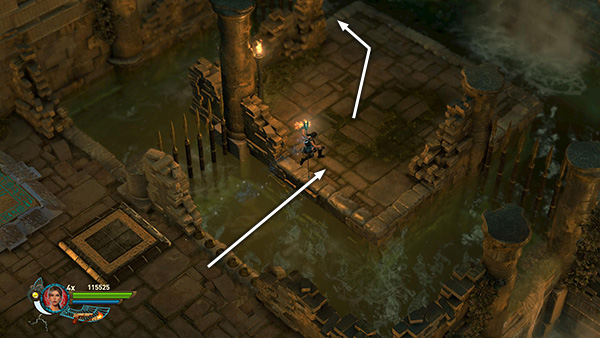
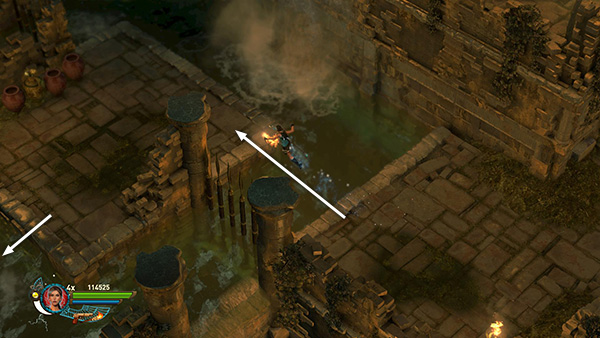
Jump back to the square platform with water on all sides. Move to the upper corner...
...and jump across the water to the next ledge above on the left.

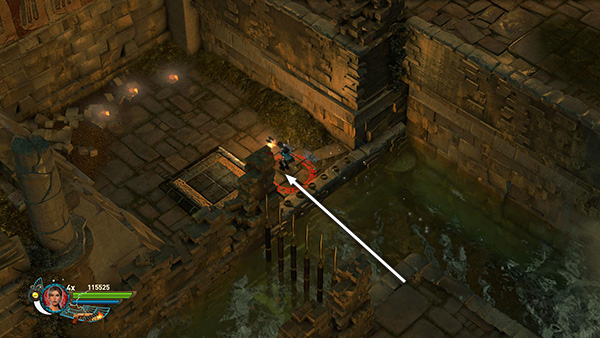
Grapple the golden ring on the wall above, climb up, and jump onto the ledge on the right. (There's another ledge with a crumbling wall to the left of the ring. Ignore it for now as we focus on breaking down the first wall.) Move along the higher ledge...
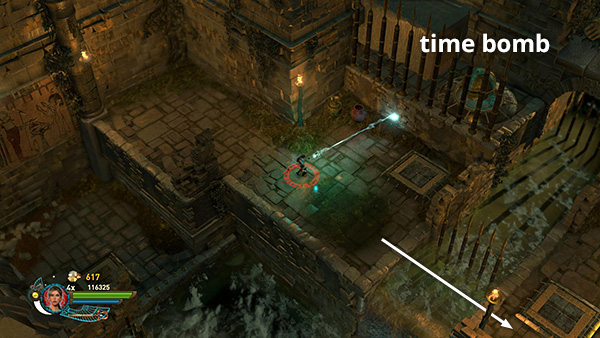
...past the time bomb sitting behind the fence. Jump across the water to the right.
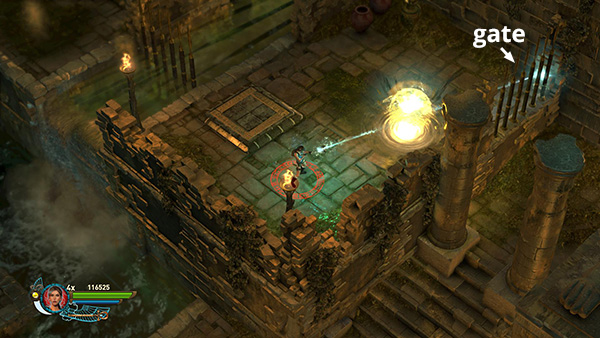
Destroy another Mark of Set to open the gate behind it. (Again, you don't need to go through now, but opening this gate will make it easier to return here from below.)
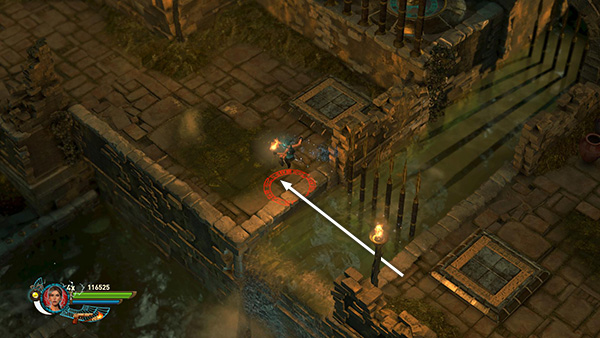
Now jump back across the water to the ledge on the left and get ready to move that bomb.
Copyright © - Stellalune (
). All rights reserved. The screenshots and videos included here were made using Fraps. Feel free to copy or print this walkthrough for personal use. By all means, share it with friends, but please include this credit line so people can send me their feedback. No part of this walkthrough may be reproduced on another site without permission. Follow this link for details about this site's advertising and privacy policy.