Fourth Challenge Tomb - Single-Player Version (Part 3)
After breaking down the wall on the lower level, as shown in part 2, you're now ready to use the second time bomb to destroy the wall in the upper left corner of the tomb.
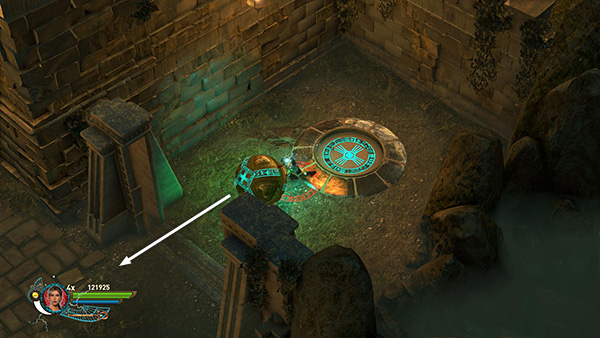
Raise the Staff of Osiris and keep it up throughout the entire sequence to prevent the time bomb from exploding prematurely. Roll the ball out of the room and then push it into the water.
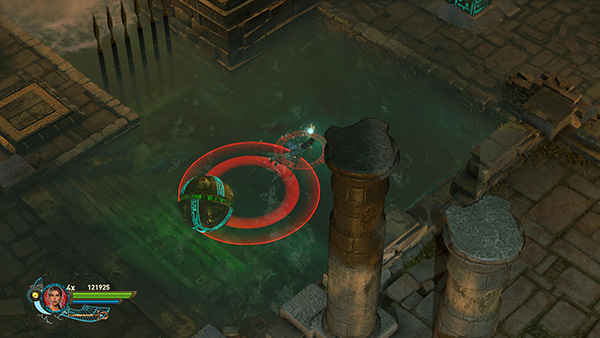
Use remote bombs to push the time bomb across the pool...
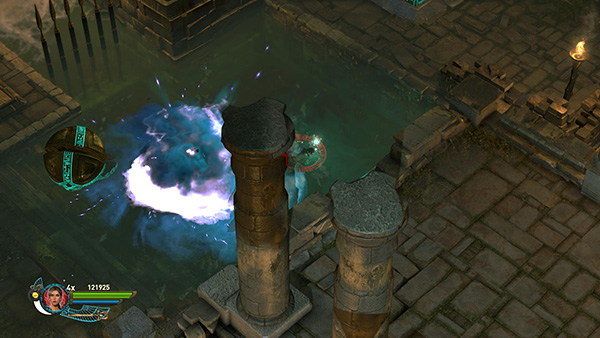
...and onto the opposite ledge.
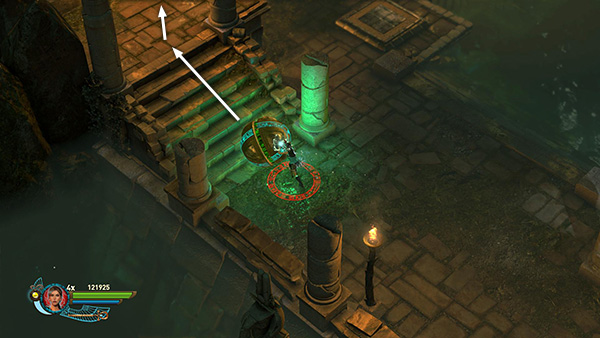
Roll it up the stairs on the left.

Then use another remote bomb to fling it onto the ledge above. (This is where you destroyed one of the Marks of Set earlier to open the gate.)
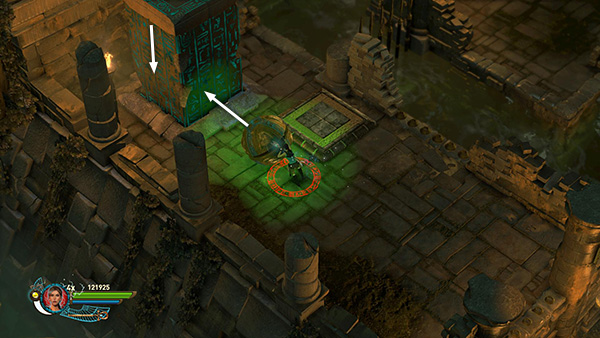
As you approach the column with Osiris's Glyphs, briefly lower the staff to allow the column to sink into the floor so you can roll the bomb onto it.
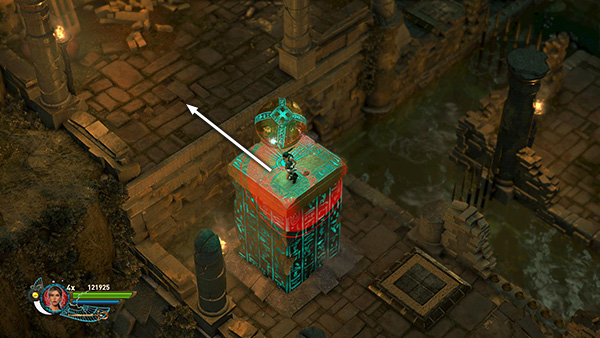
You need to move quickly here. As soon as Lara and the bomb are on the green tile, raise the staff again to extend the column and stop the time bomb from exploding. Then plant another remote bomb behind the time bomb. Jump onto the ledge.
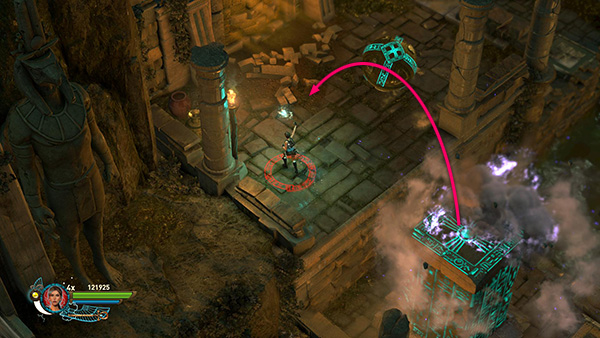
Then detonate the remote bomb to launch the time bomb toward you.
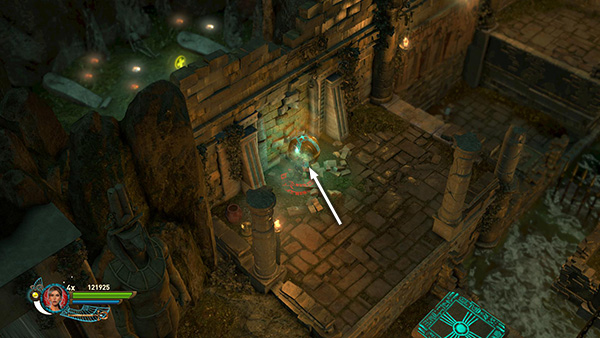
Roll the bomb against the crumbling wall and let it explode. Now you can get the gems and MAX HEALTH UPGRADE in the next room. There are also a pair of sarcophagi that may yield more gems when destroyed.
Copyright © - Stellalune (
). All rights reserved. The screenshots and videos included here were made using Fraps. Feel free to copy or print this walkthrough for personal use. By all means, share it with friends, but please include this credit line so people can send me their feedback. No part of this walkthrough may be reproduced on another site without permission. Follow this link for details about this site's advertising and privacy policy.