Peruvian Jungle – Underworld Gate Challenge Tomb (part 1)
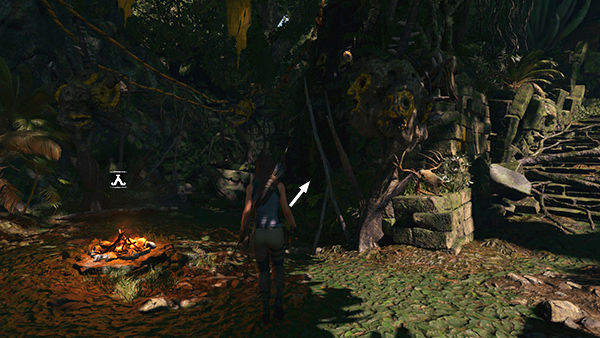
The tomb entrance is close to the Jungle Ruins Base Camp. There are yellow painted totems surrounding the area.
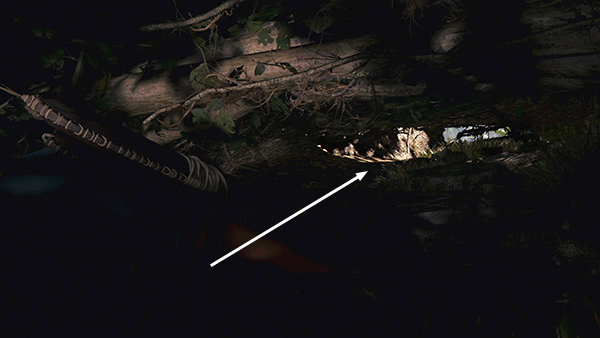
Crawl through the low tunnel to reach the path beyond.
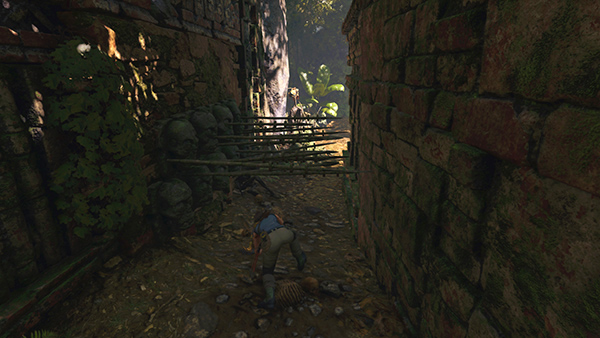
Scramble under a spear trap that has already been triggered.
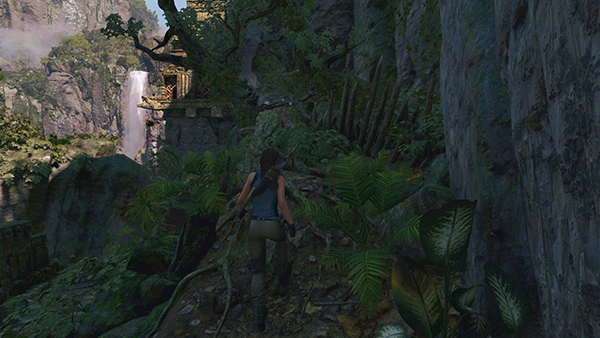
Continue along the path to a deep pit. In order to cross, climb the tree on the left just before the edge.
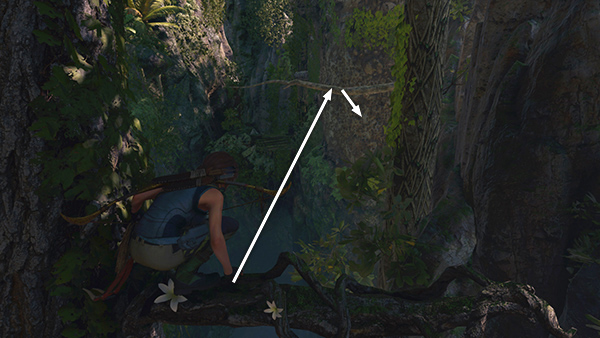
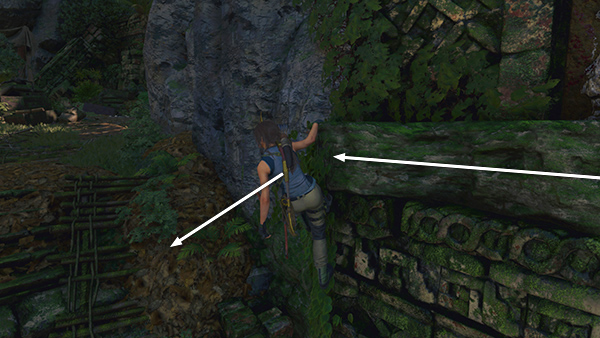
Jump forward to grab the horizontal branch, swing forward, jump, and latch onto the climbable wall.
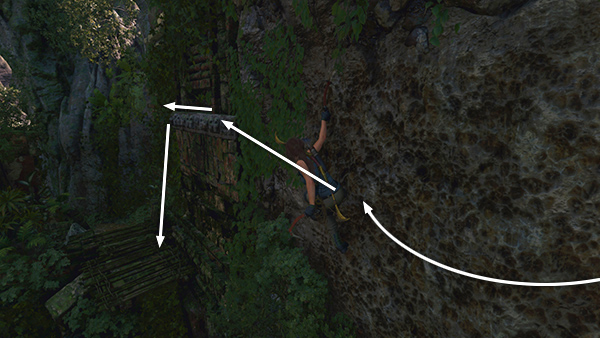
Climb around to the left then jump to grab the narrow stone ledge on the wall ahead. Traverse to the left and drop down onto the wooden ledge on the far side of the pit.
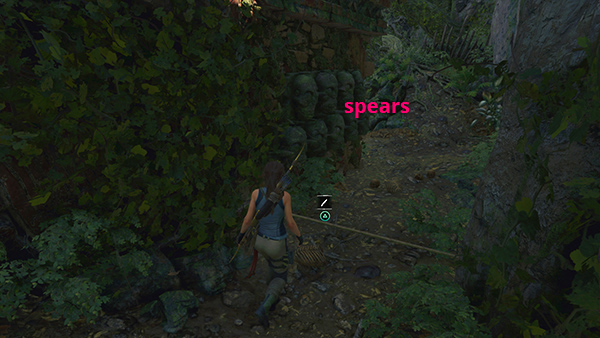
Continue to a spear trap, which you can scramble under or trigger by cutting the tripwire.
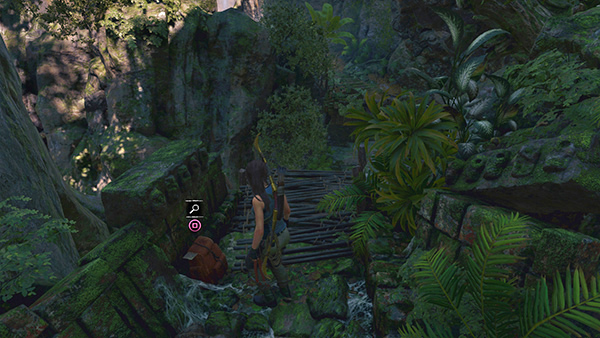
Proceed toward another wooden ledge with a chasm beyond. Just before the ledge on the left is an explorer backpack (2/2). Examine it to reveal a survival cache you haven't found yet. If you missed either of the last two caches, they will be revealed too.
NOTE: Finding the backpack also reveals the location of the level's single treasure chest, back in the first area, near the Plane Wreckage Base Camp. Treasure chests require the LOCKPICK to open, so we'll retrieve later.
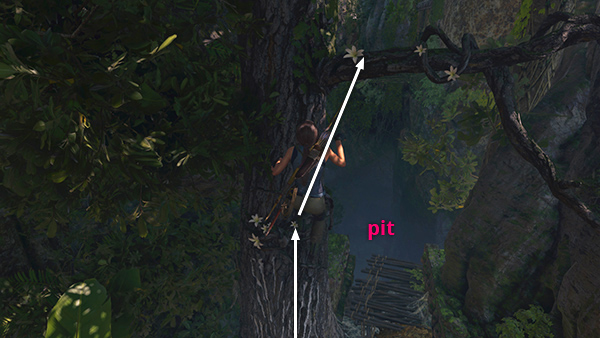
To get across the pit, backtrack a little, turn around, then head up the slope on the right. Walk to the end of the fallen tree trunk and jump onto the branch with the white flowers.
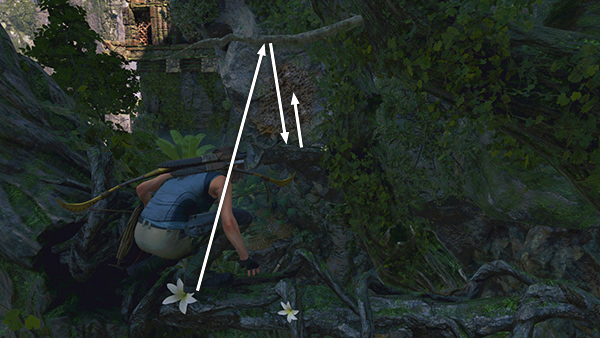
Jump to grab the branch ahead, swing forward, and jump onto another branch with white flowers. Then jump forward and latch onto the climbing wall.
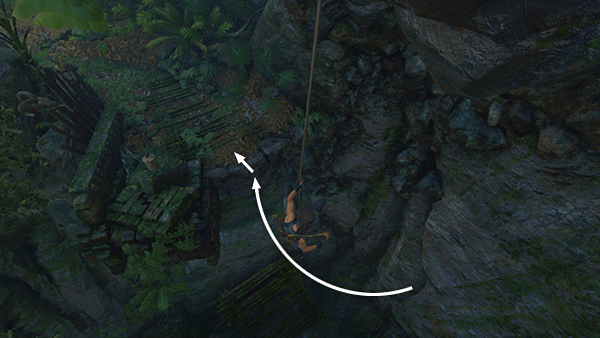
Rappel down so Lara is hanging above the chasm. Swing back and forth to get a little momentum, then jump onto the ledge ahead. Loot the resource canister sitting on the left and continue on.
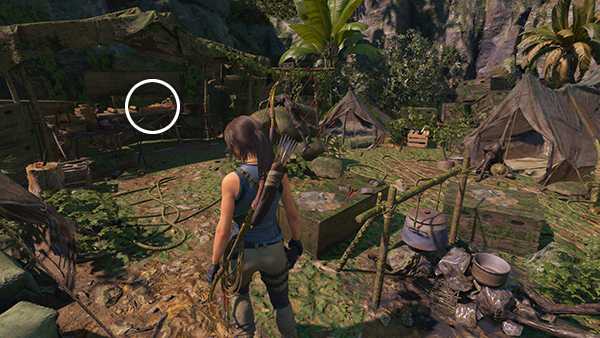
Rifle through this long-abandoned campsite to find various resources and a document (8/13), At the Gate, from the Search for the Hidden City Story.
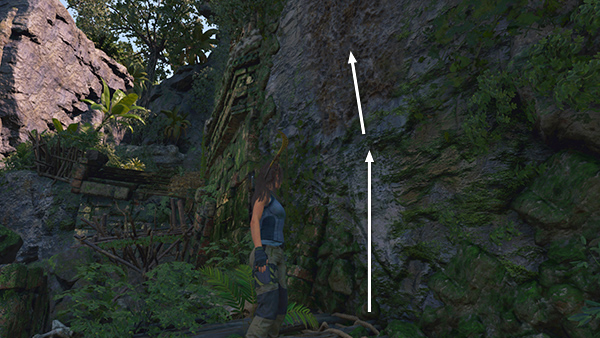
To get across the next gap, scramble up the wall and latch on to the craggy climbing area above.
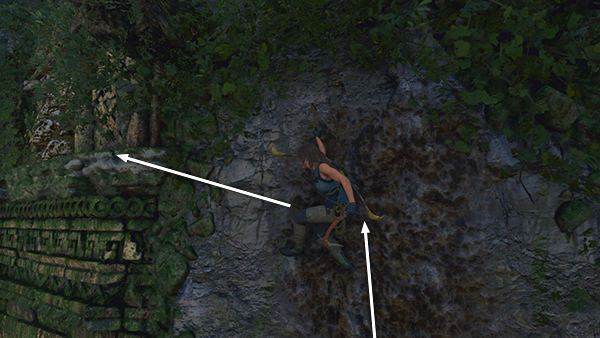
Climb up and to the left. Then jump to grab the carved stone ledge.
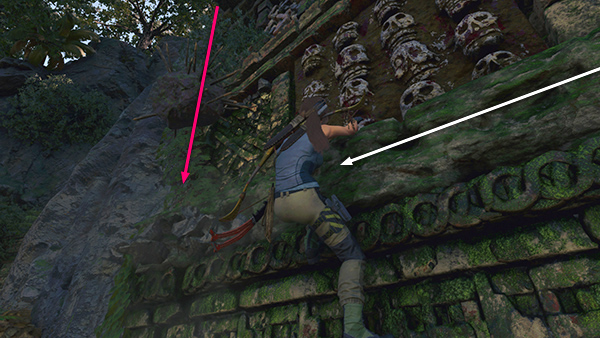
As you climb along to the left beneath the carved skulls, there's a scuffle above and a ball with wooden spikes falls past.
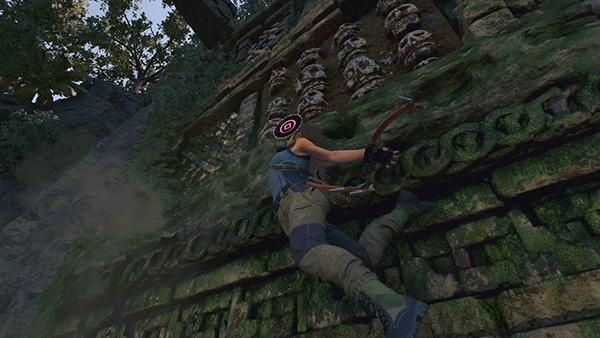
You'll need to press Interact so Lara doesn't lose her grip.
Continue climbing to the left, then jump left to land on the ledge below.
[Next | Challenge Tomb Walkthrough]
Copyright © - Stellalune ( ). All rights reserved. Feel free to copy or print this walkthrough for personal use. By all means, share it with friends, but please include this credit line so people can send me their feedback. No part of this walkthrough may be reproduced on another site without permission. Follow this link for details about this site's advertising and privacy policy.