Kuwaq Yaku – Temple of Light Gate Puzzle (part 2)
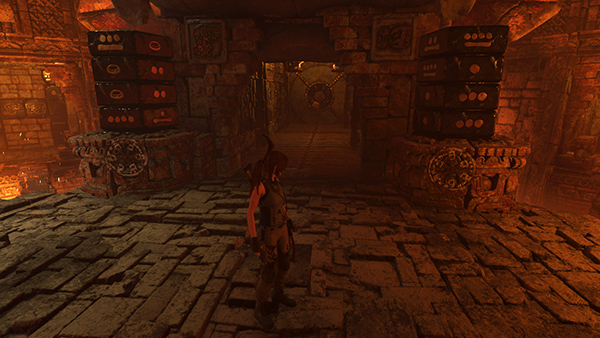
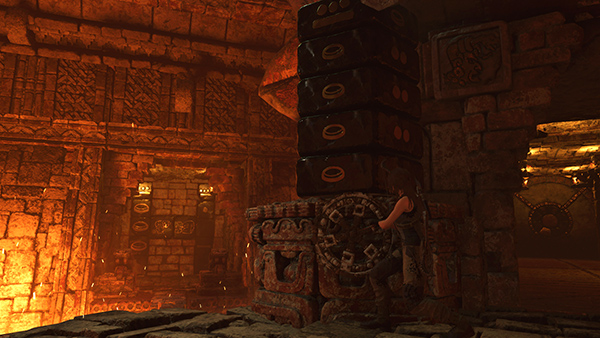
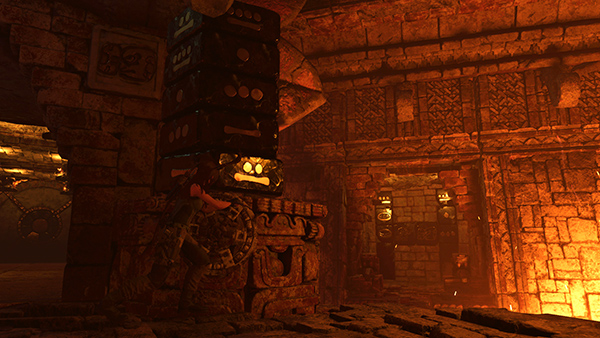
When you return to the central platform, you'll see that the pillars have risen once more, revealing a fourth set of numbers.
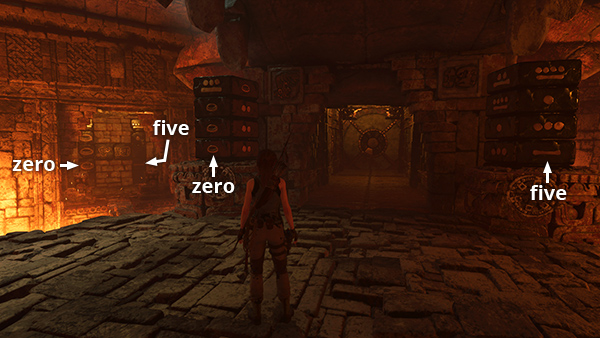
Based on the clues in the side alcoves, you know what to do next. Rotate the left pillar so the fourth number in the stack matches the fourth number in the clue: zero. Rotate the right pillar so the fourth number in the stack matches the fourth number in the clue. It's missing from the clue in the right alcove, but is shown in the left alcove: five.
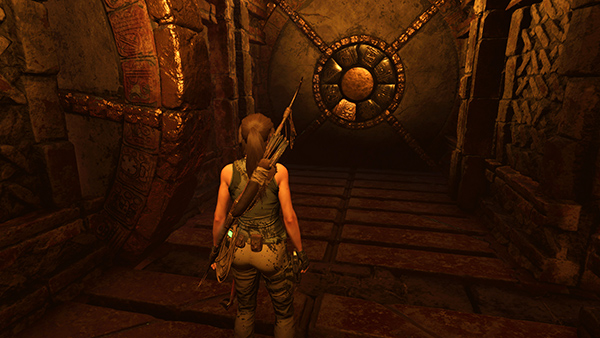
Move into the middle alcove and press the golden tile to reveal yet another door.
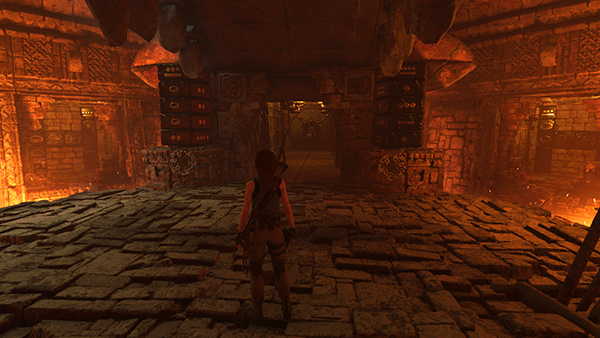
Then return to the central platform to find a fifth set of numbers showing on the pillars.
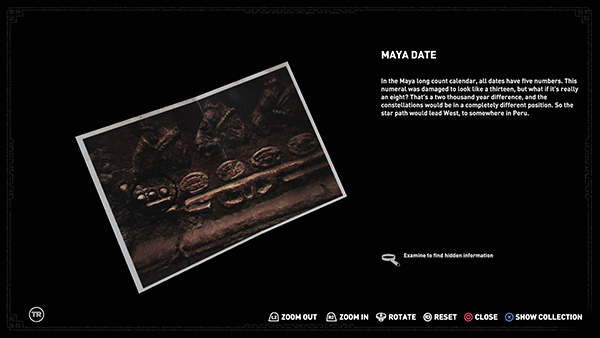
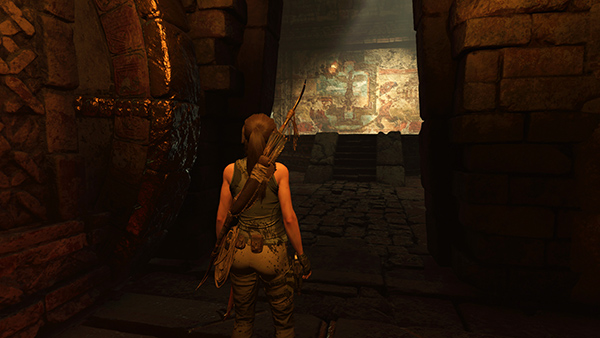
As you go, Lara contacts Jonah on the radio. He says the inscription he found is an incomplete date with a depiction of Chak Chel. Lara then remembers seeing the date on the left referenced in the inscription at Cozumel. Open the Artifacts menu and examine the photo she took in that area. It is Maya Date, from the Path of the Stars Story.

If you zoom in and rotate the photo in the menu (using the controls indicated on-screen), Lara will discover the answer: "The last number on the left pillar is a zero."
Rotate the left pillar so the last number reads zero, completing the sequence.
Lara then asks Jonah for the last number of the date he's found. It's a line with two dots: seven. So rotate the right pillar until the fourth number reads seven.
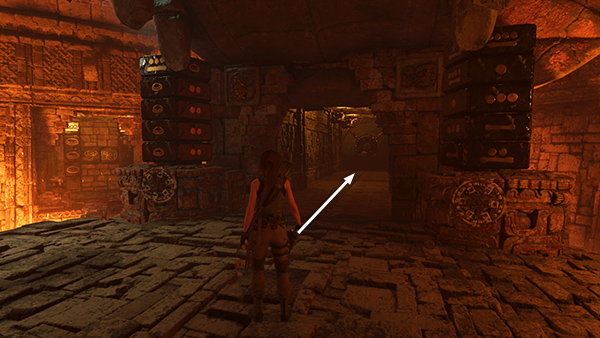
Now you can safely enter the center alcove and press the last golden tile...
...to open the exit.
[Previous |Kuwaq Yaku Walkthrough]
Copyright © - Stellalune ( ). All rights reserved. Feel free to copy or print this walkthrough for personal use. By all means, share it with friends, but please include this credit line so people can send me their feedback. No part of this walkthrough may be reproduced on another site without permission. Follow this link for details about this site's advertising and privacy policy.