The Great Wall - Gauntlet of Traps (Part 1)
This sequence is also shown in a video walkthrough.
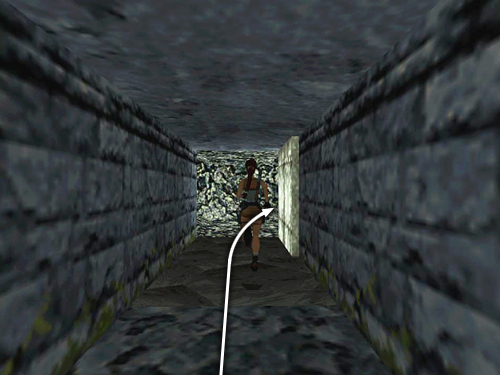
First comes a series of broken floor tiles with deadly spikes below. Run over these without pausing. Then keep running forward and to the right as you enter the wide tunnel ahead.
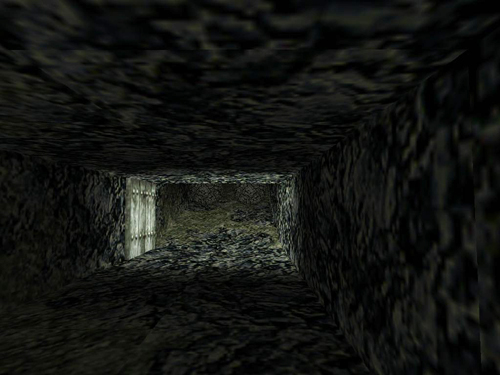
The door to the hallway closes behind you, and a pair of rolling boulders rumbles down from behind you. If the cut scene showing the rolling boulders is disorienting, tap the Look button to get Lara's perspective back.
Continue running, staying fairly close to the left wall as you go.
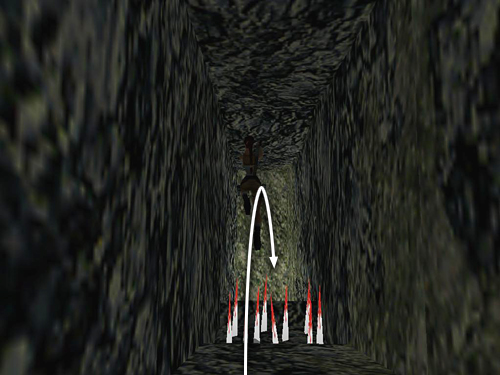
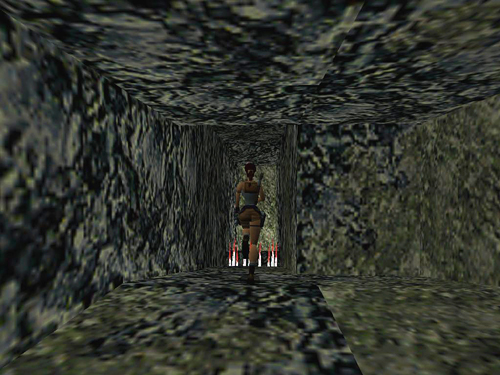
Leap over the spikes. . .
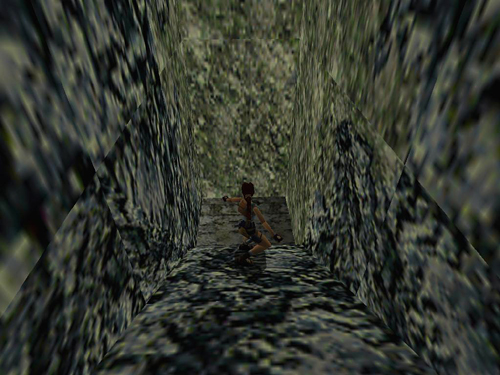
. . . to land on a slide, which will deposit you the room below.
ALTERNATE METHOD:
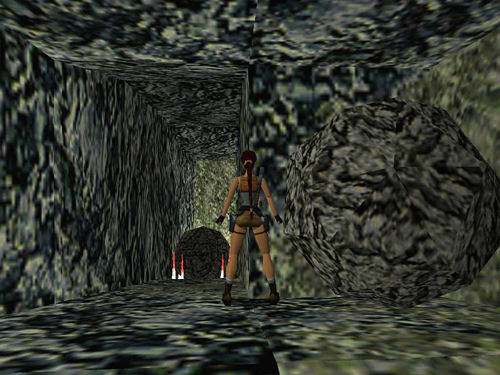
Instead of trying to outrun the boulders, run into the tunnel and position Lara between them as they roll past. I've seen this done several ways but, for me, the easiest is to run down the tunnel and position Lara at the outer corner of the block where the right boulder stops. If she's standing exactly on the seam between the textures, as shown in the screenshot above, Lara should be safe.
You can pivot her 90 degrees in either direction, so both feet are on the seam, if you want to be extra careful.
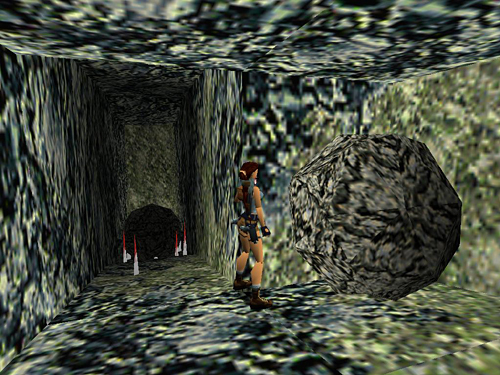
Once the boulders roll to a stop, save the game. Then take a running jump over the left boulder and spikes to land on the slope and slide into the room below.
Copyright © 1998- - Stellalune (). Feel free to copy or print this walkthrough for personal use. By all means, share it with friends, but please include this credit line so people can send me their feedback. No part of this walkthrough may be reproduced on another site without permission. Follow this link for details about this site's advertising and privacy policy.
Stella's Tomb Raider Site: tombraiders.net.