The Great Wall - Gauntlet of Traps (Part 3)
This sequence is also shown in a video walkthrough.
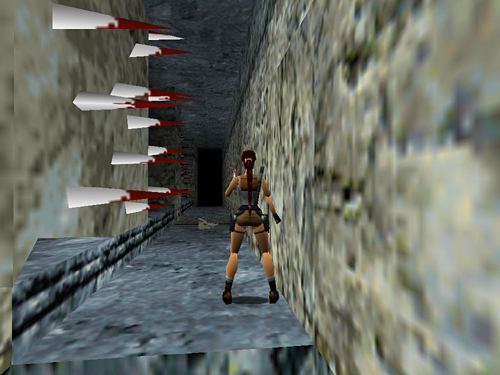
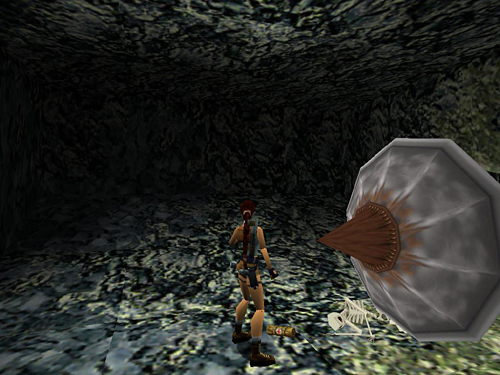
As long as you stay close to the right wall, the spikes moving in from the left won't touch Lara. You can save again if you like and take your time getting to the end of the hall. Just watch out for another concealed spike pit near the skeleton about halfway along.
DO NOT SAVE if you missed the Jade Dragon and want to try again.
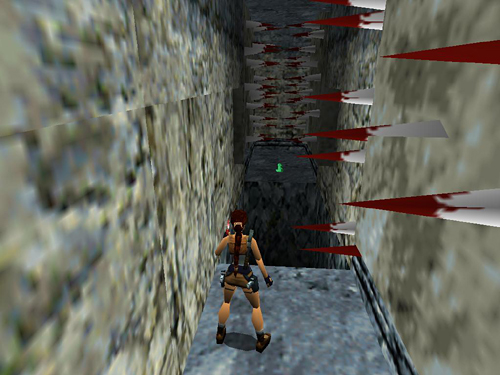
After the spiked walls have converged, you can no longer reach the treasure. You'll have to reload your save from before the slicing blades in order to try again.
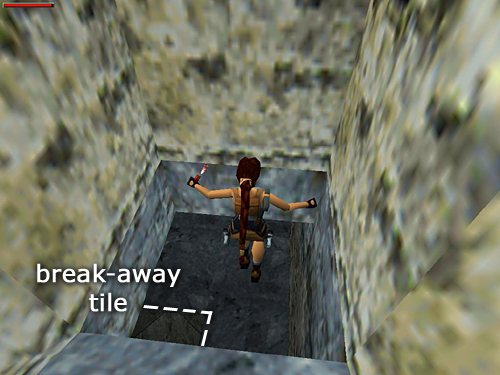
At the end of this hallway, slide down into the next room. The way out is through the breakaway tile, outlined in the screenshot above.
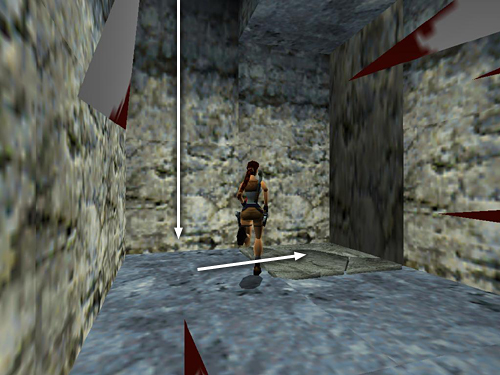
Depending on how Lara lands, either roll to face away from the encroaching spiked wall and run onto the collapsing tile, or run/flip left to land on it. (In the screenshot above, Lara has already rolled, so the tile is on her right, rather than her left.)

Fall through to land safely below. Whew! Now you can save again if you like.
There's a small medi pack lying in front of the huge rolling blades. To grab it without getting hurt, walk toward it, taking care not to get too close. When Lara is about a half-step from the health pack, press Action to pick it up. Then wait for the blades to roll away and run carefully past them.
Copyright © 1998- - Stellalune (). Feel free to copy or print this walkthrough for personal use. By all means, share it with friends, but please include this credit line so people can send me their feedback. No part of this walkthrough may be reproduced on another site without permission. Follow this link for details about this site's advertising and privacy policy.
Stella's Tomb Raider Site: tombraiders.net.