All Hallows - Crawlspace Near Level Start
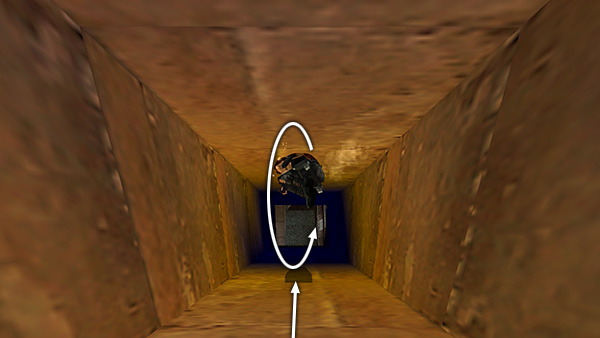
The level begins with Lara sliding down a chute. You don't need to light a flare, but I've done so here to make it easier to see what to do. Immediately jump and roll to face uphill.
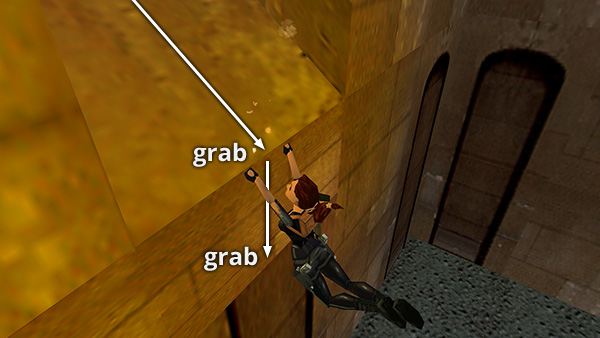
Then hold Action to grab the end of the slide. Let go and quickly press Action again to grab a narrow crevice in the wall below the slide.
- OR -
Alternatively, you can reach this same crevice from below. First, climb onto the tan stone block to the left of the dome (i.e., left when Lara's back is to the entrance chute). Turn right and take a running jump to the flat spot on the dome just to the right of the tall cement pillar. Turn right again and take a running jump to grab the crevice in the wall.
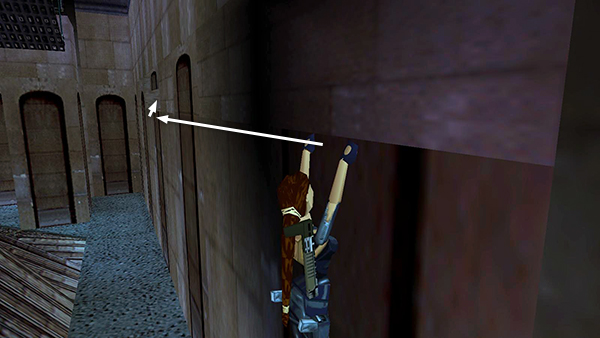
Whichever way you manage to grab on, you now need to traverse to the left along the crevice until you can pull up into a crawlspace.
Then turn around and drop down on the other side.
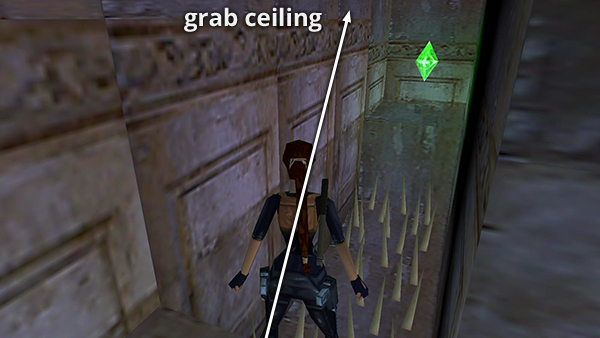
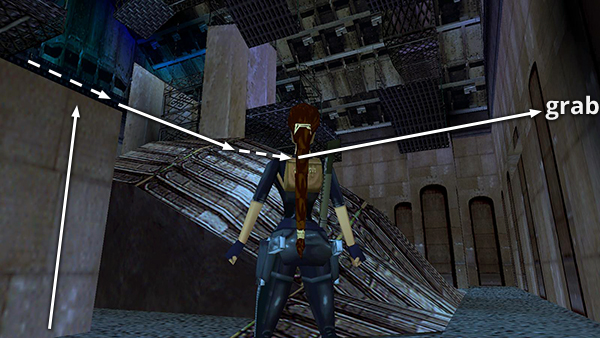
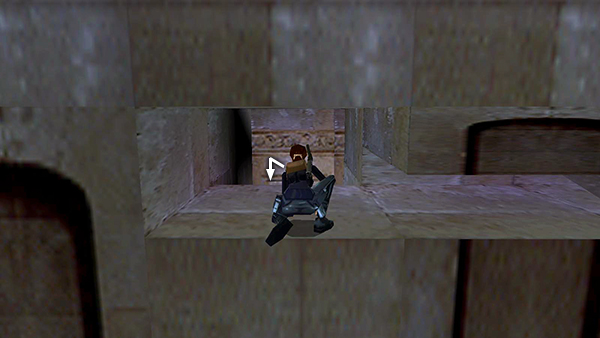
Vault up onto the low block. Just ahead on the right is a spike pit. Stand at the edge and take a standing jump forward to grab the grates on the ceiling.
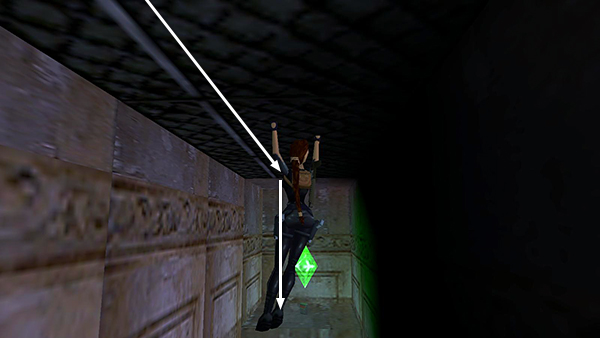
Monkey swing all the way across to the opposite ledge to get a save/power-up crystal and flares.
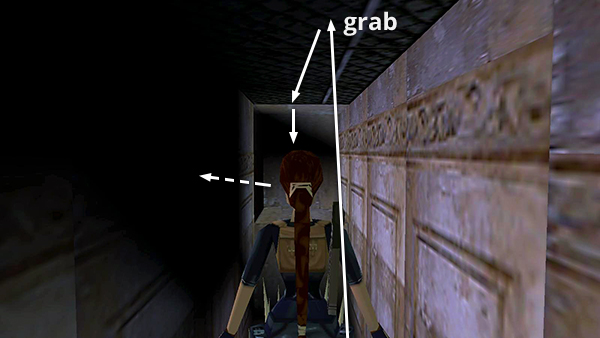
Do the same thing to get back across the spikes—standing jump and grab, monkey swing to the end of the grating, and drop down.

Then climb back through the crawlspace and safety drop to the floor.
Copyright © 1998- - Stellalune (
). All rights reserved. Feel free to copy or print this walkthrough for personal use. By all means, share it with friends, but please include this credit line so people can send me their feedback. No part of this walkthrough may be reproduced on another site without permission. Follow this link for details about this site's advertising and privacy policy.