All Hallows - Cathedral Interior (part 1)
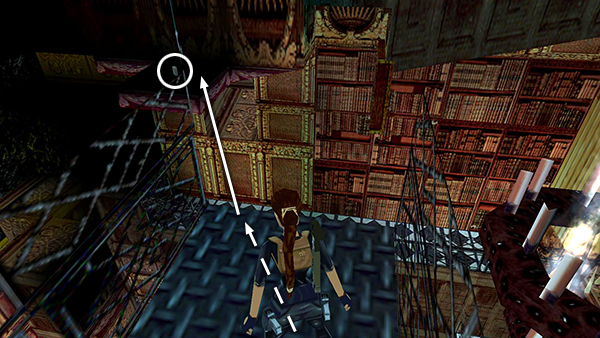
After falling through the ceiling and picking up the large medi pack, turn so the lit chandelier is on Lara's right, then take a running jump to the dark ledge ahead to the left. Pick up the flares.
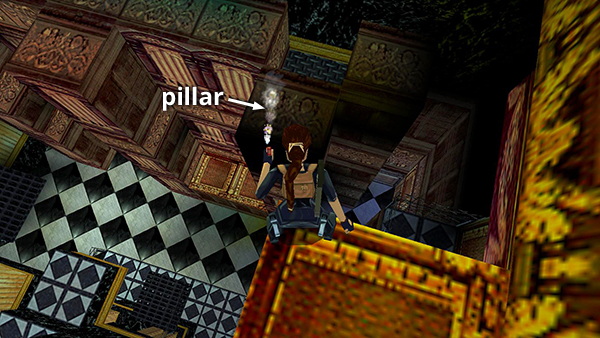
Turn left, walk to the corner of this ledge, and look over the edge to spot a square pillar set forward from the long, rectangular ledge. Angle Lara toward this pillar.
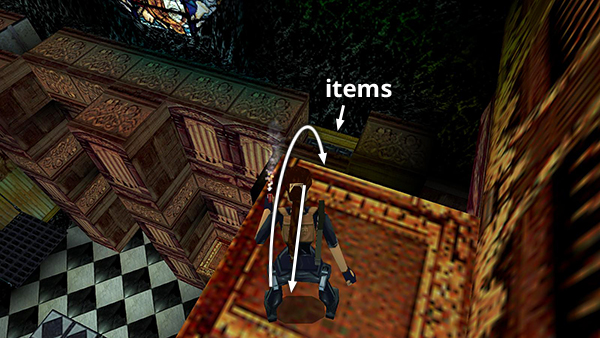
Hop back then take a standing jump to land on it. Drop into the square hole to get Uzi clips and another large medi pack.
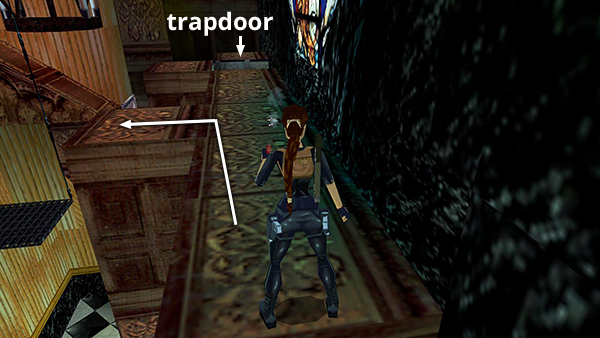
There's another similar hole at the other end of the long ledge. It is blocked by a trapdoor, which you'll open later. Ignore it for now and step out onto the square pillar set forward from the middle of the long ledge.

You're now facing the domed central structure.
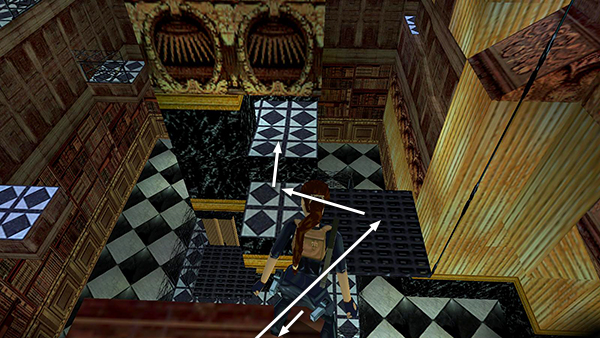
Walk to the outer right corner of the pillar, hop back, and take a standing jump to land on the metal platform suspended below. Take another standing jump to land on the gray-and-white tiled ledge on the right side of the central structure. Then vault up into the slightly angled alcove ahead.
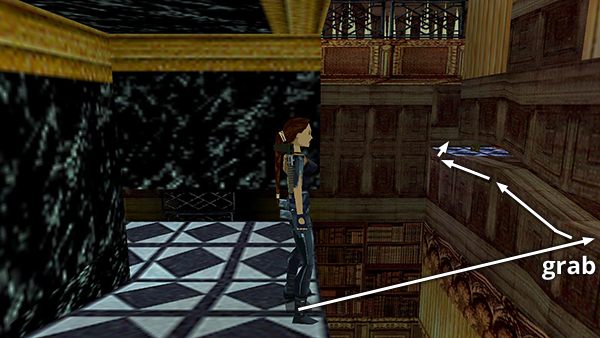
Turn right, walk to the edge, and take a carefully angled standing jump to grab the horizontal crevice on the wall ahead. There's a blast of dramatic music but no real danger. Traverse to the left and pull up into an alcove with a switch.
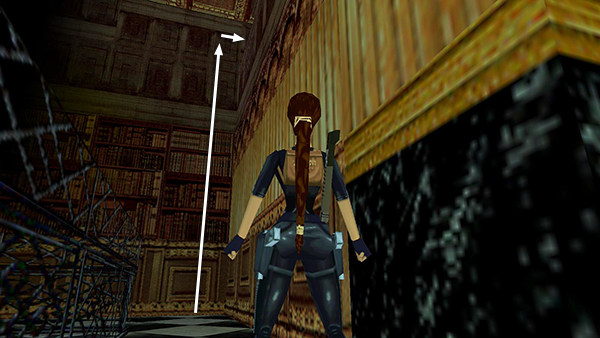
NOTE: If you miss grabbing the crevice but survive the fall, you can climb the wall of bookcases to reach the alcove with the switch.
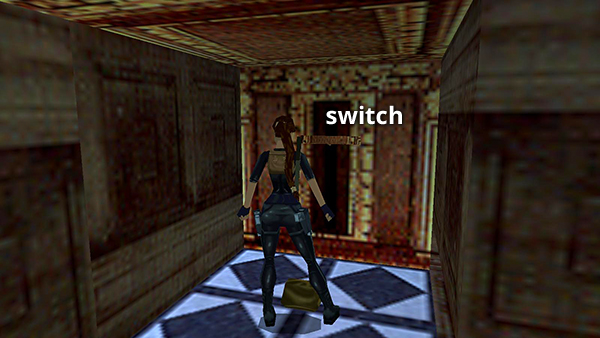
Once you reach the alcove, take the large medi pack and use the switch...
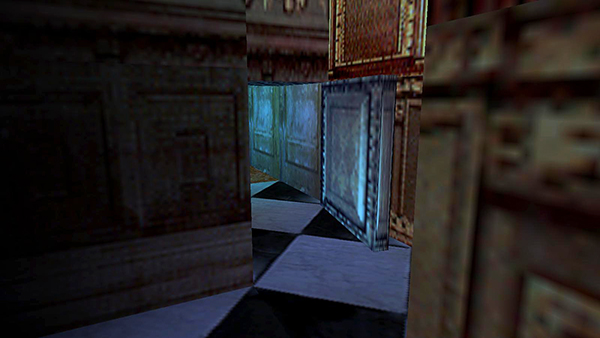
...to open a door down at ground level.
Copyright © 1998- - Stellalune (
). All rights reserved. Feel free to copy or print this walkthrough for personal use. By all means, share it with friends, but please include this credit line so people can send me their feedback. No part of this walkthrough may be reproduced on another site without permission. Follow this link for details about this site's advertising and privacy policy.