Antarctica - RX Tech Compound (part 3)
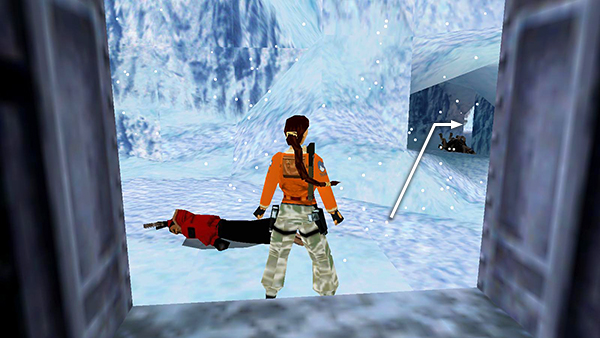 Follow the snowy passageway ahead on the right back to the area with the ELEVATED FUEL TANK.
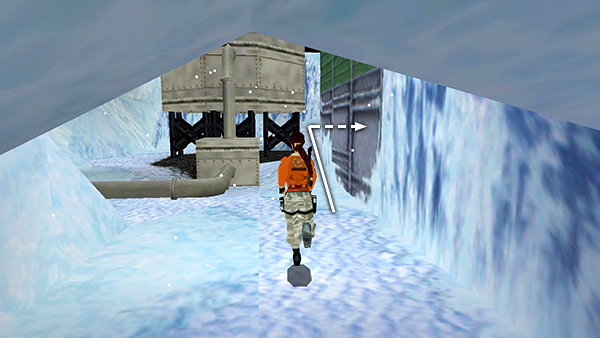
Go around the green building to the right.
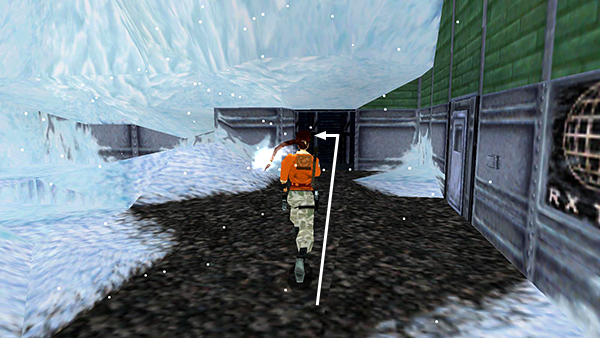
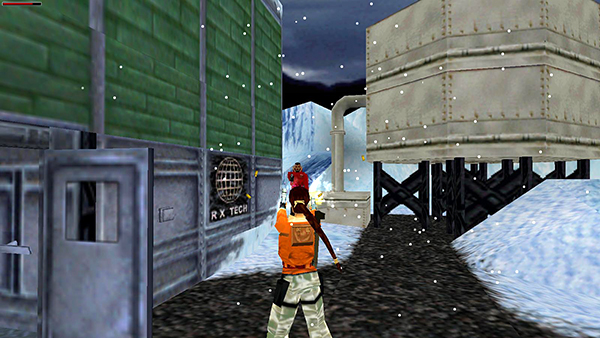
Then go through the dark passageway back to the TOWER WITH THE RX-TECH LOGO.
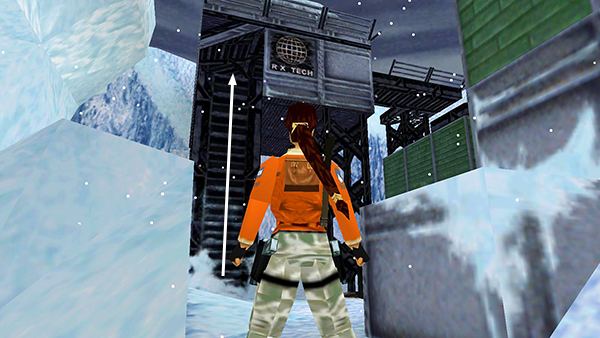
One of the supporting legs is climbable. Climb up into the tower.
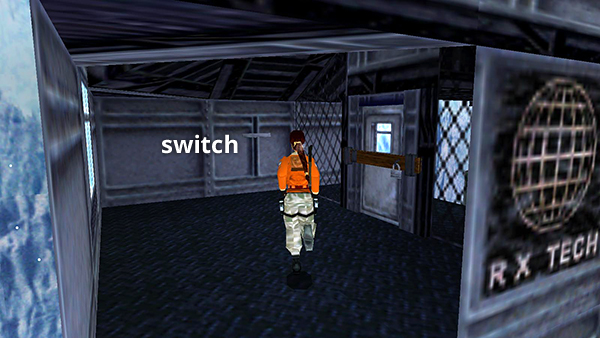
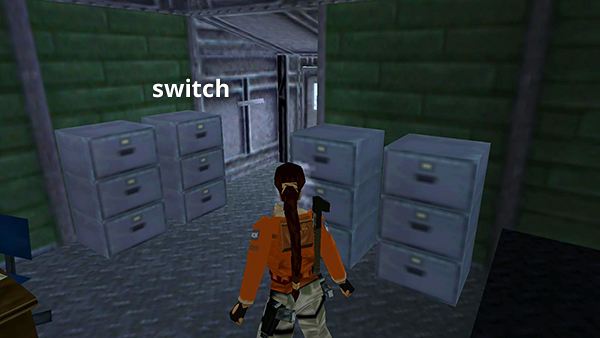
Pull the switch.
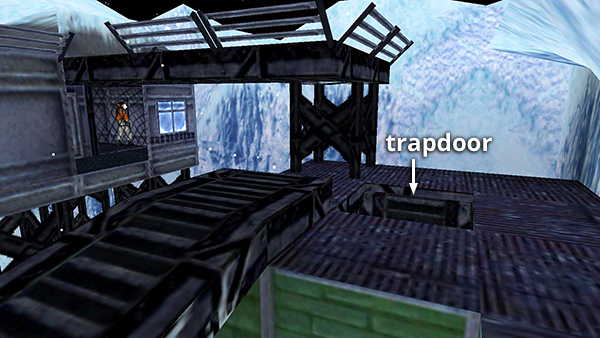
This opens a trapdoor on the roof of the adjacent building.
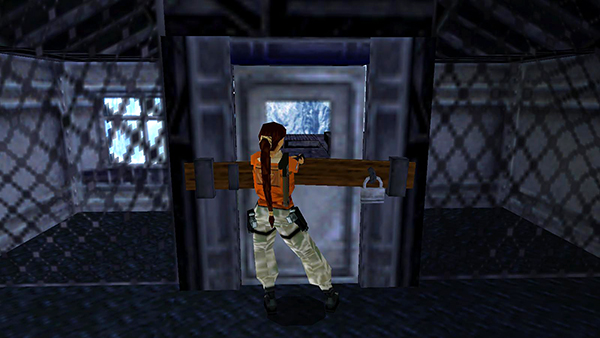
Use the CROWBAR to pry open the padlocked door.

Lara then drops the crowbar, so be sure to pick it up afterward. You'll need it again.

Go through the door and use the monkey bars to swing across to the next roof. Ignore the open trapdoor for now.
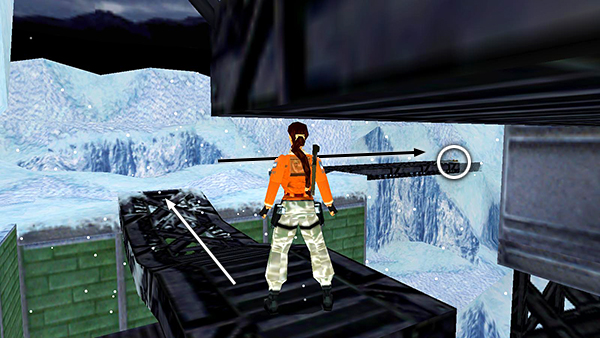
Turn right and follow the metal beams around to the far right. At the end you'll find a small medi pack. (This pickup is not marked on the map.)

Return to the roof with the trapdoor and drop in.

Notice the sign on the wall labeled "FUEL SUPPLY." It shows the proper valve sequence for the generator: red, green, red, green, reading from bottom (fuel tank) to top (generator).
Step down into the lower part of the office and pull the switch to open the exit.
There's yet another guy in a red jacket waiting for you outside on the left, near the FUEL TANK. He's carrying a small medi pack.
NOTE: You don't actually have to look at the FUEL SUPPLY sign in order to proceed. The valves work regardless. However, if you don't do the business with the crowbar and switches and exit through the lower door, this enemy will not appear, so you'll miss you'll miss one kill and pickup.
Copyright © 1998- - Stellalune (
). All rights reserved. Feel free to copy or print this walkthrough for personal use. By all means, share it with friends, but please include this credit line so people can send me their feedback. No part of this walkthrough may be reproduced on another site without permission. Follow this link for details about this site's advertising and privacy policy.