Madubu Gorge -
Caves and Rapids (part 1) - The Two Paths Converge
Includes Left Channel after Second Split
The shortcut and the all-secrets route meet up again in the pool with the green tripwire. The tunnel splits twice between here and the large pool at the end of the run. There is no wrong way to go, since all the tunnels eventually lead to the same place. However, you may want to save the game near the green tripwire in case you want to try different paths.
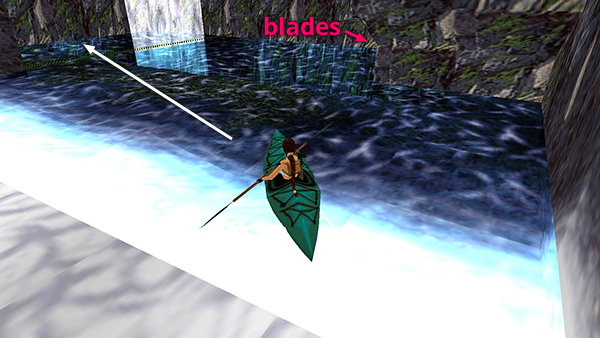
Make sure you go over the green wire to deactivate the blades.
Then continue past them.
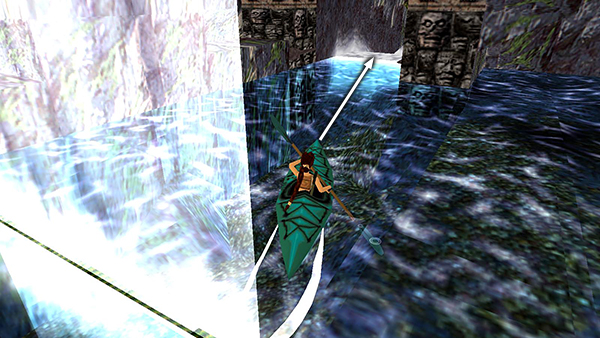
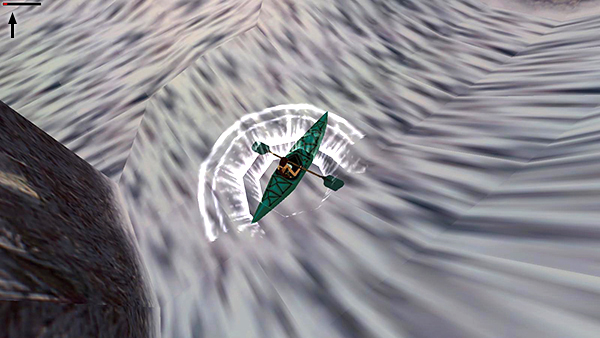
Back paddle as you go over the next small waterfall to minimize the damage from the landing.
At the bottom, the current tries to carry you off to the left. Fight it by paddling hard to the right, into the cave with the dangling, black fronds.
NOTE: If you are swept off to the left, the only thing you'll miss is a single save/power-up crystal. If that's OK, and you have a few health packs to spare, just continue that way. See the main walkthrough for details.
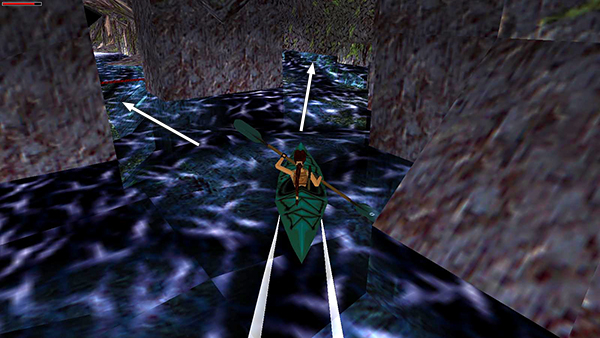
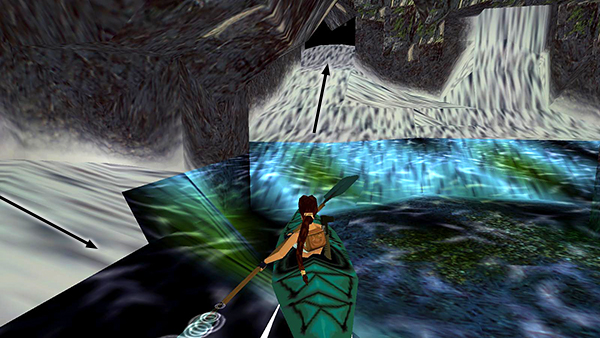
On entering the cave with the black fronds, quickly choose your path (LEFT CHANNEL or RIGHT CHANNEL, below) and back paddle if necessary to get on the side you want. Each has pros and cons. On the left side, you'll probably take more damage, but you can get an extra save/power-up crystal if you play it right.
The screenshots below show the LEFT CHANNEL. For the RIGHT CHANNEL, see Part 2.
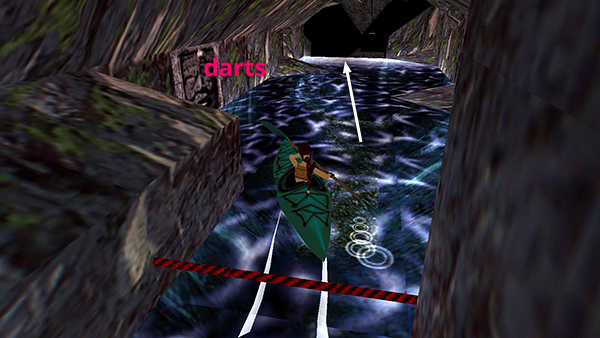
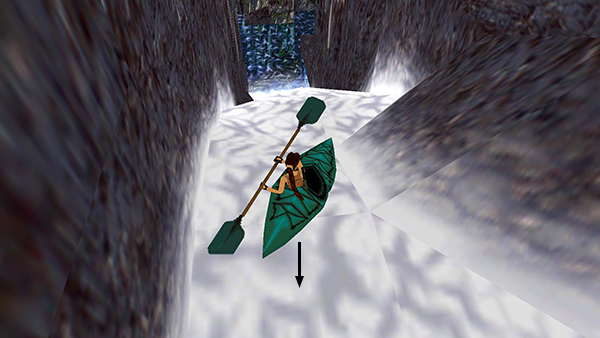
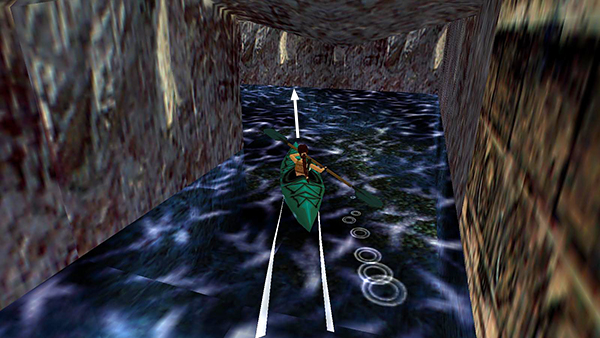
First you'll go over a red tripwire that activates a poisoned dart trap. The darts sail over Lara's head though, so they won't harm her.
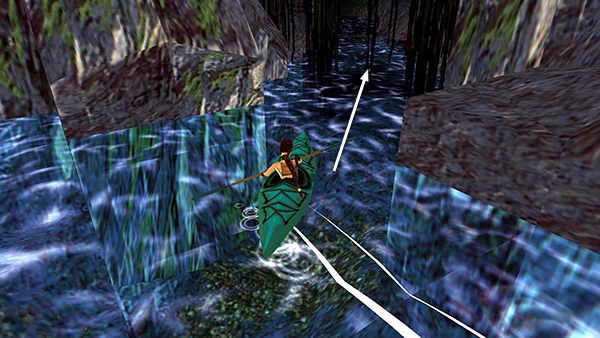
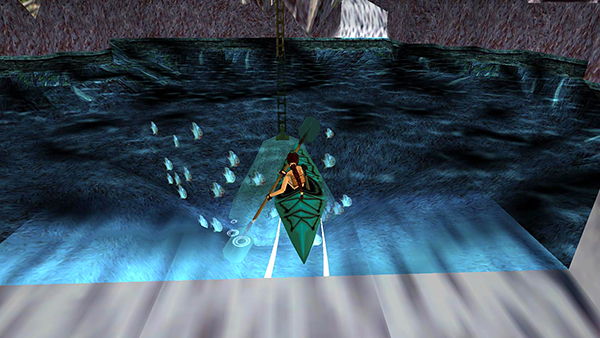
Next, you'll go over a green tripwire...
...which causes a save/power-up crystal to appear on a block just below in the middle of the river. You'll retrieve it shortly.
NOTE: Don't worry if you miss the green wire by going down the right channel. You can't get the crystal right away anyway, and you'll have another chance to trigger the tripwire later on.
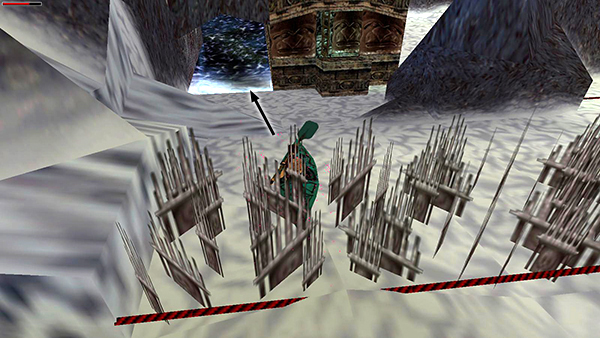
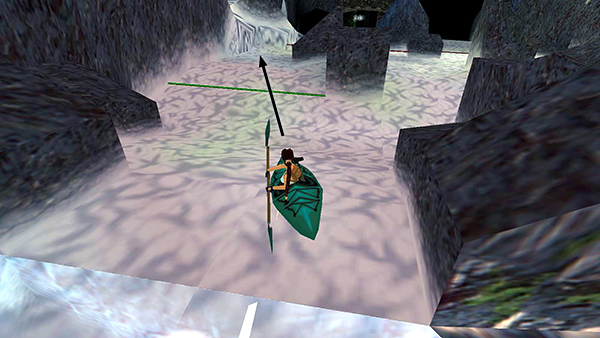
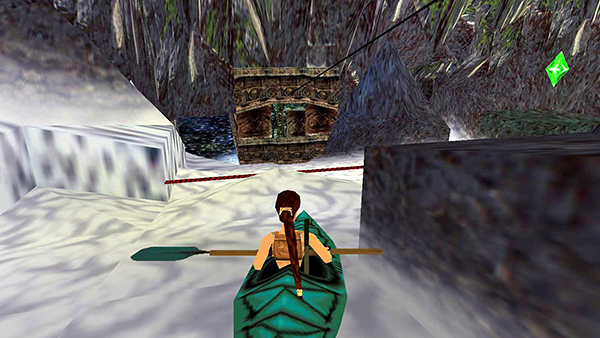
Next comes another red tripwire that raises some spikes. Move through them quickly. Back paddling just prolongs the agony. Then head into the channel to the left of the building with the zip line. (You'll return here later on foot.)
The next hazard is a very high waterfall with a save/power-up crystal floating in the air partway down. Aim for the far (right) side of the channel as you go round the corner approaching the falls.
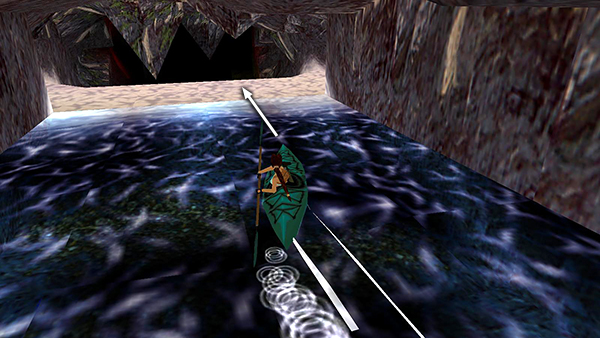
Then paddle turn to the left to straighten out the kayak so the bow is pointing downstream. You can then use a combination of back paddling and steering to the right to aim the kayak just to the right of the middle of the falls.
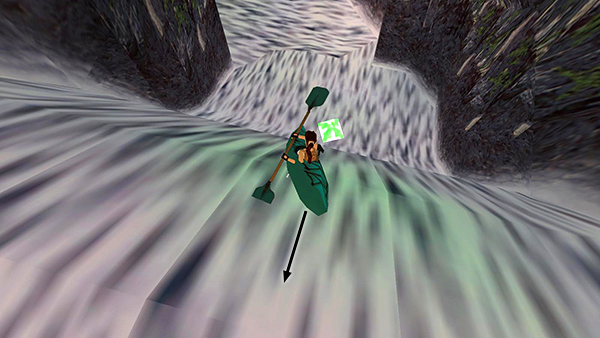
Back paddle like mad as you crest the falls to slow your descent as you slide down through the crystal.
If you lose control of your angle and go over the falls at full speed, make sure Lara's health is at 100%, as she'll take nearly that much damage in the fall.
Once you reach the pool below the big big waterfall, turn left and you'll see smaller twin waterfalls. The one on the right is too steep to climb, but Lara can paddle up the rapids on the left.
At the top is a cavern with a large piranha-infested pool. In the middle is a chain attached to a stone plug. Do not get out of the kayak here or Lara will be devoured. Now continue with Part 3.
[Part 2 - Right Channel | Part 3 |Return to the Madubu Gorge Walkthrough]
Copyright © 1998- - Stellalune ( ). All rights reserved. Feel free to copy or print this walkthrough for personal use. By all means, share it with friends, but please include this credit line so people can send me their feedback. No part of this walkthrough may be reproduced on another site without permission. Follow this link for details about this site's advertising and privacy policy.