Lost City of Tinnos - Water Element Area (part 2)
Obtaining the Oceanic Mask
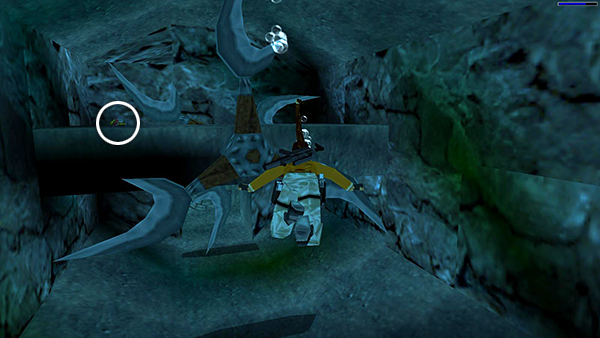
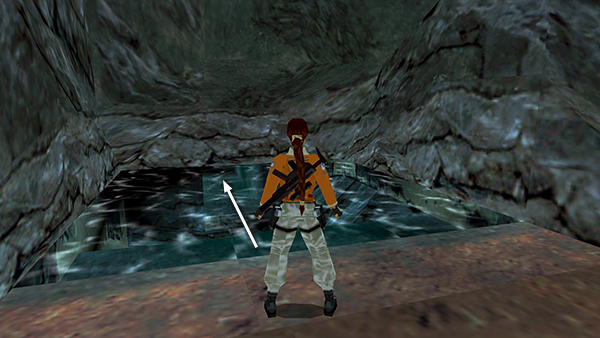
This flooded room has four blade wheels, two on each side of the room, with a horizontal shelf between each set of blades. Carefully retrieve the Desert Eagle clips sitting on one of these shelves. Then return to the air pocket.
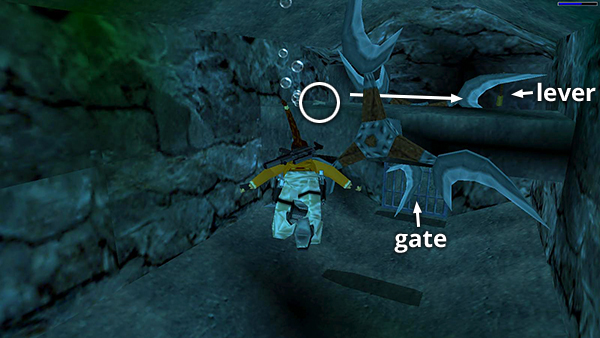
Get the Uzi clips on the other shelf. Then swim along the shelf between the blades to the opposite wall. Turn left, and continue past the second blade wheel into an alcove with another lever. (It's at the top right if you're facing that wall.) Pull the lever to open the gate at the bottom center of the same wall.
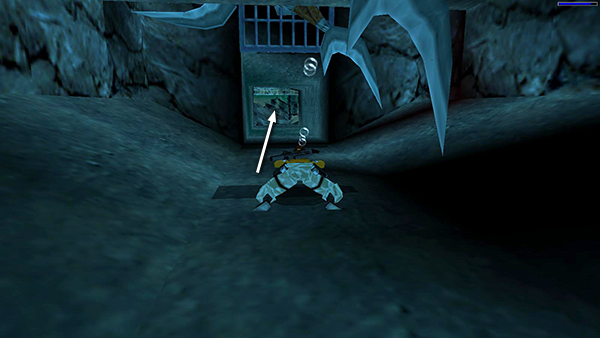
Swim down through the gate.
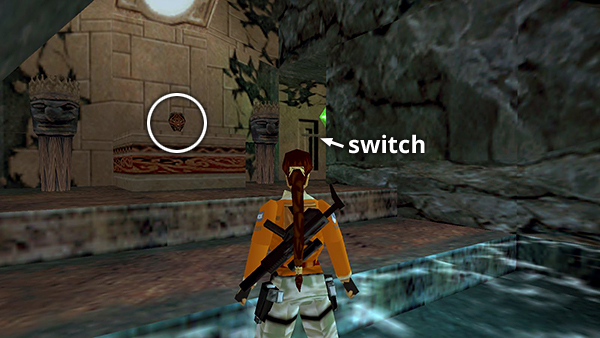
Climb out of the water and claim the THIRD OCEANIC MASK. Get the save/power-up crystal and use the switch in the alcove on the right to open a gate down in the room with the FOUR SQUARE OPENINGS.
Make sure you pick up the mask, since it is possible to leave without it, and you won't be able to get back into the water area again.
Swim back to the previous room.
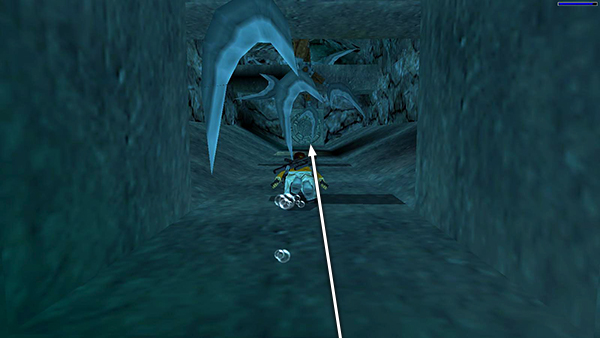
Keep going forward, hugging the bottom to take the least damage from the blades. If necessary, you can head for the air pocket in the ceiling before moving on, but if you have enough air, just continue straight across the room through the opening at the bottom center.
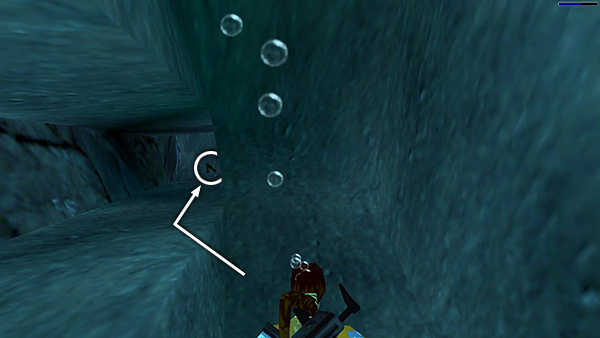
Follow the underwater tunnel to the right...
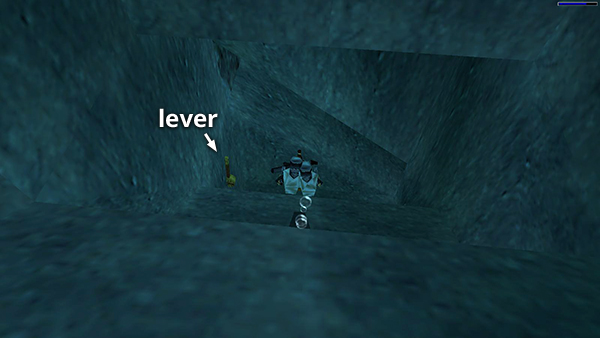
...then down. Pull the lever on the left to open another gate nearby.
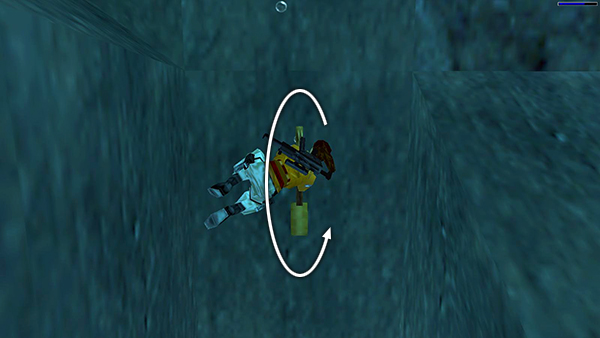
Roll...
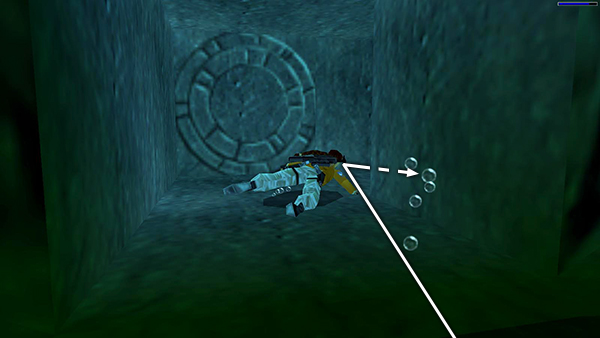
...and continue on through the narrow crevice on the left. Pick up the MP5 clips on the bottom.
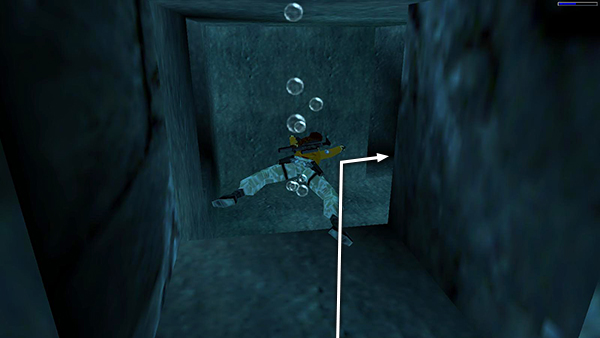
Swim forward, through the gate you just opened. Then turn right.
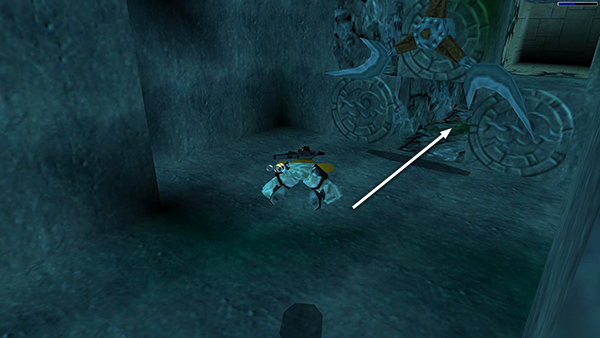
Now you're back in the room with the FOUR SQUARE OPENINGS. Go through the one on the BOTTOM. (You can stop and get air in the top or left opening, but if you're fast you won't need to.)
[Part 1 | Part 3 | Return to the Lost City of Tinnos Walkthrough]
Copyright © 1998- - Stellalune (
). All rights reserved. Feel free to copy or print this walkthrough for personal use. By all means, share it with friends, but please include this credit line so people can send me their feedback. No part of this walkthrough may be reproduced on another site without permission. Follow this link for details about this site's advertising and privacy policy.