Lost City of Tinnos - Room with Four Gates and Three Giant Mutants (part 2)

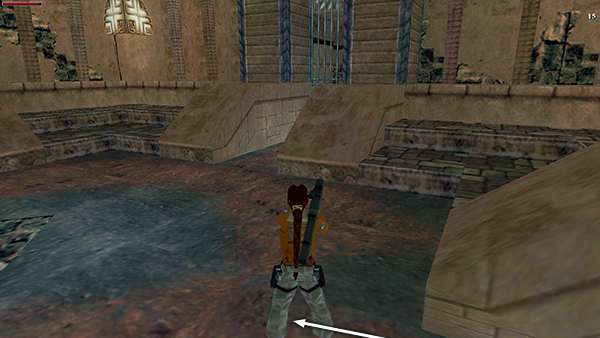
Alternatively, if you've been hoarding rockets, go ahead and use them now. As long as each rocket hits its target, you'll only need 3 of them to destroy each mutant. So step into the room just far enough to open the gate ahead and release the first mutant. As soon as Lara gets a lock on it, fire 3 rockets while jumping straight up and down to avoid its fireballs, same as in the strategy above.
When the first mutant explodes, step out just a little farther, angle Lara to the right and wait for the gate on that side of the room to open, releasing the second mutant.
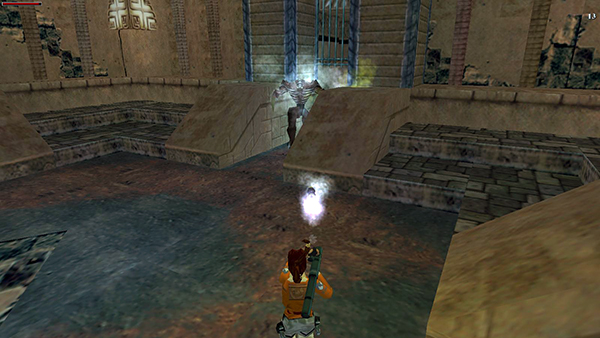
Again, shoot 3 rockets at it while jumping straight up and down.
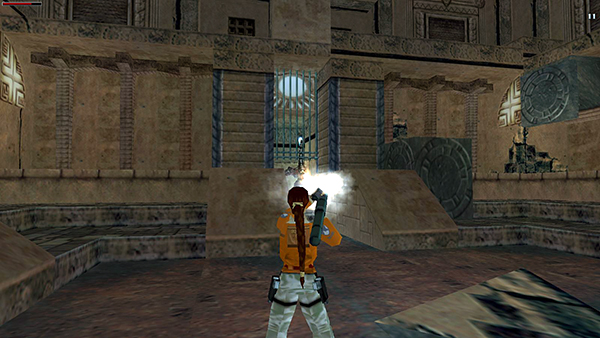
Then advance a little farther out and wait for the left gate to open, releasing the third mutant. Destroy it the same way.
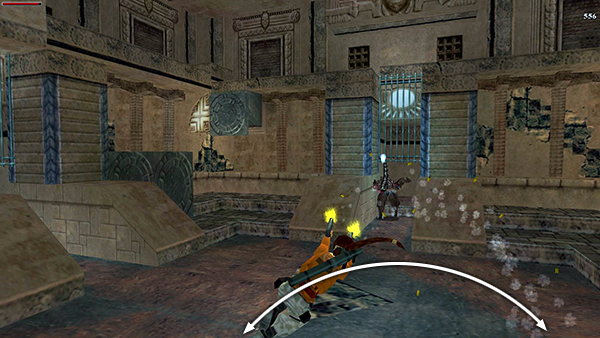
This strategy also works pretty well with the Uzis, but instead of jumping straight up and down, flip side to side and/or back away while firing to evade the mutants.
NOTE: There are only 2 more giant mutants in this level, and these are optional kills. Still, you may want to hang onto a few rockets for them. Again, I recommend saving around 55-60 Desert Eagle rounds for the final boss.
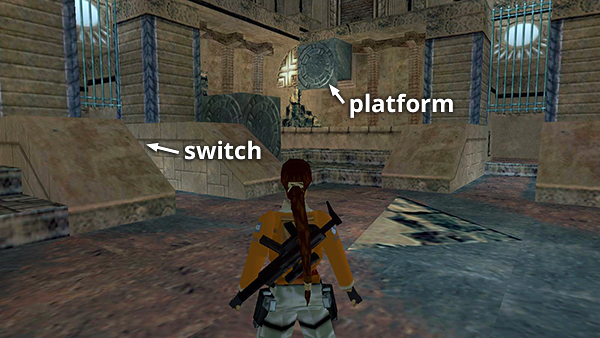
Pull the switch in the left alcove. This raises a platform above the gray stone block in the mutant room.
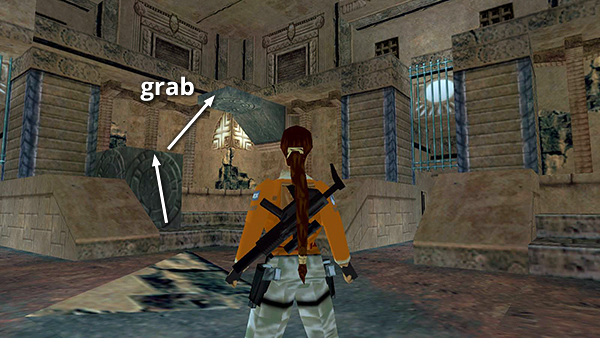
Climb onto the block, jump to grab the ledge, and pull up.
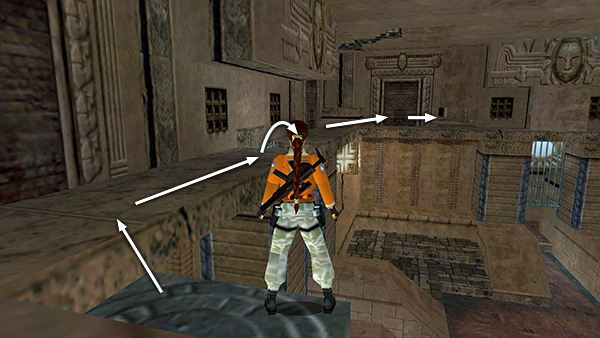
Follow the upper ledges around to the right to a small opening. Crawl through to the next room.
Copyright © 1998- - Stellalune (
). All rights reserved. Feel free to copy or print this walkthrough for personal use. By all means, share it with friends, but please include this credit line so people can send me their feedback. No part of this walkthrough may be reproduced on another site without permission. Follow this link for details about this site's advertising and privacy policy.