Lost City of Tinnos - Secret #3 (part 1)
The following sequence is also shown in a short video walkthrough.
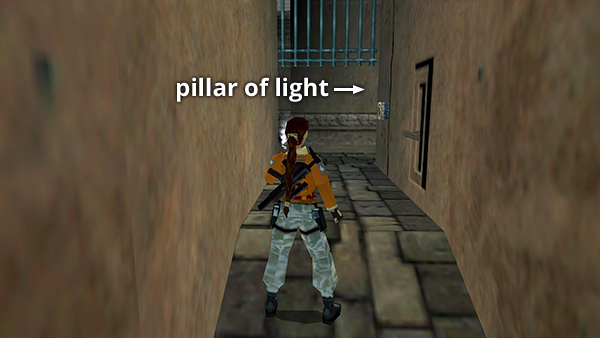
The final secret in the game is quite challenging. Before starting out, you'll probably want to make sure you've opened the gate between the ROOM WITH SHALLOW POOLS and the PILLAR OF LIGHT, as shown above and in the previous section. This will clear the way for the timed run ahead.
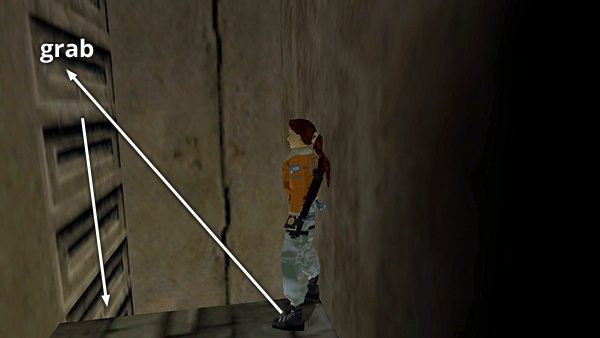
Then you'll need to return to the top of the ROOM WITH THE SWITCHES AND HINGED LEDGES. To get back there, jump to grab the ladder and climb back down.
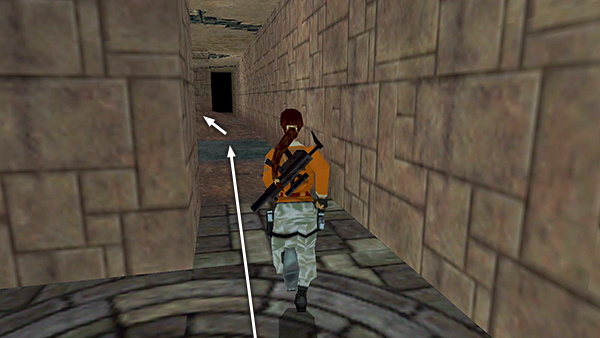
Go through the ROOM WITH SHALLOW POOLS...

...and out the middle right doorway on the far side of the room.
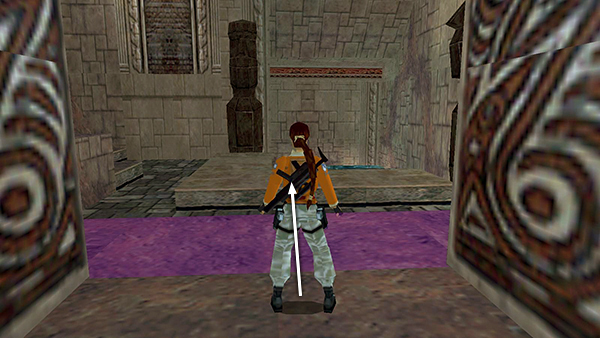
Again, if you haven't triggered the wasp swarm in the ROOM WITH SWITCHES AND HINGED LEDGES, you may want to jump over the threshold to avoid doing so.
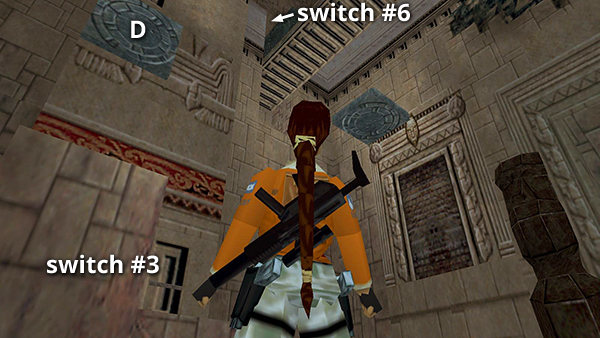
Now you're headed for switch #6 at the left end of the walkway high above.
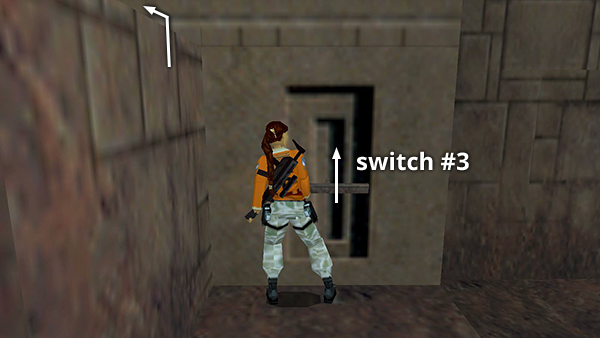
Start by pulling switch #3, on the lower level, to raise ledge D, above. Climb onto the block to the left of switch #3.
Walk to the edge and take a standing jump to grab the rectangular stone ledge ahead. Pull up.
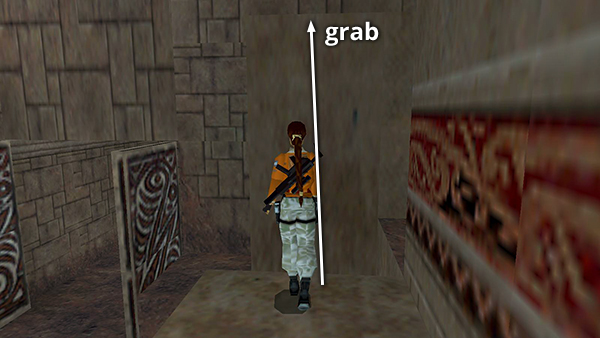
Turn around and take another standing jump to grab ledge D, near switch #4, and pull up. Do not pull switch #4 this time.
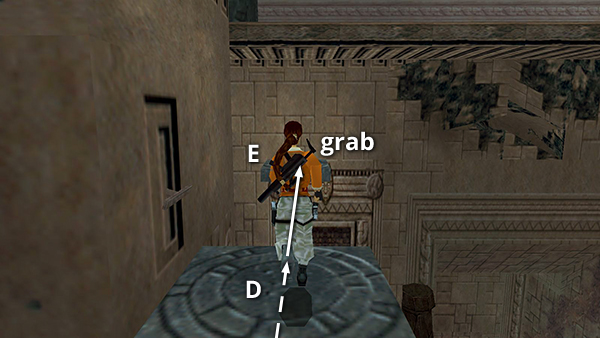
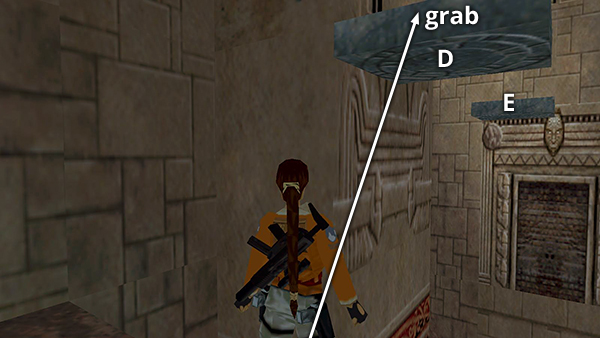
Instead take a running jump to grab ledge E, directly ahead. Pull up.
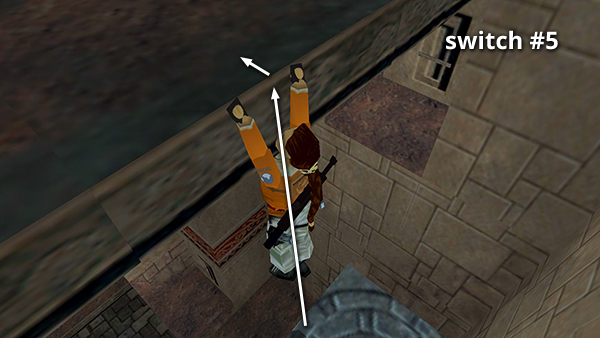
Turn around, and jump straight up to grab the walkway above. Pull up once more.
Copyright © 1998- - Stellalune (
). All rights reserved. Feel free to copy or print this walkthrough for personal use. By all means, share it with friends, but please include this credit line so people can send me their feedback. No part of this walkthrough may be reproduced on another site without permission. Follow this link for details about this site's advertising and privacy policy.