Tomb of Seth - Secrets #4 and #5 (part 1)
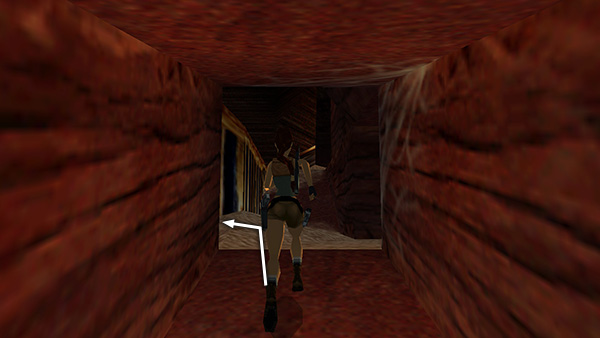
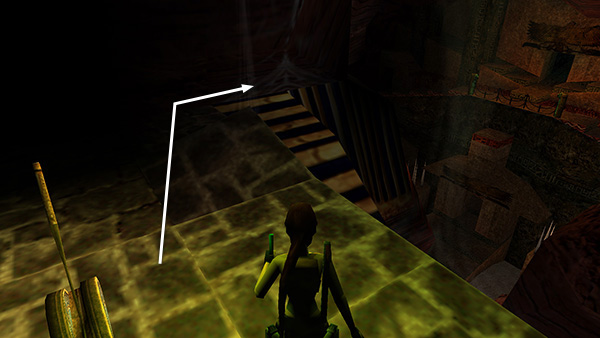
After using the TIMELESS SANDS to open the level exit, as described in the main walkthrough, exit the SANDS ROOM and return to the SPHINX CAVERN. Turn left, as shown here. (Going right would lead you back around to the front of the sphinx.)
- OR -
If you've already wandered around a bit and found yourself back in front of the sphinx, head for the back left corner of the cavern, when facing the sphinx, as shown here.
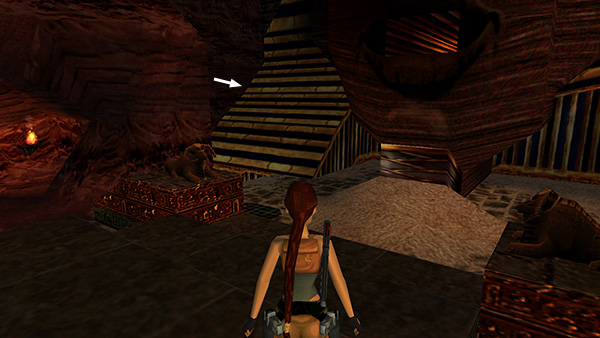
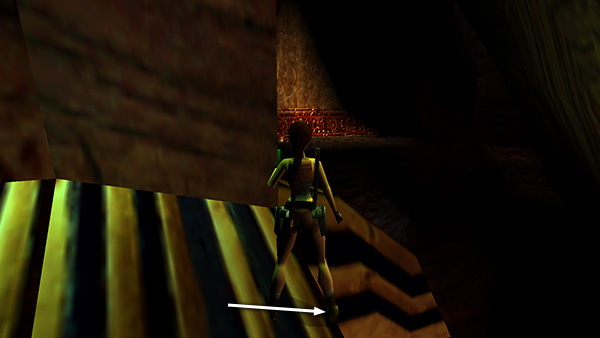
Go forward between the stone cavern wall and the lapis-and-gold edge of the sphinx's headdress toward the southwest corner of the cavern. Climb onto the low block directly ahead.

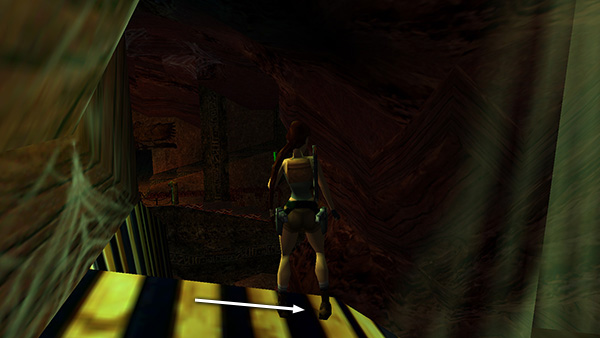
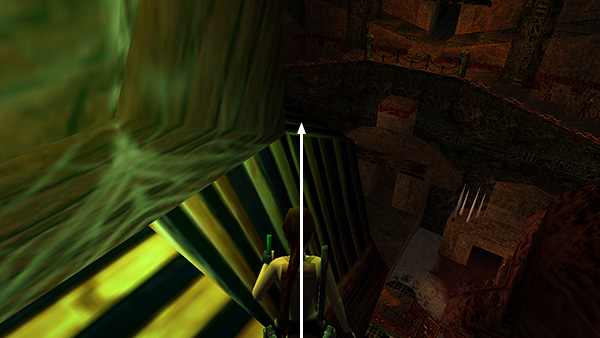
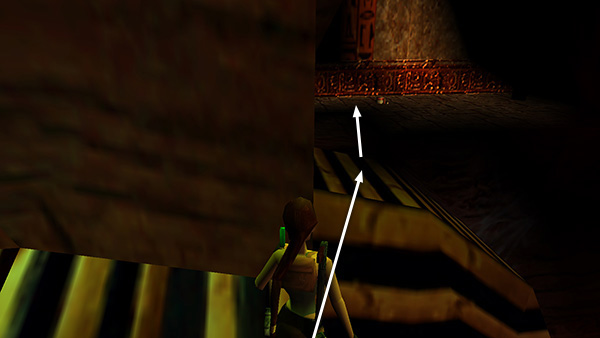
On the right is secret #5, a small alcove barred by a gate, which you'll need to open. Scale the climbable wall next to the gate...
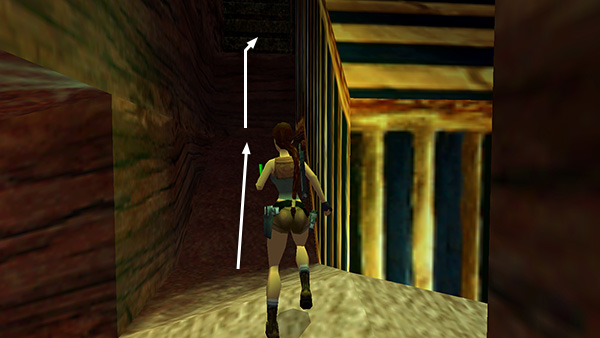
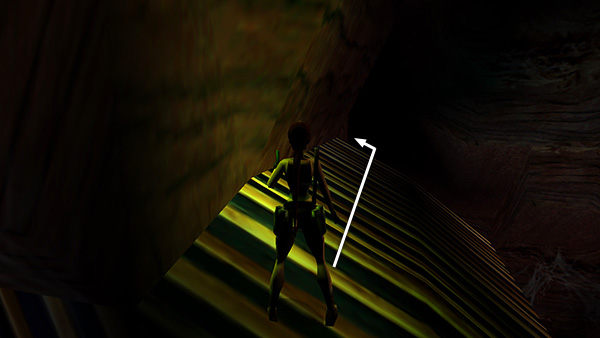
...to reach the ledge high above.
Push the lever forward to open the gate below. Before descending, go after another secret. Walk out onto the lapis-and-gold ledge that forms part of the sphinx's headdress.
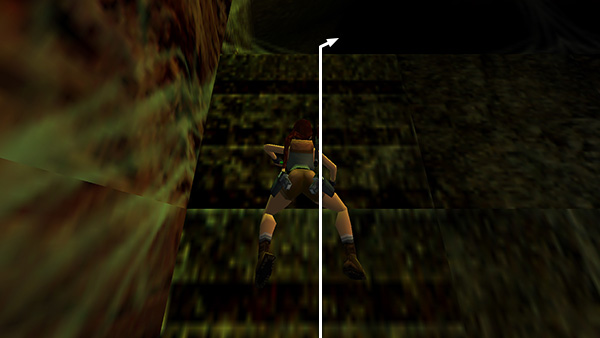
Walk to the edge, sidestep to the right...
...and then turn a bit to the left to face the ledge where the headdress protrudes above the sphinx's face. Take a standing jump to land there.
Walk across the crown of the headdress to the opposite side and turn left.
Again, carefully angle Lara so she's facing the flat spot on the side of the headdress. Sidestep to the right so Lara's right foot is at the edge. Then adjust her angle if necessary...
...and take a standing jump to land on that flat spot. Then walk onto the stone ledge beyond.
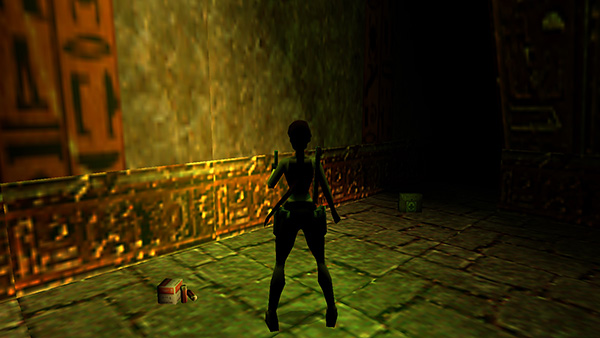
This is SECRET #4 (12/70): shotgun shells and a large medipack.
Copyright © 1999- - Stellalune ( ). All rights reserved. Feel free to copy or print this walkthrough for personal use. By all means, share it with friends, but please include this credit line so people can send me their feedback. No part of this walkthrough may be reproduced on another site without permission. Follow this link for details about this site's advertising and privacy policy.