Times Exclusive Level - First Treasure Room and Secret #2
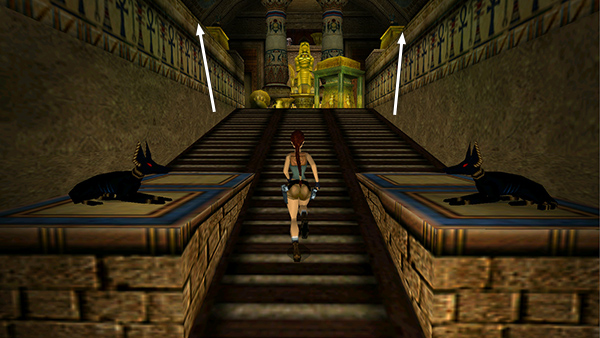
The jackals on either side of the entrance look suspicious, but they don't come to life...yet. Run up the ramp about halfway. Then climb onto either of the side walls.
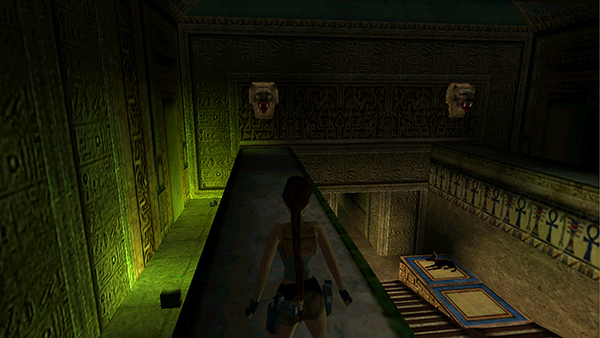
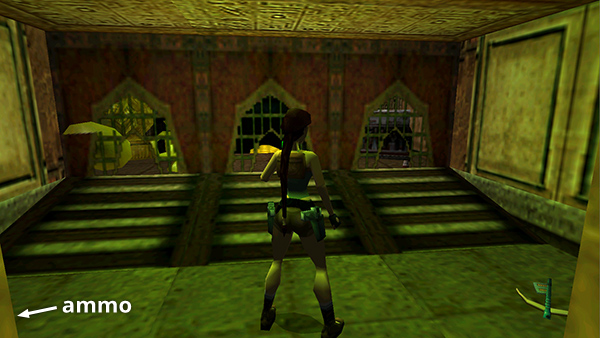
In the low, dark areas behind these side walls, you'll find a large medipack, wideshot shells...
...a small medipack, and normal arrows for the CROSSBOW, which you don't have yet.
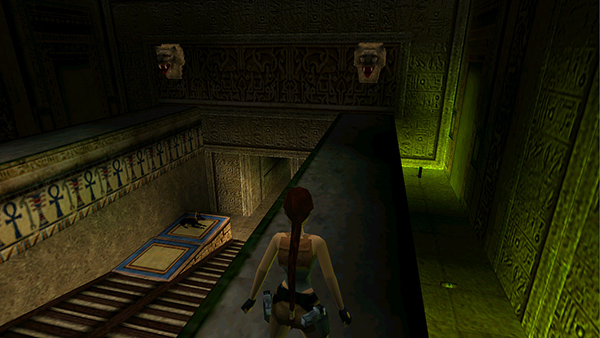
Now shoot the 2 lion head decorations mounted on the south wall above the entrance.
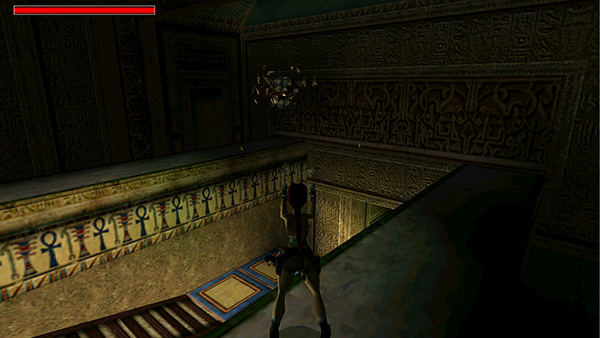
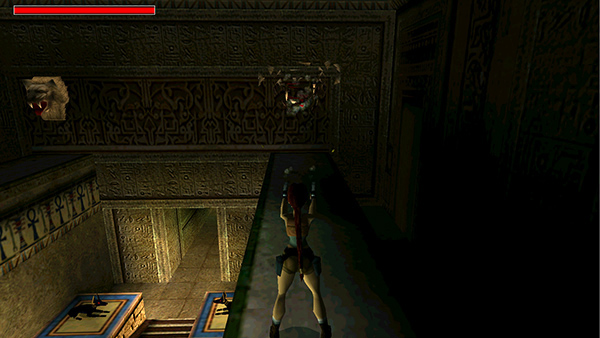
When both heads have been shattered...
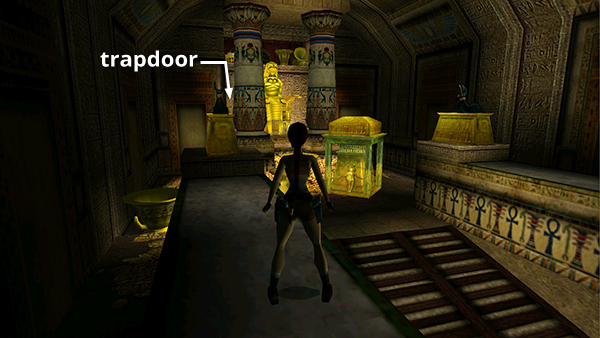
...a trapdoor opens in the floor to the left of the large golden statue behind the treasure pile.

Climb onto the platform that supports the statue.
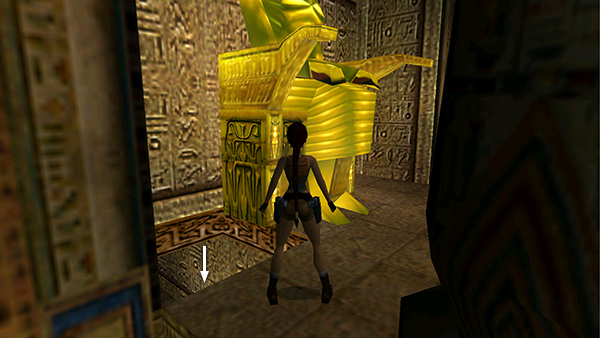
Then drop into the opening...
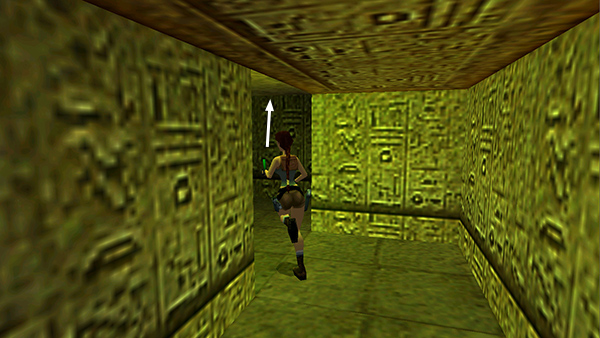
...and follow the passage to the end. Climb onto the ledge...
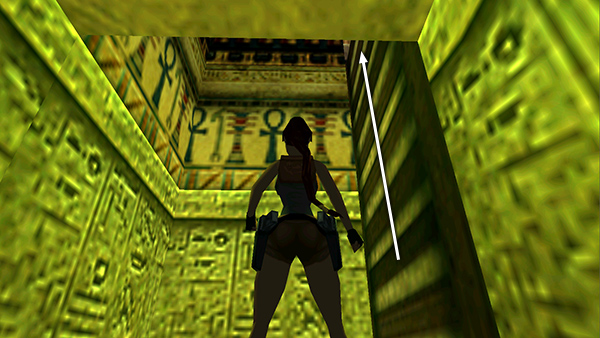
...then up the ladder.
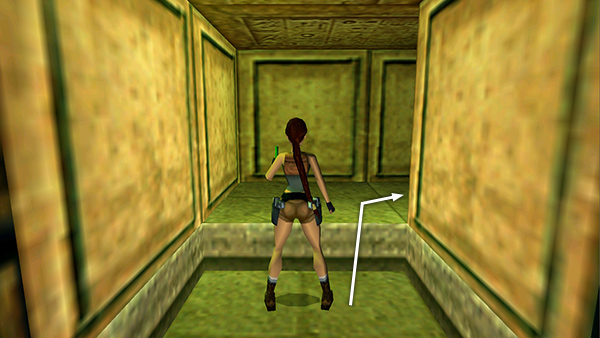
At the top, head to the right to find SECRET #2...
...a small room containing a CROSSBOW (loaded with 10 normal arrows) plus a quiver of 10 poisoned arrows. Return to the treasure room the way you came.
Copyright © 1999- - Stellalune ( ). All rights reserved. Feel free to copy or print this walkthrough for personal use. By all means, share it with friends, but please include this credit line so people can send me their feedback. No part of this walkthrough may be reproduced on another site without permission. Follow this link for details about this site's advertising and privacy policy.