The 13th Floor - Iris Room and Level Exit
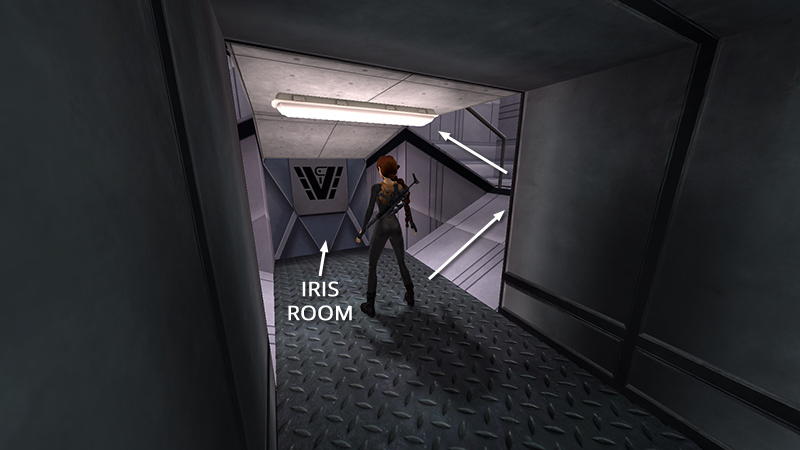
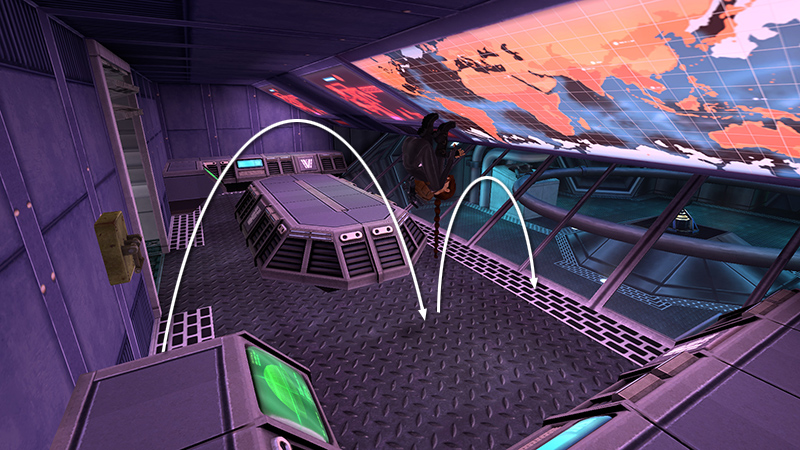
After retrieving secret #3 and passing the last laser trap, as shown in the previous section, Lara enters this stairwell.
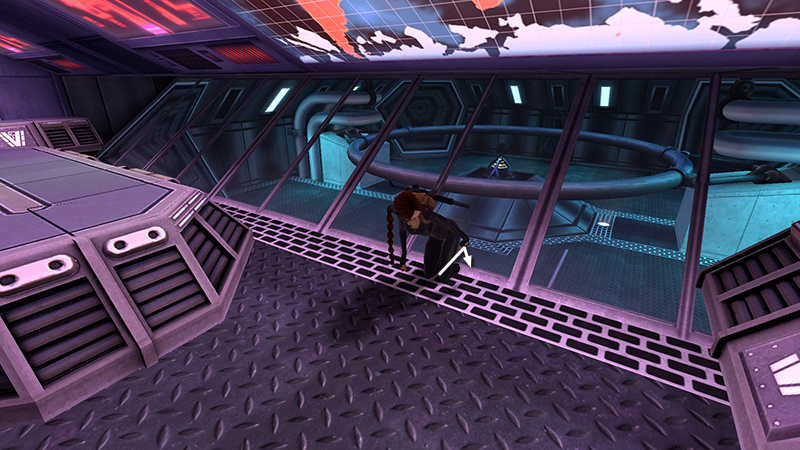
NOTE: Straight ahead is a door that opens automatically. Ignore it for now. It leads to the IRIS ROOM, but the IRIS is protected by a force field, so there's nothing you can do there yet.

Climb the metal stairs. (The door on the middle level is closed now, but it's the same door you opened earlier with the help of the orange-suited worker.)
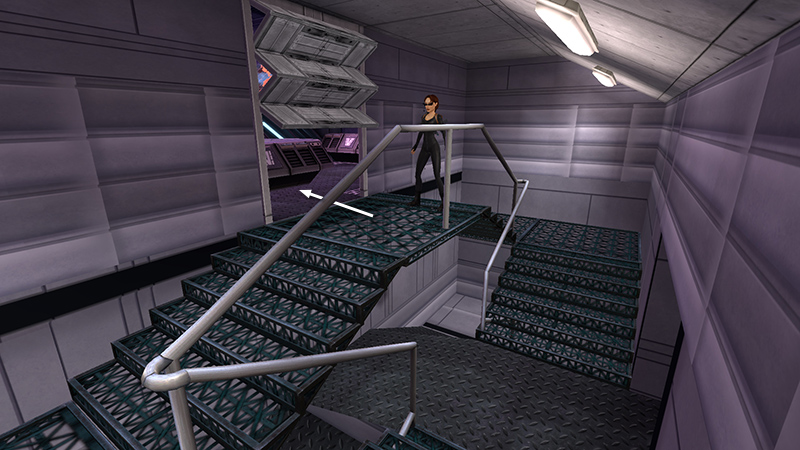
The door on the top level opens as you approach. Inside is a small OBSERVATION ROOM overlooking the IRIS.
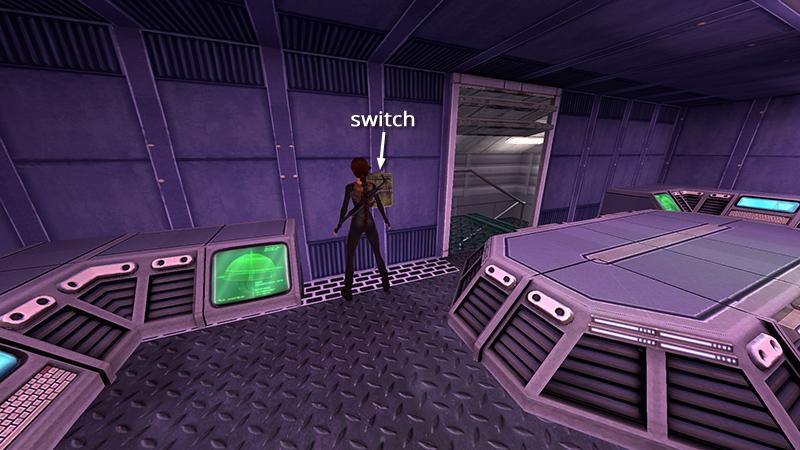
The switch on the wall to the left of the door, when facing it, shuts off the force field for about 20 seconds. You'll need to hustle to reach the IRIS and grab it before the force field comes back on.
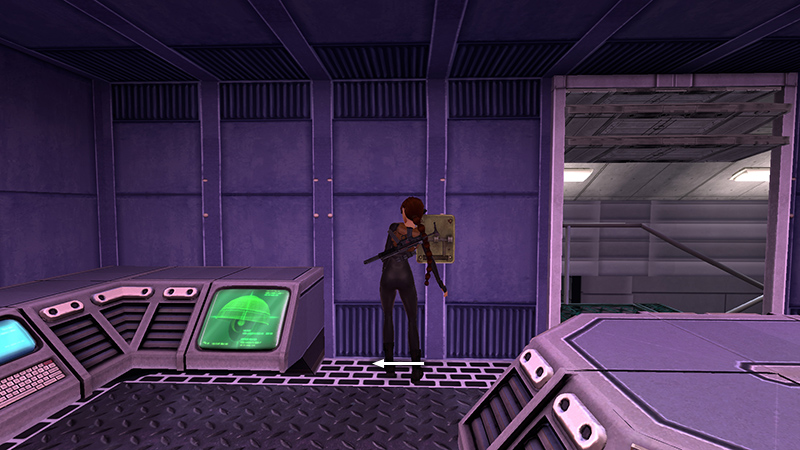
Again, the easiest way to do this is to glitch through the observation window: Throw the switch then immediately sidestep once to the left.
Backflip twice.
Then press Action + Back to crawl backwards through the observation window...
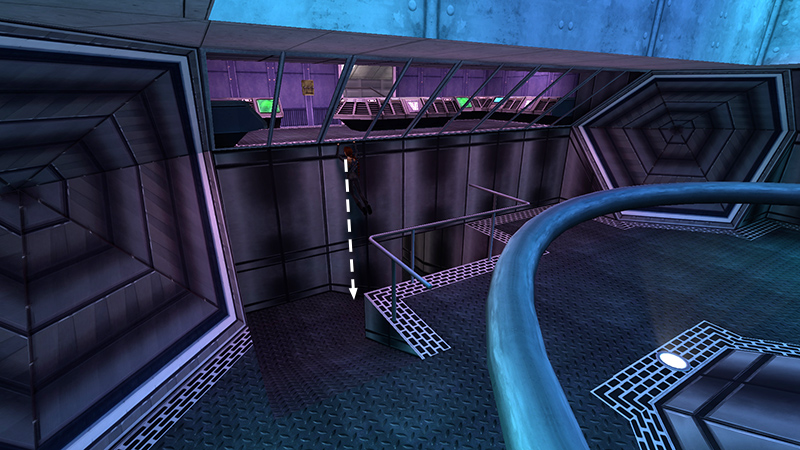
...and drop down inside the IRIS ROOM.
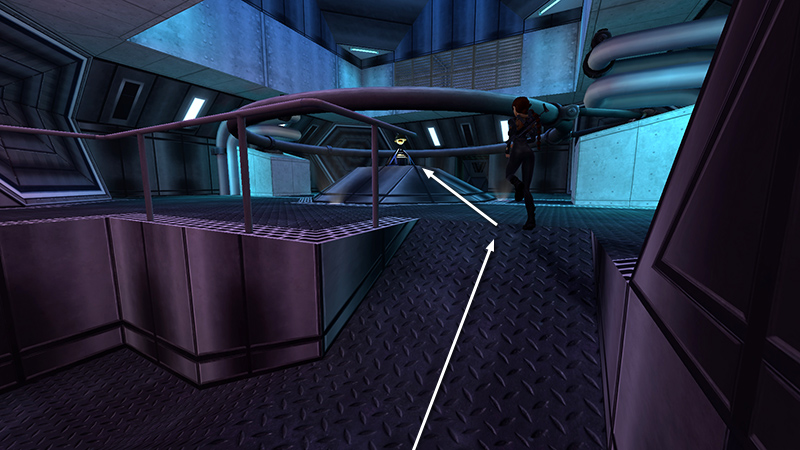
Roll and run up the ramp to the IRIS (26) (199/239).
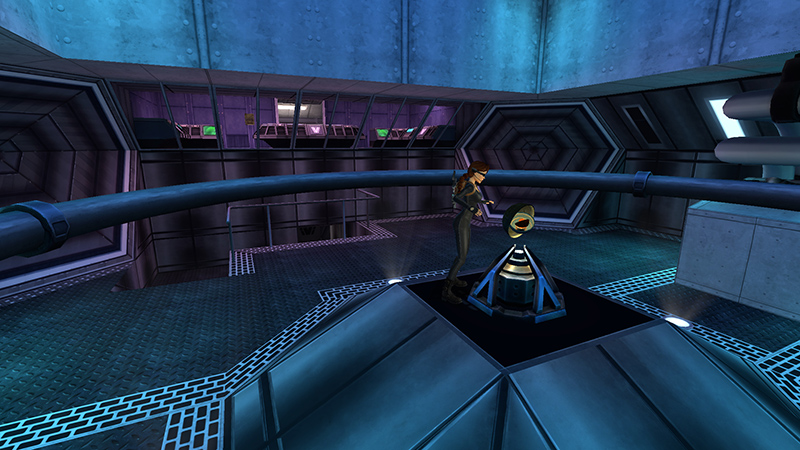
Remove it from the pedestal before the timer runs out. After that, the force field stays off, and the exit opens.
NOTES: Touching the force field surrounding the IRIS does not void "The Trap is Set" achievement/trophy, at least in the Steam version, but it hurts a lot. If the window glitch doesn't work for you, or you'd rather finish the "honorable" way, there are tips in a footnote following the main walkthrough.

Once you have the IRIS, run on through the green-lit corridor to finish the level.
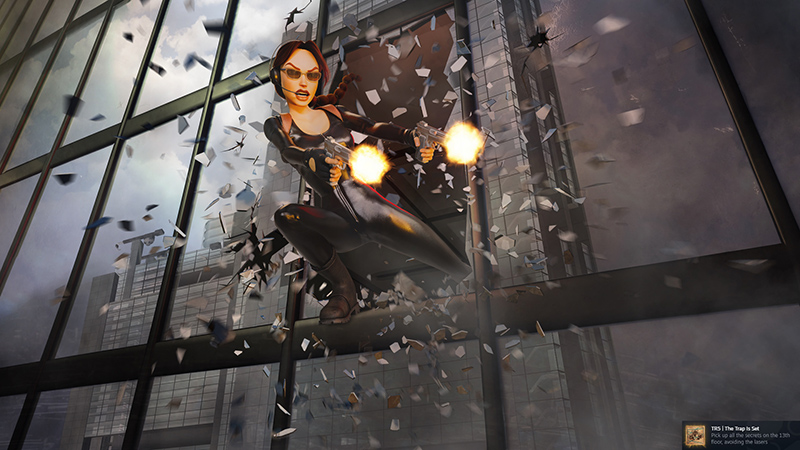
If you found all three secrets and took no damage from lasers, "The Trap is Set" should unlock as the next level loads.
DARK MODE: I plan to add optional dark mode for these pages, but my current priority is updating the walkthroughs. Meanwhile, may I suggest a reputable dark mode browser extension, such as Dark Reader? (Download only from trusted sites, like darkreader.org or your browser's web store.)
Walkthrough text and diagrams copyright © Stellalune (email ). Feel free to copy or print this walkthrough for personal use. By all means, share it with friends, but please include this credit line so people can send me their feedback. No part of this walkthrough may be reproduced on another site without permission.