The 13th Floor - Hammer and Secret #1
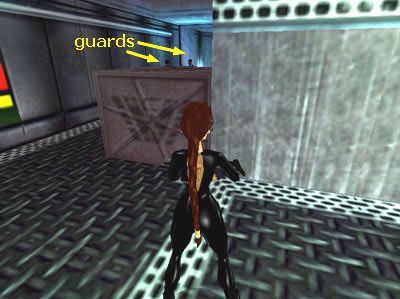
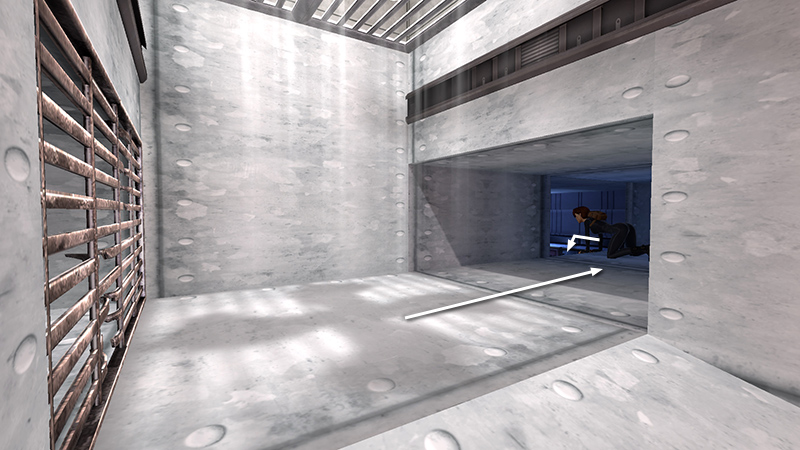
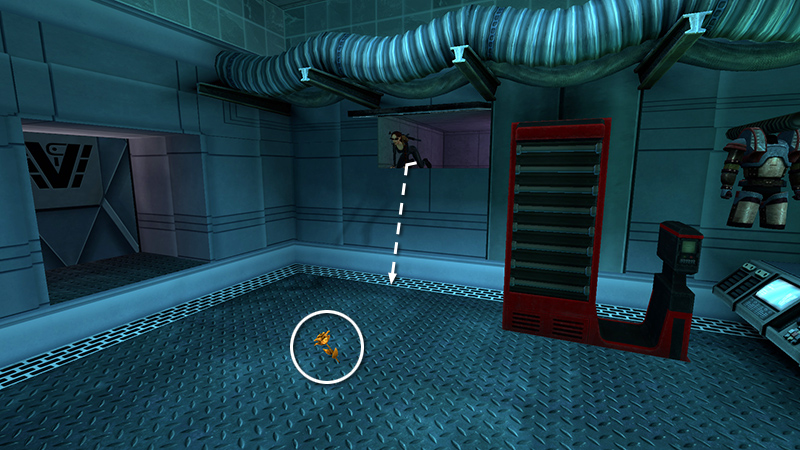
From the starting point, head to the left toward the vent you saw in the cutscene.
Set the HK on sniper mode*, hold Look to use the scope, target the vent, and shatter it with one bullet.
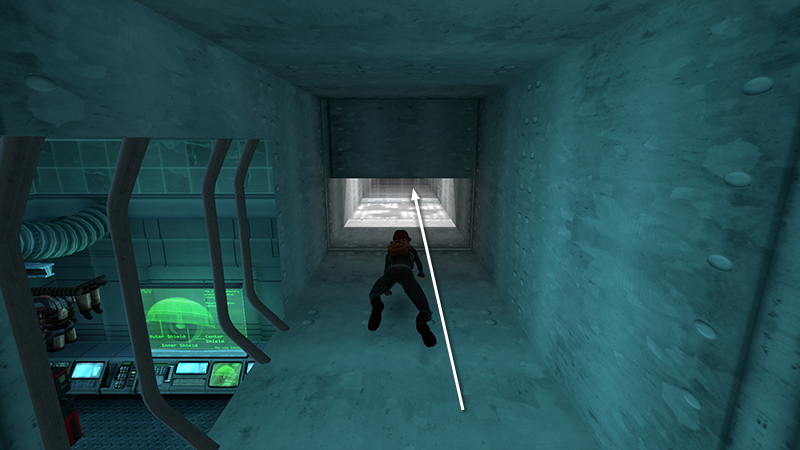
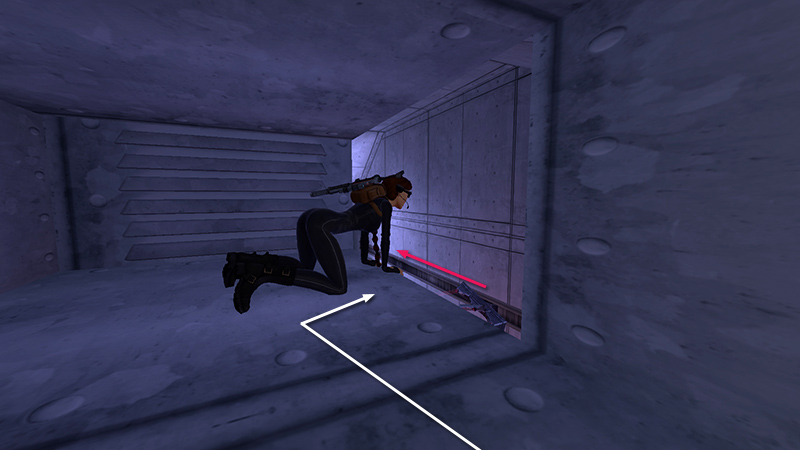
Crawl into the duct, pick up the large medipack (1) (174/239), and medipack, and continue forward to the barred opening.
Cutscene: A view of the SUIT ROOM below. Note the golden rose on the floor. A man wearing an armored suit enters. Zip tells Lara about the suits and the weaponry—lasers with a limited range but a lot of power.
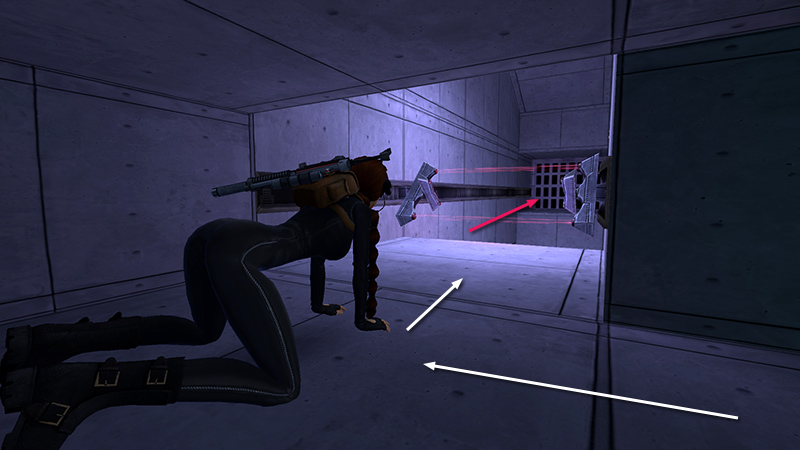
Continue crawling forward to a T-intersection. Stay low to avoid the laser array moving back and forth overhead. (Remember, if you're going for the achievement/trophy "The Trap Is Set," you can't take any damage from lasers.)
Crawl to the right and collect another large medipack (2) (175/239).
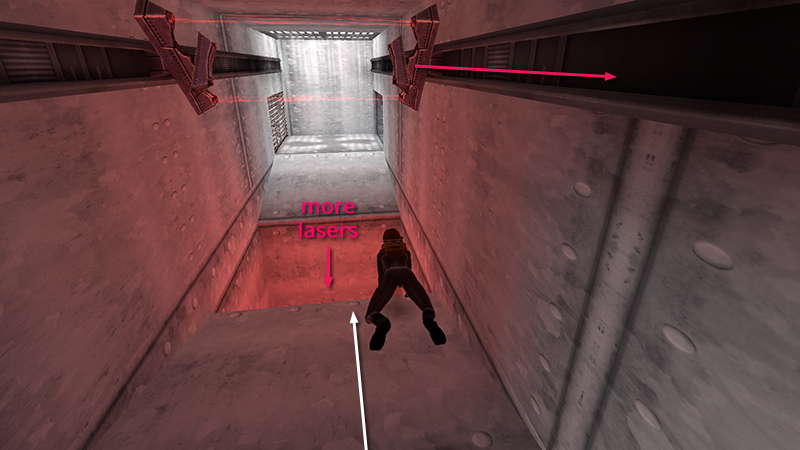
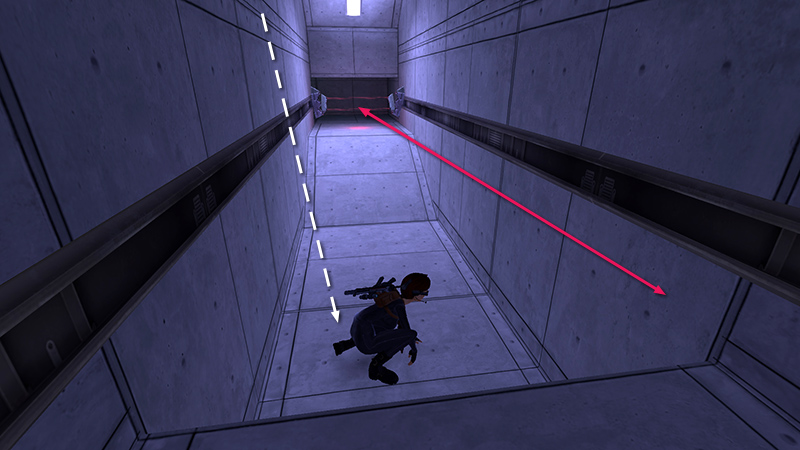
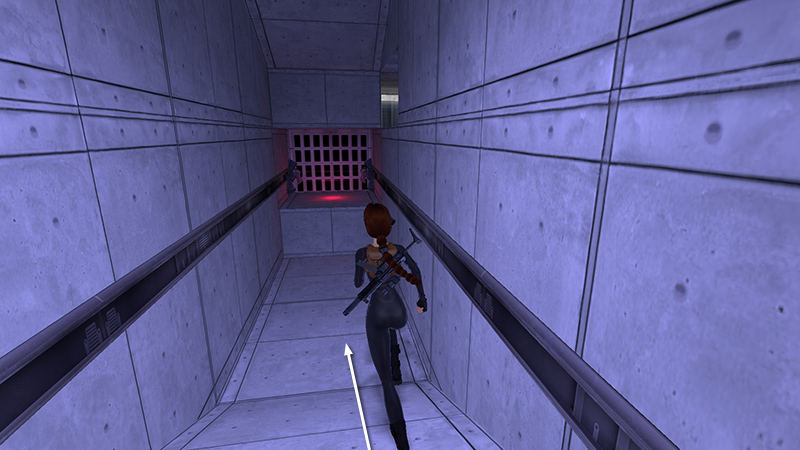
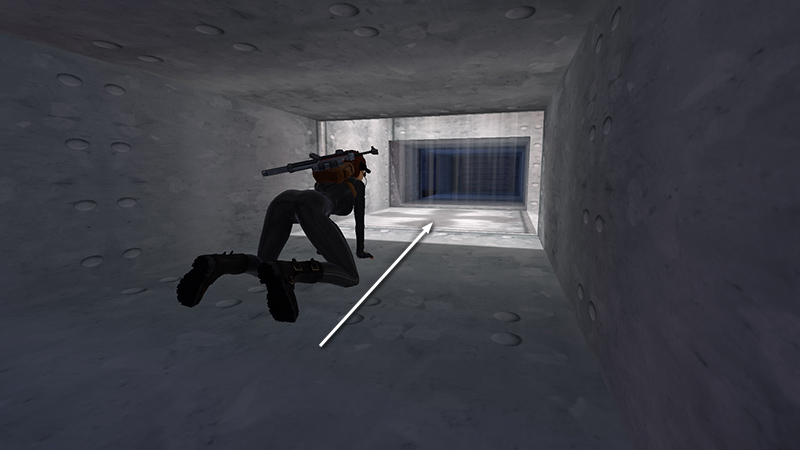
Turn around crawl back in the other direction, past the passage on the left, where you came in, to a vent in the floor crisscrossed with more deadly lasers. Wait for the overhead array to move behind you.
Then stand and jump over the laser-trapped vent. Lara is safe on the other side, since the laser array doesn't move all the way to the end of the tracks.
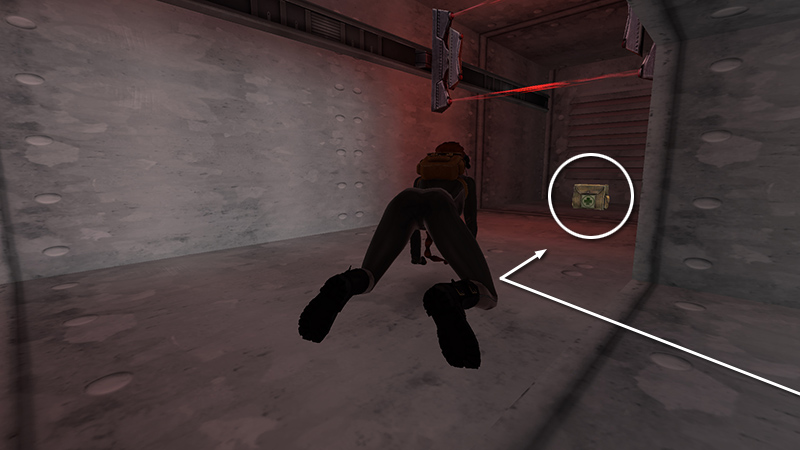
Ignore the vent on the left for now and crawl through the low opening on the right. Then roll out of the duct into a DIMLY LIT STOREROOM.
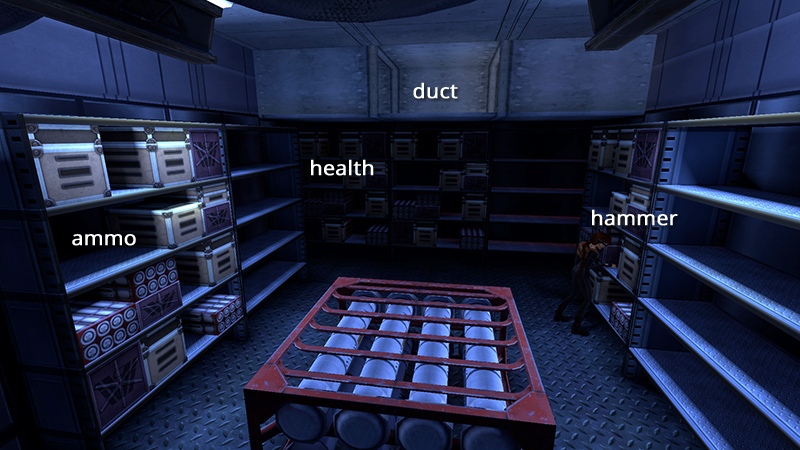
Search the shelves for a small medipack, HK ammo, and a HAMMER (3-5) (176-178/239).
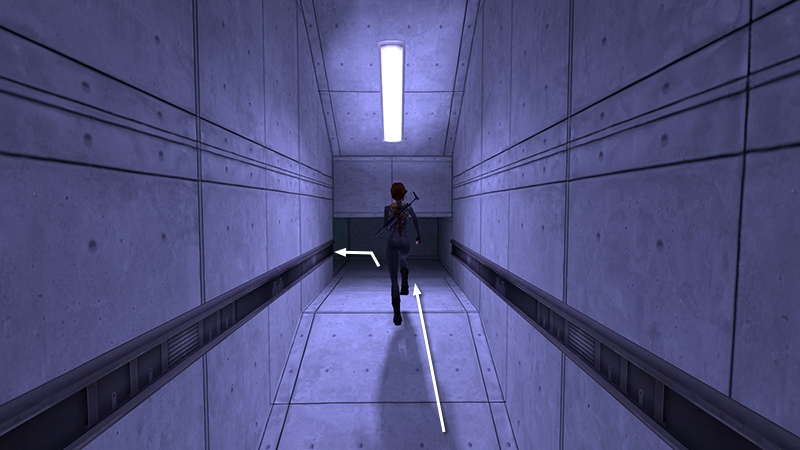
Climb back into the duct and crawl back to the right, the way you came.
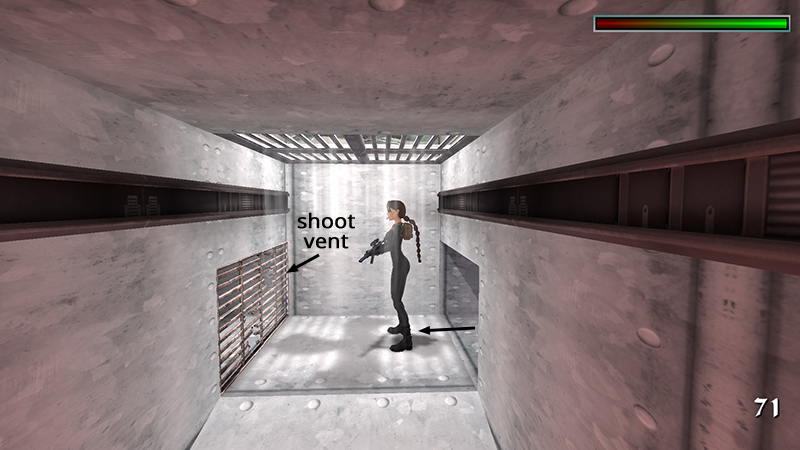
At the next corner, where Lara can stand, shoot out the vent you passed earlier and crawl through.
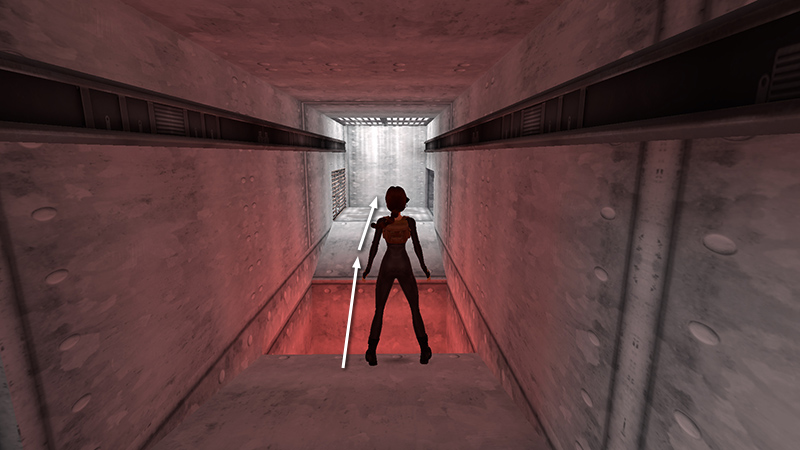
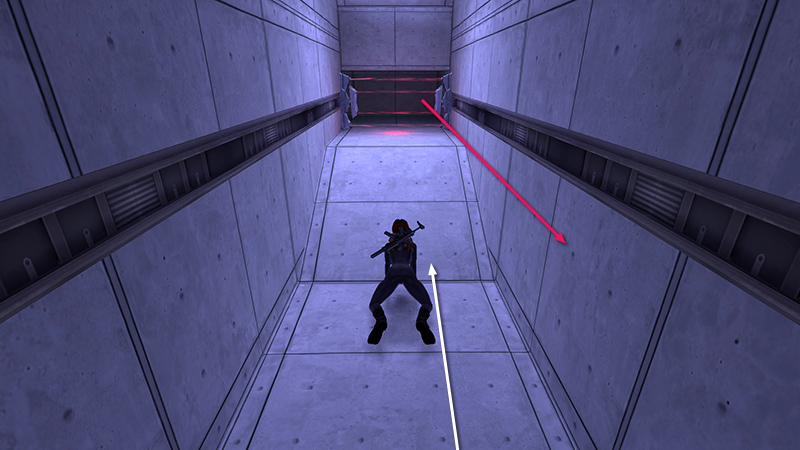
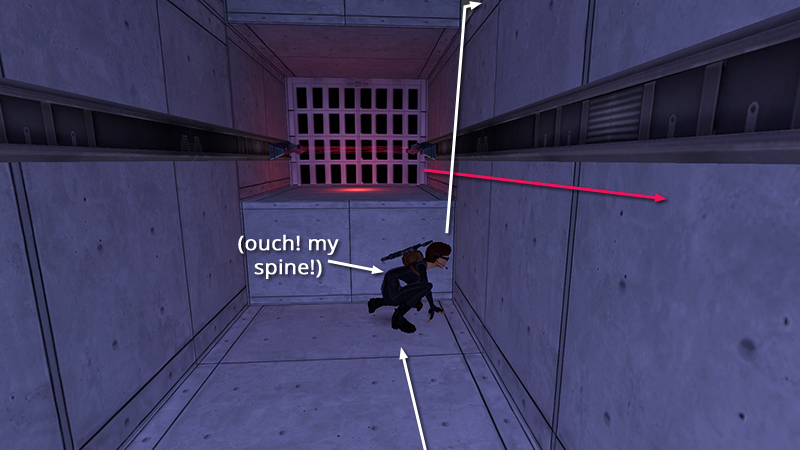
The duct below on the right contains another moving laser trap. Wait for the lasers to move off to the left.
Then roll out and immediately crouch.
Crawl to the base of the ramp. Then, when the lasers pass behind Lara...
...stand, run up the ramp, and crawl into the low opening before the lasers return.
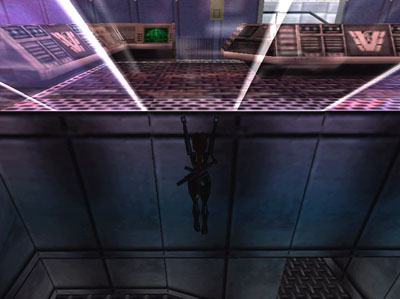
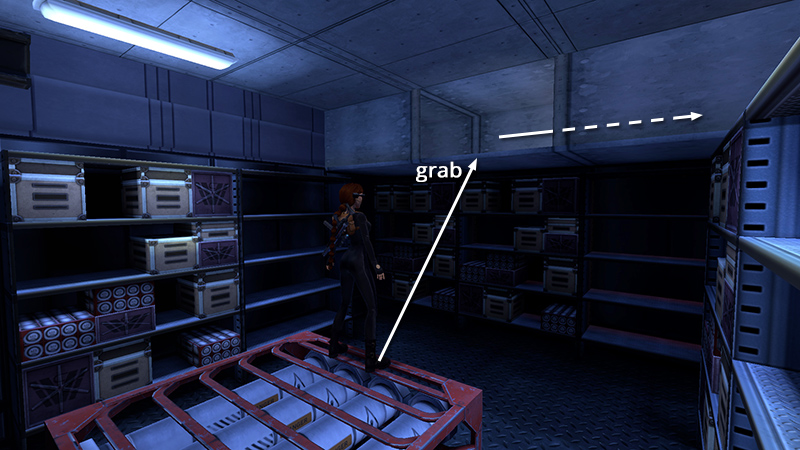
Follow the duct to another vent that opens as you approach. Roll out into the SUIT ROOM and pick up the golden rose (6) (179/239) you saw in the cutscene. (This is SECRET #1, 28/36.)
Climb back into the duct and crawl through to the other opening. As soon as the laser array starts to move away...
...crawl out, stand, run down the ramp...
...and crouch. Crawl forward and face the opening above on the right. When the lasers move off, stand and pull up into the duct.
Crawl through to the next intersection, where Lara can safely stand.
DARK MODE: I plan to add optional dark mode for these pages, but my current priority is updating the walkthroughs. Meanwhile, may I suggest a reputable dark mode browser extension, such as Dark Reader? (Download only from trusted sites, like darkreader.org or your browser's web store.)
Walkthrough text and diagrams copyright © Stellalune (email ). Feel free to copy or print this walkthrough for personal use. By all means, share it with friends, but please include this credit line so people can send me their feedback. No part of this walkthrough may be reproduced on another site without permission.