The 13th Floor - "Dodge This!" Achievement/Trophy
In the last section, you arrived on the 13th FLOOR and moved through a crawlspace into a corridor near a sleeping guard.
In order to headshot five security guards in 20 seconds, you'll need to alert two guards here on the 13th FLOOR and three more up on the 16th FLOOR. The sequence described here usually works but may take several attempts. So, again, make sure to save in a new slot before you start, and set the HK on sniper mode.
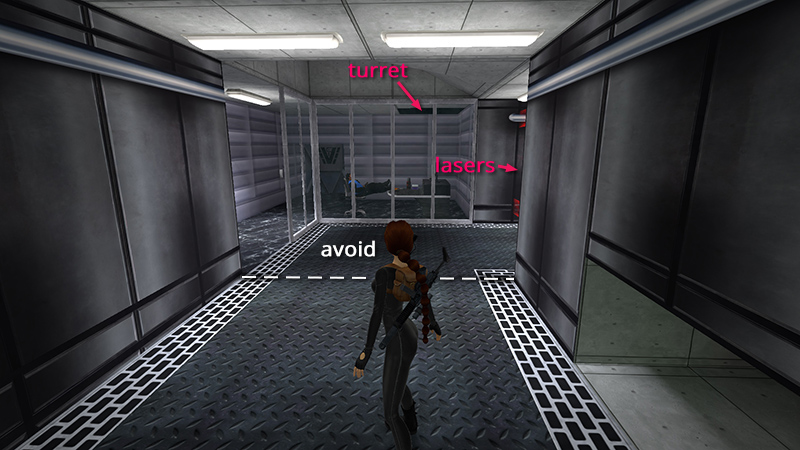
Do not approach the sleeping guard yet. If you get too close to his glassed-in office, he'll wake up, activate the machine gun turret over his desk, call in a second guard, and come after Lara, making things unnecessarily difficult. Leave him for now.
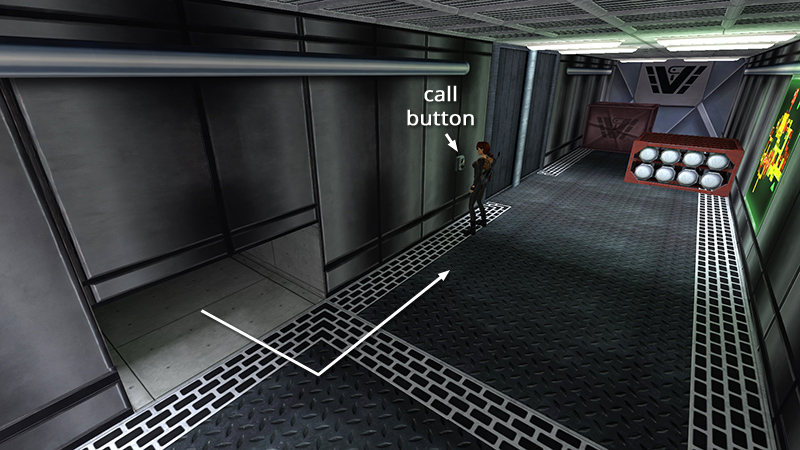
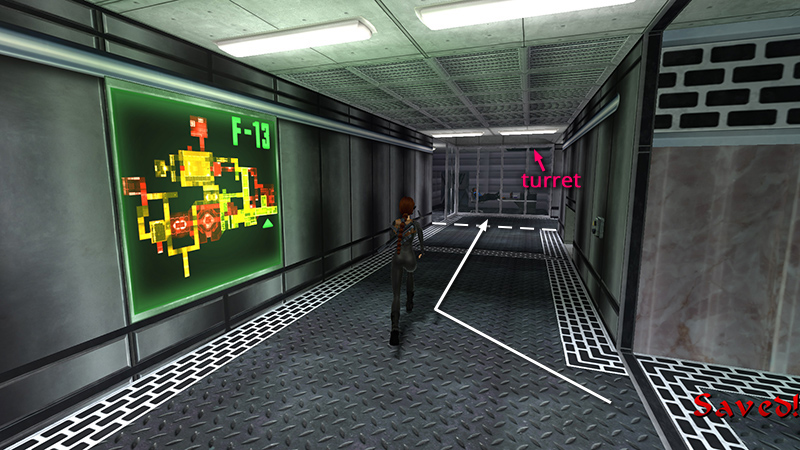
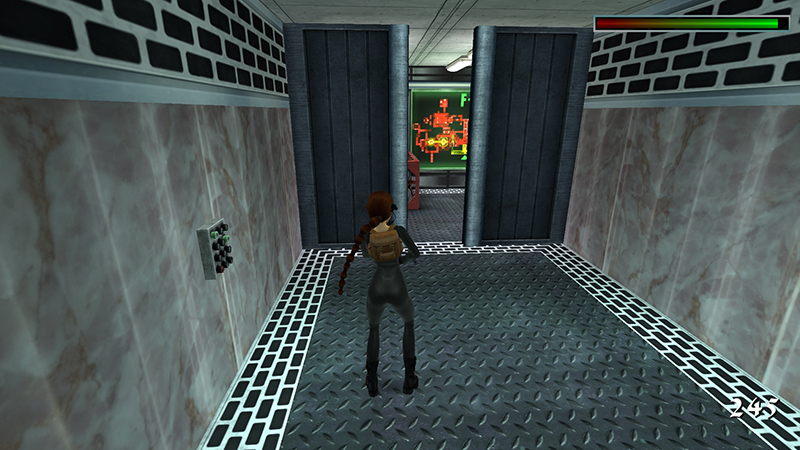
Press the button on the wall to the left of the crawlspace (right when facing it) to call the ELEVATOR.
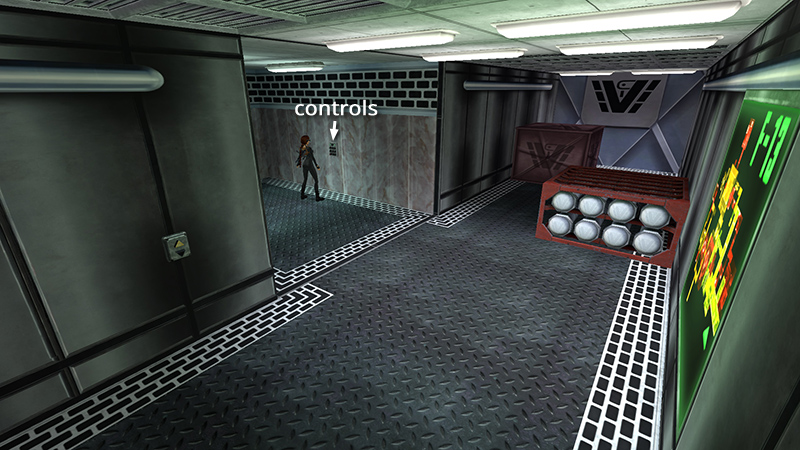
Press the buttons inside and ride up to the 16th FLOOR.
Step forward cautiously to trigger a cutscene, but do not move all the way out.
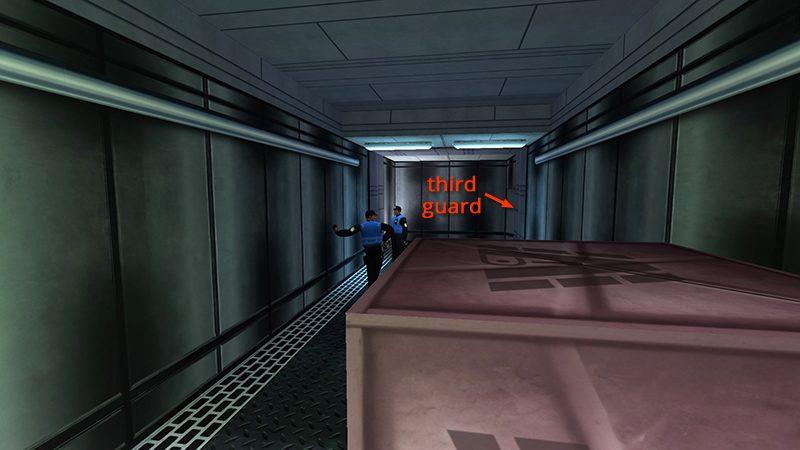
Cutscene: Two guards in conversation at the right end of the hallway.
Do not alert these 2 security guards yet. If you do, they'll call a third guard who patrols the ramp behind them. The goal is to get through the cutscene so you don't have to watch it later when you're on a timer.

Press the elevator controls to ride back down to the 13th FLOOR.
Back on the 13th FLOOR, exit the elevator and turn right. Now quick-save. You can replay from here if you have to redo the timed sequence. Just don't overwrite that earlier save. You'll need it afterwards for the stealth playthrough. Approach the sleeping guard to wake him up, but don't kill him yet.
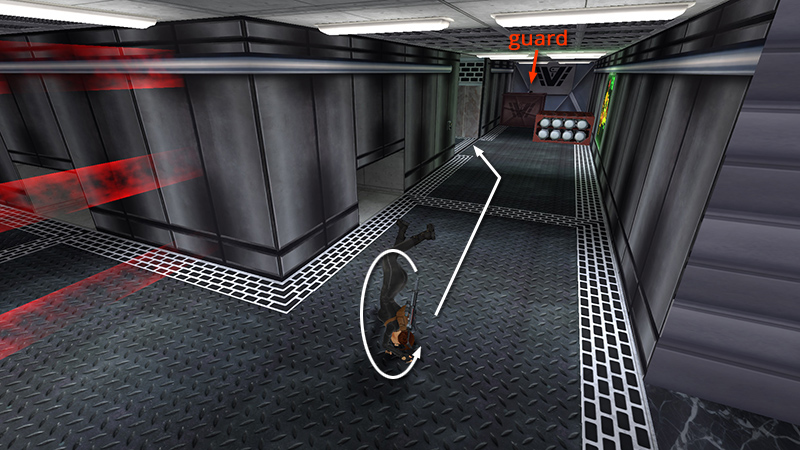
Immediately roll and sprint back to the elevator. Sleeping Beauty activates the gun turret in the office and calls in the second guard, who appears behind the boxes beyond the elevator.
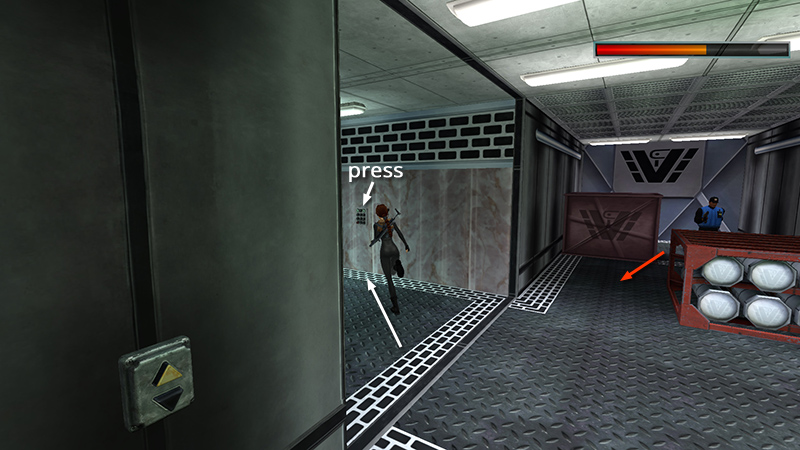
You want to get into the elevator and use the controls quickly.
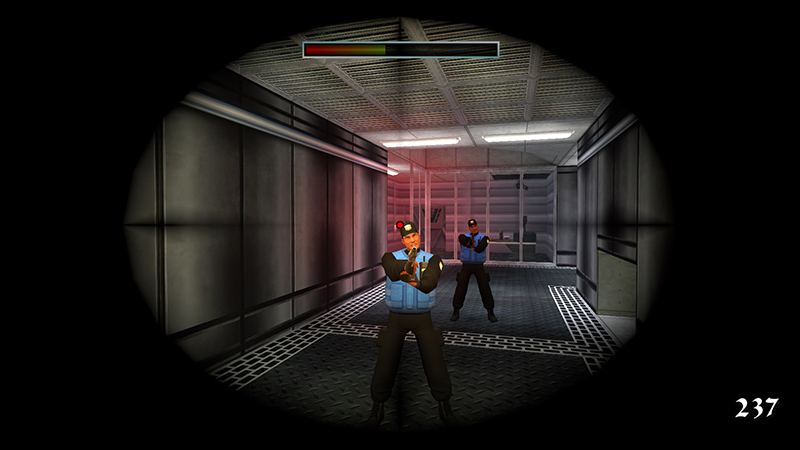
As you ride back up to the 16th FLOOR, ready your weapon and face the elevator doors. The 3 guards you saw earlier will be on alert when you arrive.

As the doors open, activate the scope (Look) and headshot all three as quickly as possible.
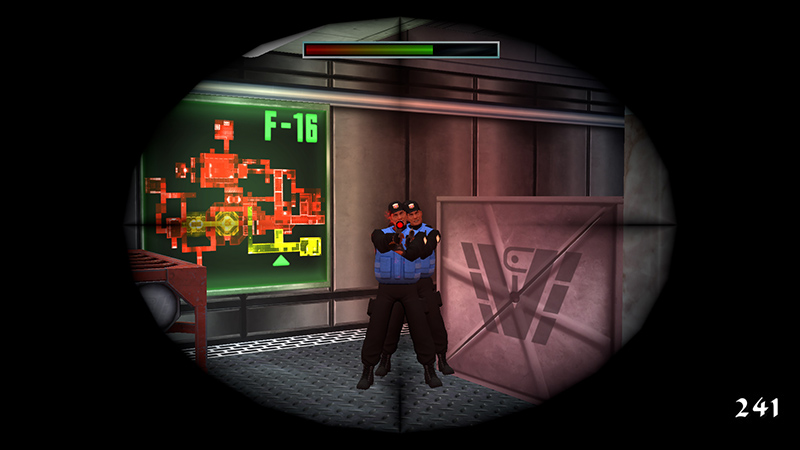
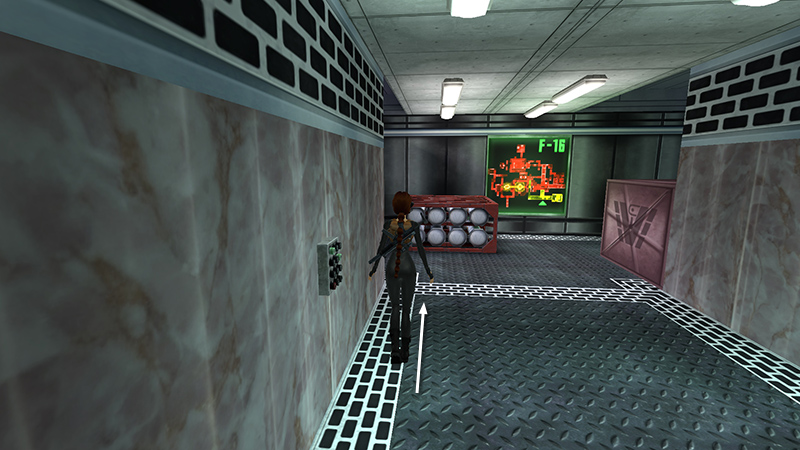
If all goes well, they should cluster together near the box to the right of the F-16 sign. If it takes the third guard more than a few seconds to arrive, or if one of them has wandered off to the left, rather than lining up with the others, you probably need to reload and try again. (See the note below.)
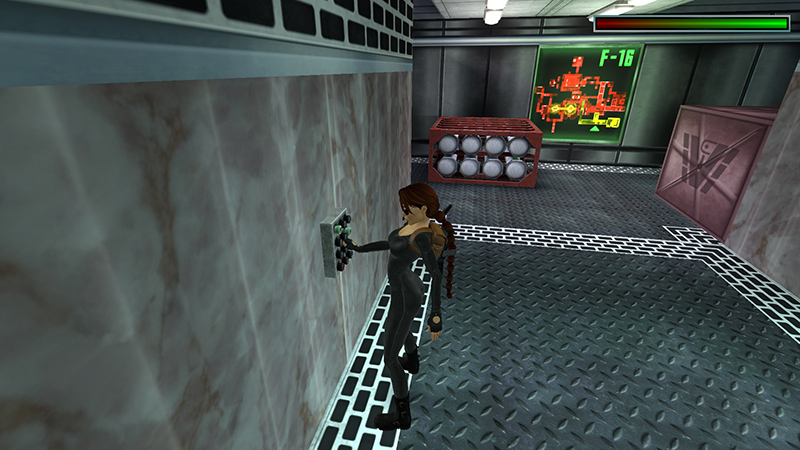
When you've killed these three, quickly use the elevator controls to ride back down to the 13th FLOOR. Heal on the way if necessary.
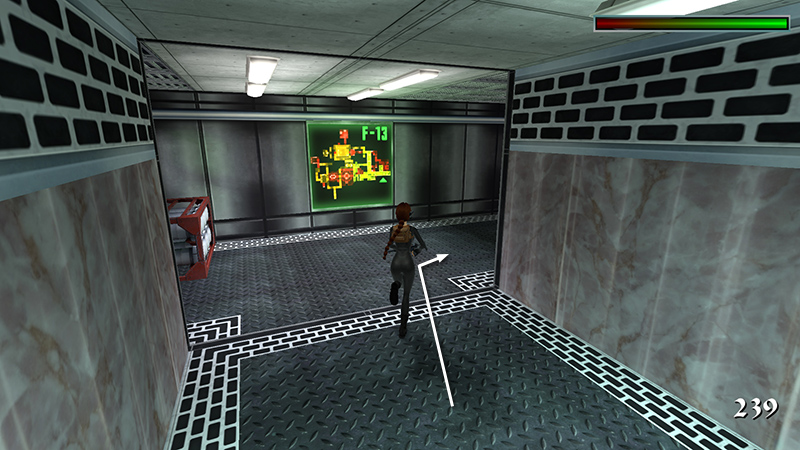
When the doors open, run out and turn right.
The 2 guards should be waiting here. Shoot each of them in the head as quickly as you can.

It doesn't matter if a few shots miss. As long as you kill all 5 guards using headshots within 20 seconds, the "Dodge This!" achievement/trophy should pop when the fifth guard falls. When you have it, reload your backup save after Lara has just emerged from the crawlspace near the sleeping guard.
NOTES: These 5 kills will be added to your official kill count, but if you follow this guide and replay in stealth, they will not be counted at the end of the level. If the method described above isn't working for you because the third guard on the 16th FLOOR takes too long to appear, instead alert the guards on the 16th immediately after triggering the cutscene, but don't engage them yet. Ride the elevator back to the 13th. Quick-save, alert the sleeping guard and his pal, then run back to the elevator. Ride up to the 16th, headshot the three guards there, who by now should be clustered near the elevator. Then quickly ride back to the 13th and headshot the other two guards.
DARK MODE: I plan to add optional dark mode for these pages, but my current priority is updating the walkthroughs. Meanwhile, may I suggest a reputable dark mode browser extension, such as Dark Reader? (Download only from trusted sites, like darkreader.org or your browser's web store.)
Walkthrough text and diagrams copyright © Stellalune (email ). Feel free to copy or print this walkthrough for personal use. By all means, share it with friends, but please include this credit line so people can send me their feedback. No part of this walkthrough may be reproduced on another site without permission.