The Strahov Fortress - Security Control Room
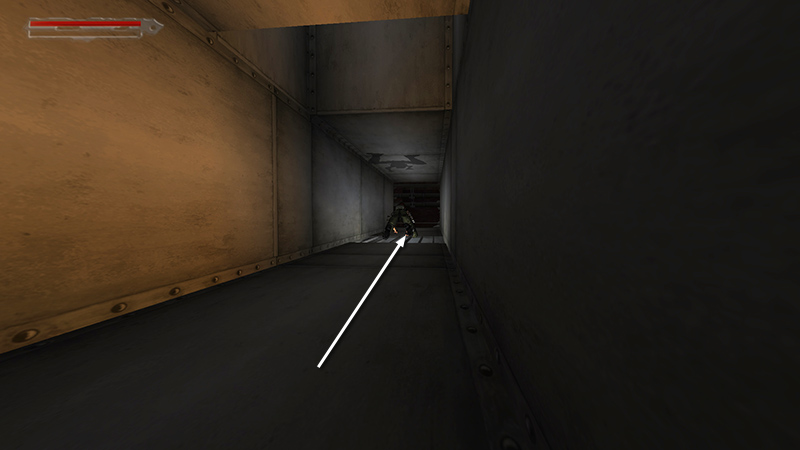
After the cutscene with Eckhardt and Luddick, crawl forward to the end of the duct.
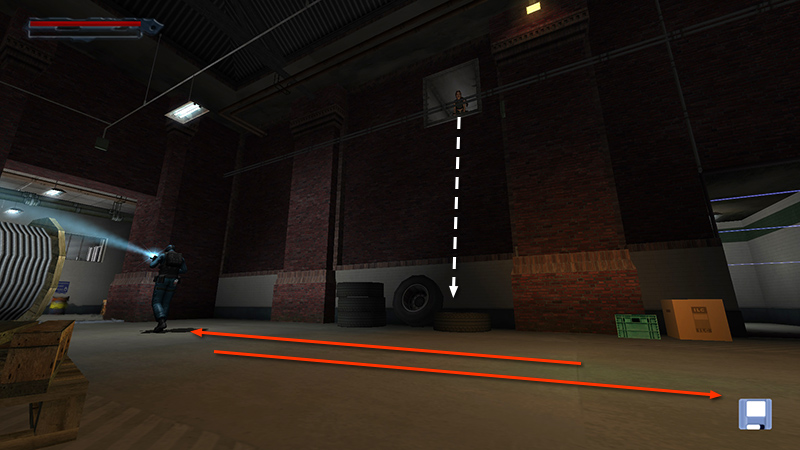
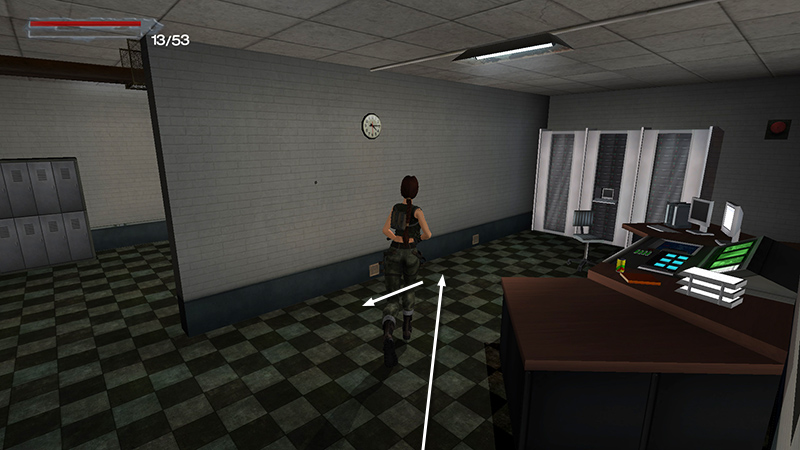
The camera shifts to a wide-angle view. Watch the guard (9) patrolling below. Stealth is no longer necessary, but it is an option. If you want to take him out quietly, wait for him to move to the right side of the screen, then back to the left. Quick-save just in case, then once he has almost reached the next room, press Forward to somersault out of the duct.
NOTE: I experienced a minor glitch in which Lara would sometimes take damage in this fall regardless of whether she rolled out of the right, left, or center of the duct. If you're conserving health, repeat the forward roll until you get lucky and she lands with full health.
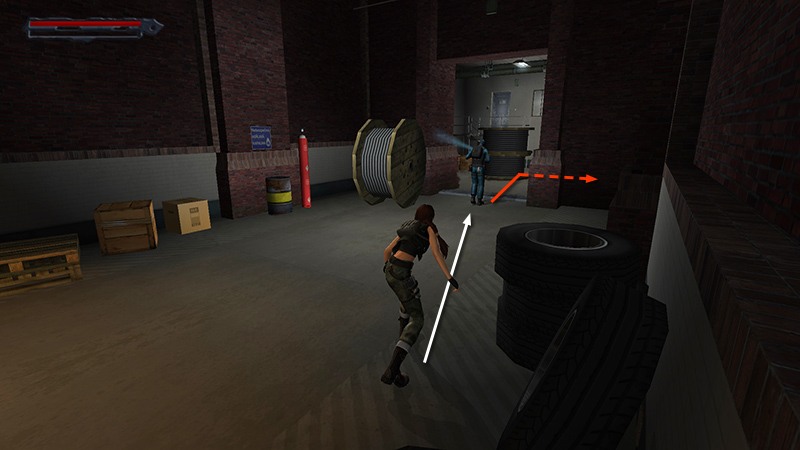
Activate Stealth and follow him as he enters the next room and turns right.
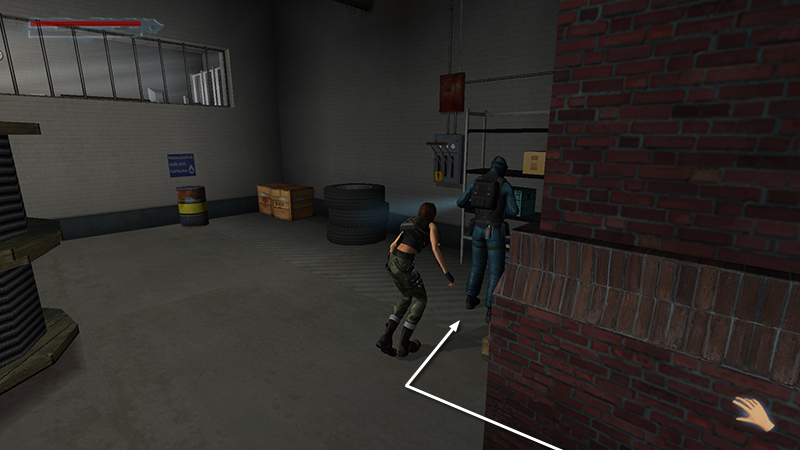
Sneak up behind him, knock him out...
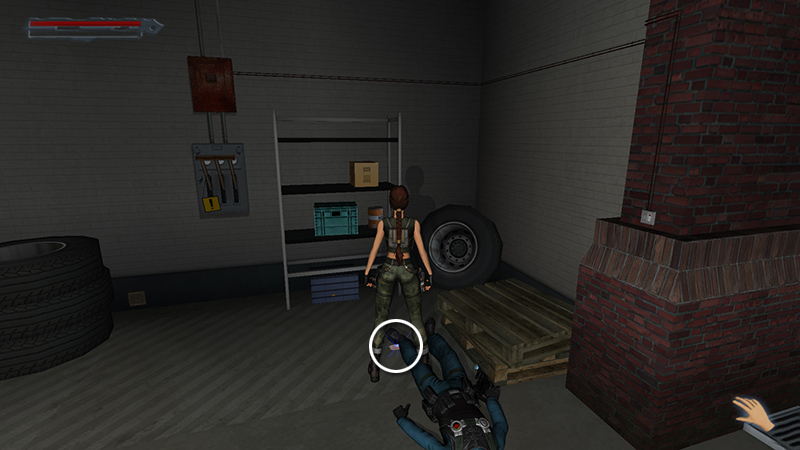
...and lift his STRAHOV HIGH SECURITY PASS (8).
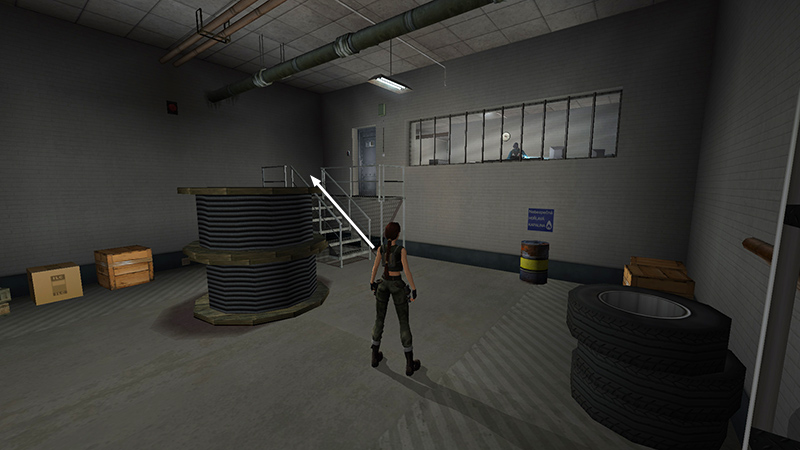
Mines and lasers block the way back to the hub, and there's an electric field over the doorway to the INTERROGATION ROOM. So, for now, climb the stairs to the SECURITY CONTROL ROOM. There are 3 more soldiers inside: one in the outer control room, two in the small lounge in back.
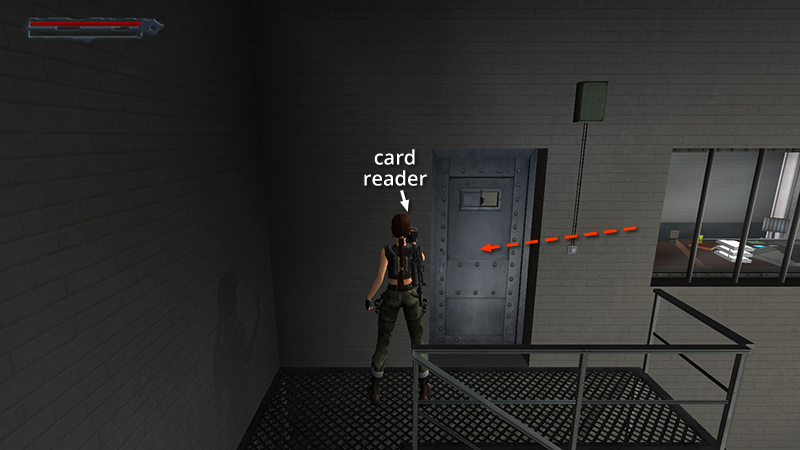
At this point, I'd abandon stealth and equip the Viper SMG or Mag Vega. Wait for the first soldier to approach the door. Then swipe the high-security pass in the card reader to open the door.
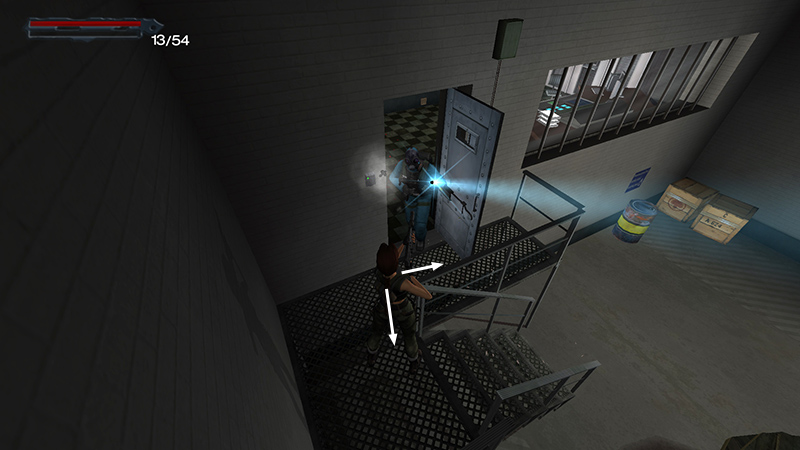
Step back or to the right, so Lara doesn't try to use the card again, and as soon as the door opens, mow down the first soldier (10).
Run inside and to the right, then face left.

Wait for the other two men (11-12) to emerge and kill them quickly.
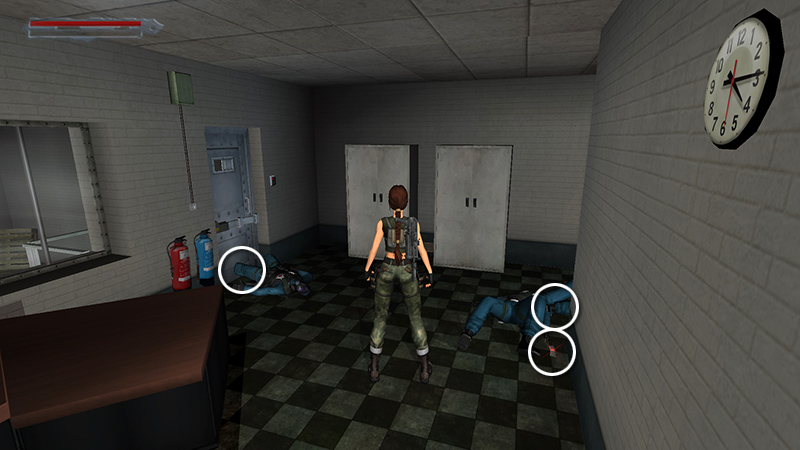
The soldiers all drop Mag Vega ammo (9-11).
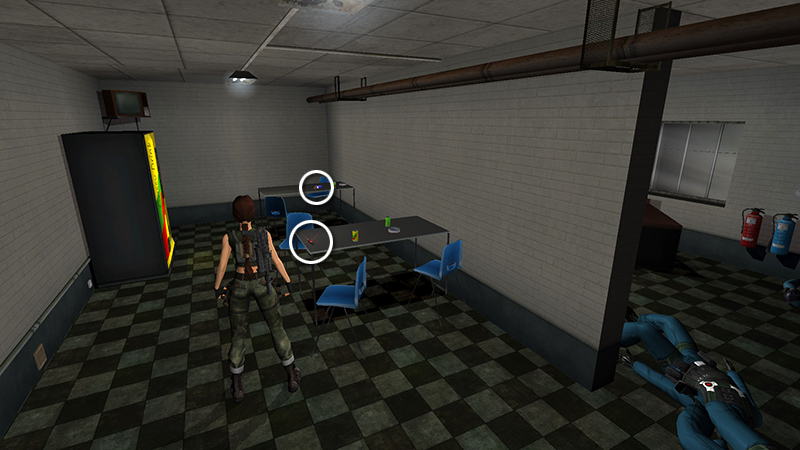
You'll find another Mag clip (12) and a chocolate bar (13) sitting on the tables in the back. (This is 15/20 for the "Chocollection" achievement/trophy.)
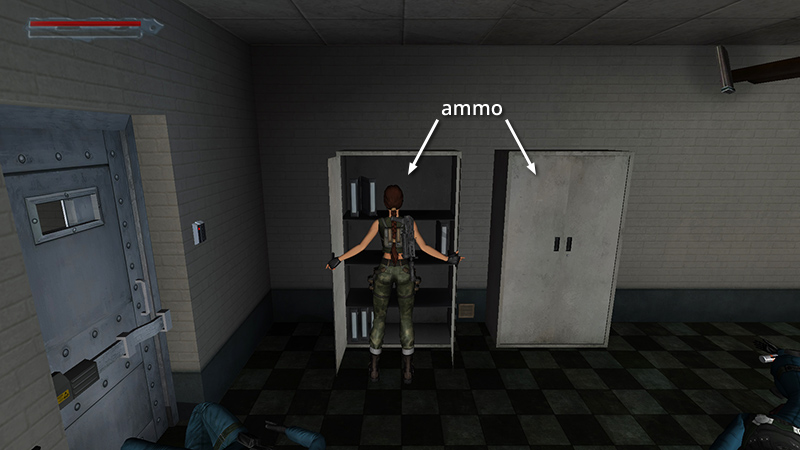
There are also 4 clips for the Scorpion X (14-17, four items in two pickups) in the tall cabinets near the door.
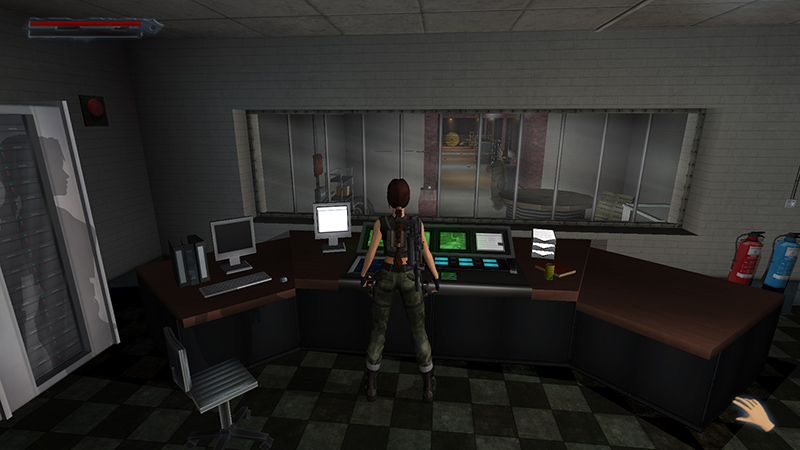
When you have everything, use the control panel in the office.
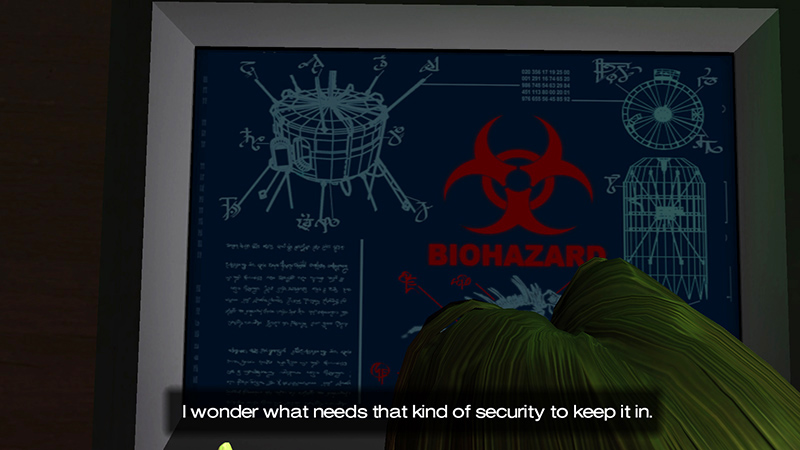
In a series of cutscenes, Lara traces the route forward on the computer screen and notes an ominous biohazard symbol. She wonders what requires that kind of security to keep it contained. But no matter. She's on a mission. Whatever it is can't be that dangerous. She shuts off the power to four sections: the Loading Bay, Bio Dome, Sanitarium, and Proto. Next, we see a rather nasty critter escaping confinement and terrorizing some poor guards. Lara says she must move fast before the power comes back on, but there's no actual time limit.
[Previous | Next | Strahov Fortress]
DARK MODE: I plan to add optional dark mode for these pages, but my current priority is updating the walkthroughs. Meanwhile, may I suggest a reputable dark mode browser extension, such as Dark Reader? (Download only from trusted sites, like darkreader.org or your browser's official add-on/extension site.)
Walkthrough text and diagrams copyright © Stellalune (email ). Feel free to copy or print this walkthrough for personal use. By all means, share it with friends, but please include this credit line so people can send me their feedback. No part of this walkthrough may be reproduced on another site without permission.