
Move along the walkway on the right. (A raised barrier on the left prevents you from going that way.) Avoid the pods as Lara grapples the golden ring on the other side of the gap so Totec can tightrope walk across to the left walkway.
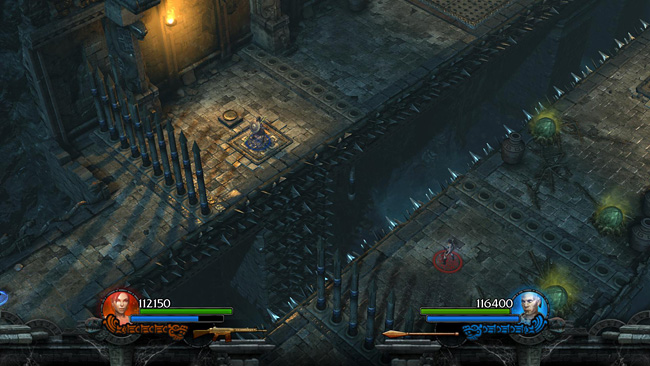
When Totec steps on the pressure pad near the ring, it lowers the barriers ahead on both sides of the walkway. It also retracts the ring and raises the first barrier on Lara's side of the walkway so you can't retreat.
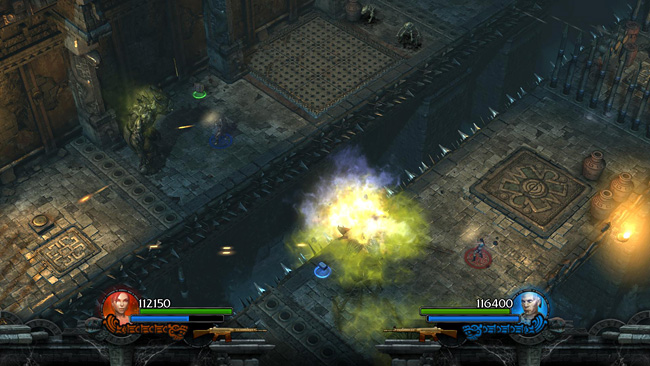
As your characters move forward, Totec on the left, Lara on the right, a giant swamp ogre appears behind Totec. More enemies, including skeletons and bogmen, spawn on both walkways.
If you use careful teamwork, Totec can run forward and lure the ogre onto the spike field, which is retracted at first. Lara can then raise the spikes by moving onto the large pressure pad on her side. You don't get points for enemies killed by spikes, though, and approaching the pad causes more bogmen to spawn. So it might be easier to just stand your ground and shoot the enemies as they appear. Don't forget to blow up the skeletons' bones so they stay dead.
When the coast is clear—or if you need supplies during the fight—smash the urns on both sides of the walkway for health packs, ammo and gems. Also pick up any health/ammo the ogre may drop.

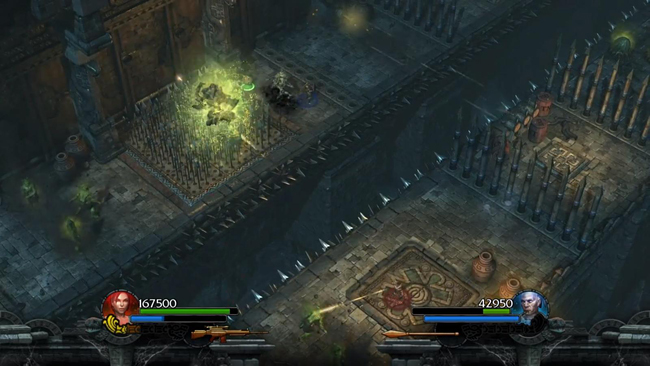
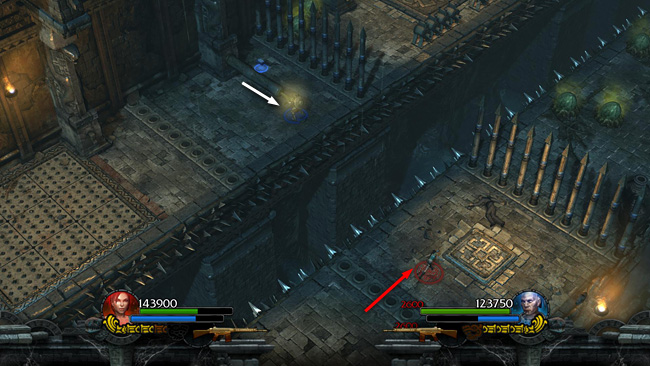
Beyond the pressure pad, Lara's path is blocked by another barrier. Have Totec advance along the his side, stopping just before the flying arrows. Shoot the TNT barrels on the other side of the gap. . .
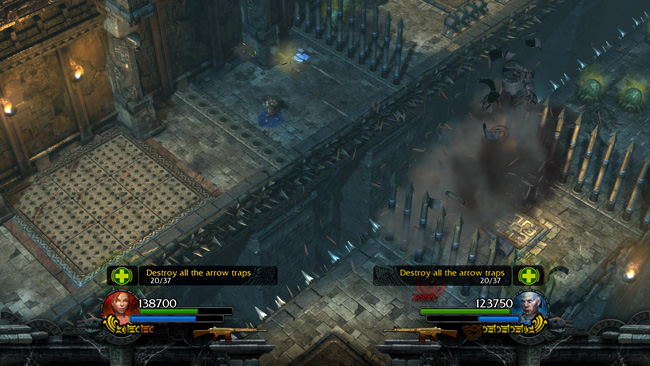
. . . to destroy the nearby arrow traps. These 3 traps should bring your total to 20/37.
Now Totec can safely pull the golden handle to lower the barrier in front of Lara. She can then move forward onto the square pressure pad.
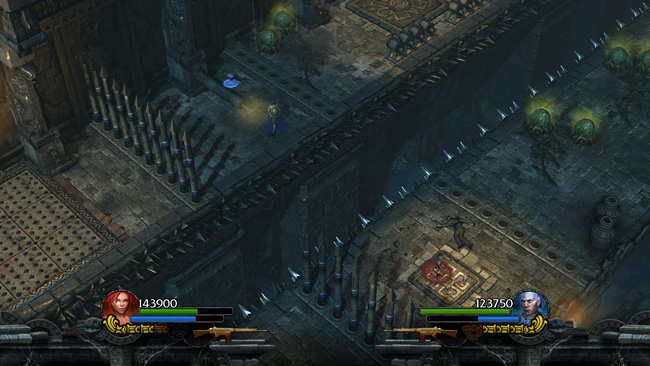
This lowers the barriers ahead on both sides. There's more ammo inside one of the urns on Lara's side.
[Part 2 | Return to the Flooded Passage Walkthrough]
Copyright © - Stellalune (). All rights reserved. The screenshots and videos included here were made using Fraps. Feel free to copy or print this walkthrough for personal use. By all means, share it with friends, but please include this credit line so people can send me their feedback. No part of this walkthrough may be reproduced on another site without permission. Follow this link for details about this site's advertising and privacy policy.
|