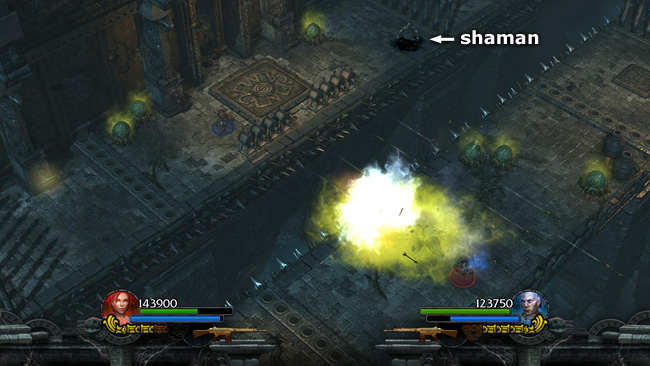
A shaman appears beyond the large pressure pad on Totec's side of the walkway. Lara should hang back as Totec fights, since his stepping on the pad activates the arrow traps, which then blow up the poison pods on Lara's side of the walkway.
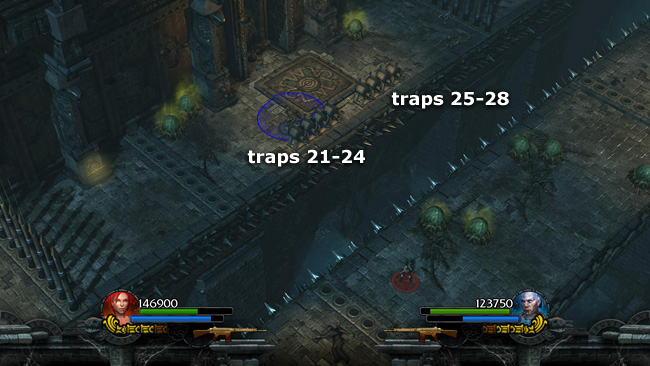
Once the shaman is dead, Totec can blow up the 8 arrow traps on his side (21-28/37).
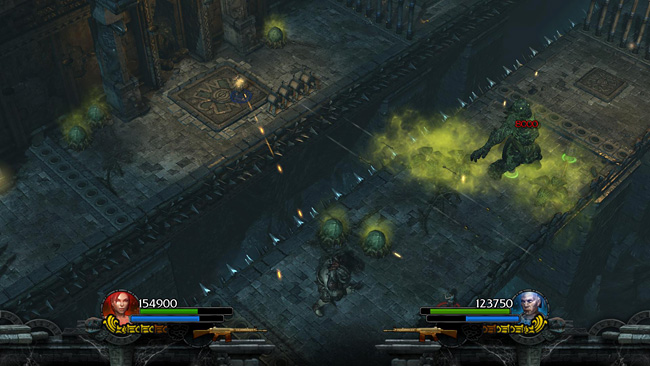
Meanwhile, as Lara advances along the walkway on the right, another swamp ogre appears just ahead, and a long-haired ogre approaches from behind. Watch out for the pods as you fight. Totec can help shoot the enemies from across the gap. Retrieve the health near the barrier ahead on the right, plus any health and ammo the giants leave behind.

When the ogres explode, they may take out some of the remaining arrow traps. So if you see a message on-screen saying traps have been destroyed but you didn't do it, this is why. In the screenshot above, 5 of the 9 remaining traps were blown up when the swamp ogre exploded.
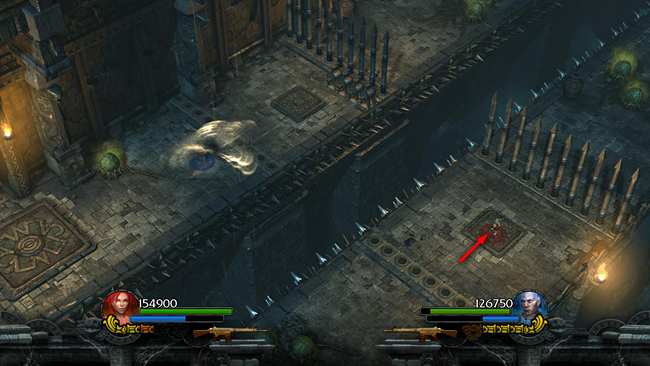
Lara should now move onto the smaller pressure pad just ahead on her side. This lowers the next barrier on Totec's side. If there are still active arrow traps ahead, Totec can use his shield for protection. . .
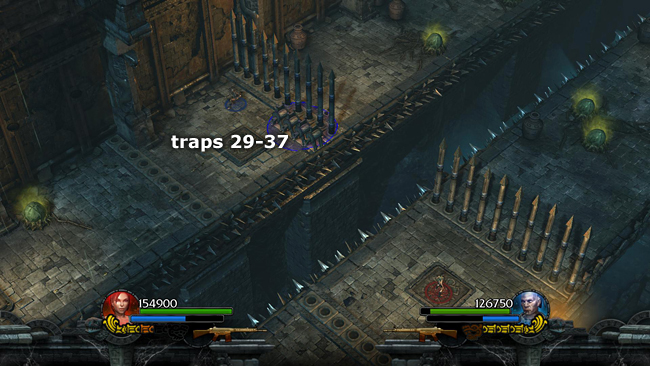
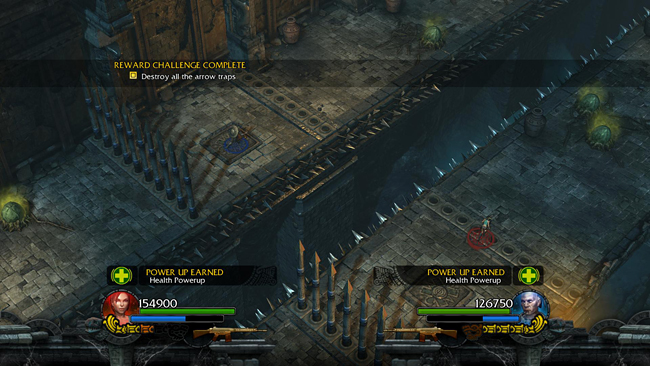
. . . as he blows them up. It doesn't matter if Totec or the exploding ogres destroy the 9 arrow traps here (29-37/37). They still count toward the Reward Challenge. If you've destroyed the others in the level as well, you will receive a HEALTH POWERUP.
Now have Totec step on the pressure pad on his side to lower the barriers ahead and raise the ones behind both characters.
[Part 1 | Part 3 | Return to the Flooded Passage Walkthrough]
Copyright © - Stellalune (). All rights reserved. The screenshots and videos included here were made using Fraps. Feel free to copy or print this walkthrough for personal use. By all means, share it with friends, but please include this credit line so people can send me their feedback. No part of this walkthrough may be reproduced on another site without permission. Follow this link for details about this site's advertising and privacy policy.
|