Shantytown - First Area Center - Part 2
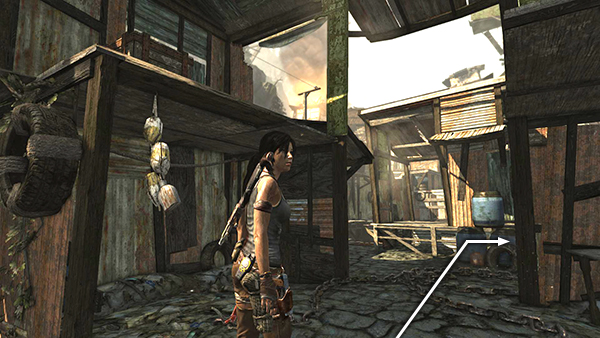
From the shack with the documents, exit to the south, turn right...
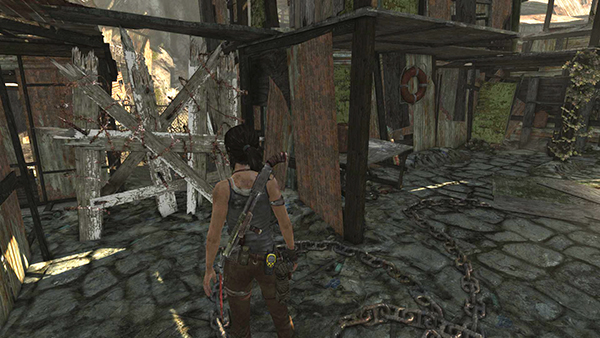
...and shoot out another plank-and-barbed-wire barrier.
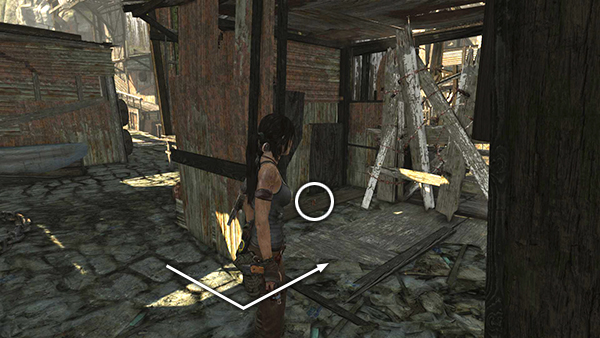
Turn left into a small room containing a GPS cache (1/15). Shoot out the next barrier...
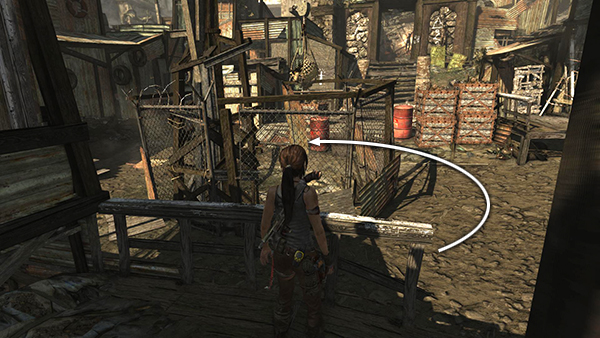
...and go through into an open area with a chain-link fence surrounding a salvage net. Go around the enclosure to the gap in the fence.
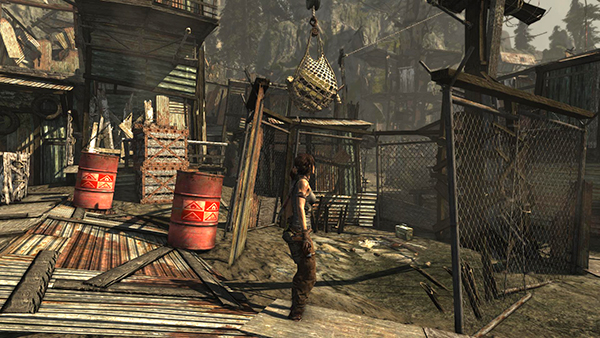
The grungy picnic blanket lying on the ground below the salvage hints of a trap. Now that you have fire arrows, you don't need to trigger the trap to get the goodies.
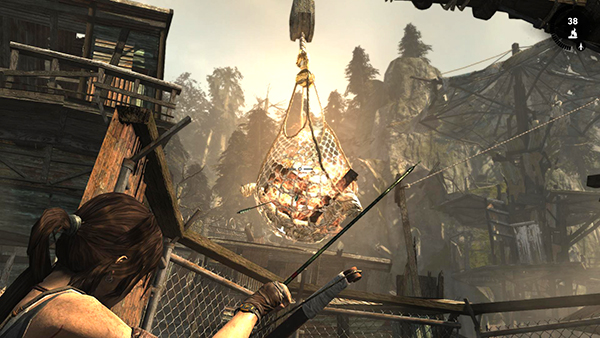
Just shoot a fire arrow at the salvage net to burn it, dropping the crate and disabling the trap in the process.
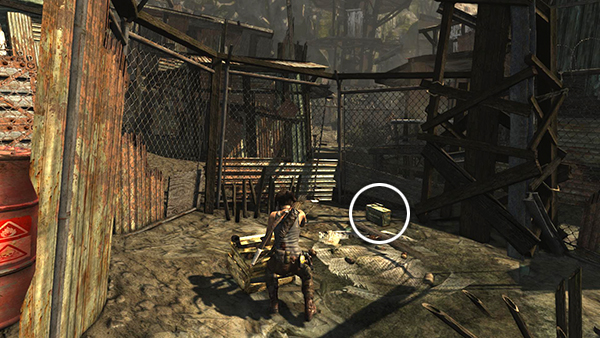
Smash the crate and pick up the nearby shotgun shells.
If you do accidentally step in the trap, Lara will be hauled up by her feet. Shoot the pulley to get down, just like you did in the Cliffiside Village.
[Part 1 | Return to the Shantytown Walkthrough]
Copyright © 2013- - Stellalune (). All rights reserved. The screenshots and videos included here were made using Fraps. Feel free to copy or print this walkthrough for personal use. By all means, share it with friends, but please include this credit line so people can send me their feedback. No part of this walkthrough may be reproduced on another site without permission. Follow this link for details about this site's advertising and privacy policy.