Aldwych - From the First Solomon's Key Back to the Crate Room
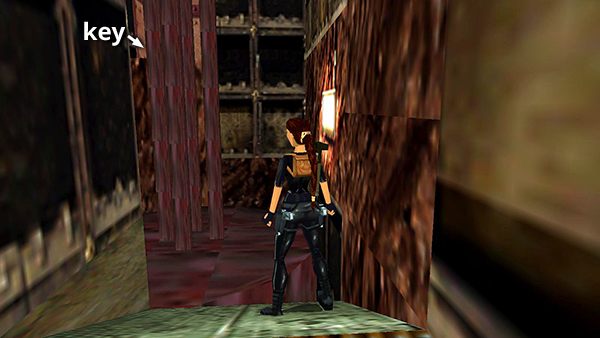
After moving across the top of the drill and picking up the FIRST SOLOMON'S KEY, you'll need to take the long way back to the ROOM WITH THE STACKED CRATES.
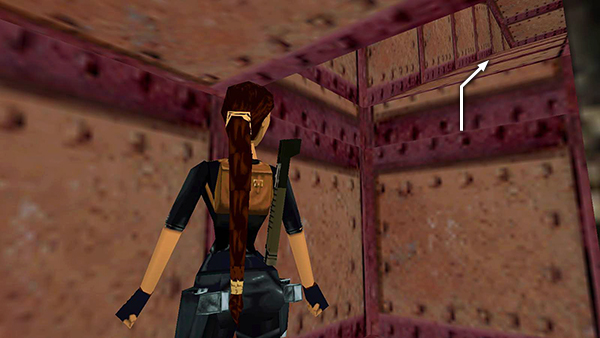
Climb up into the red-and-pink duct...
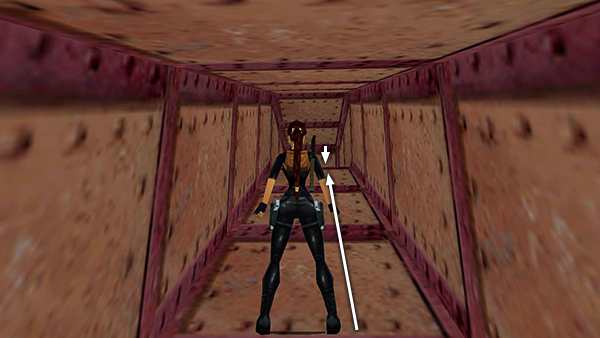
...and follow the slope to the top. Safety drop into the dark room above the track.
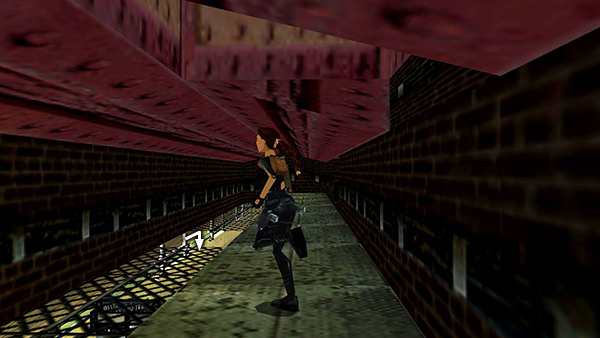
This is the dark, low-ceilinged room where you killed the rat earlier. Drop through the hole in the grating into the room below.
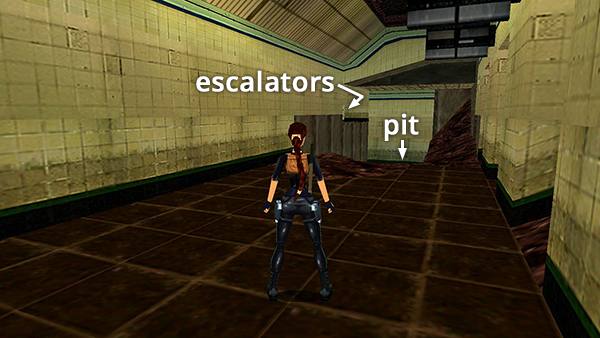
Move to the edge of the dirt-rimmed pit.
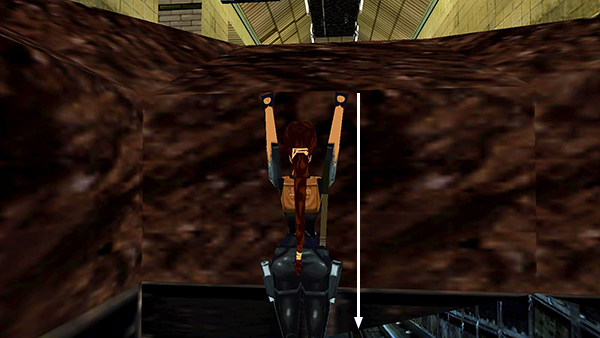
Turn around and safety drop onto the tracks below.
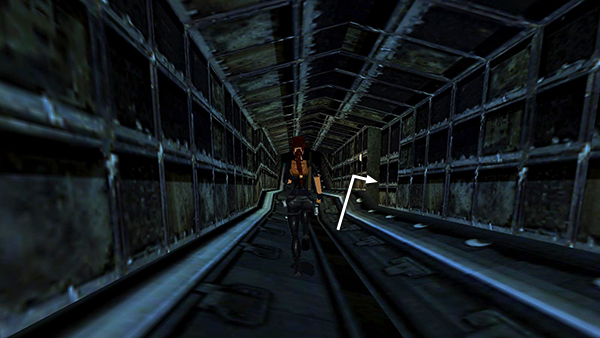
Head forward down the tracks to the doorway on the right and re-enter the WOODEN CRATE ROOM.
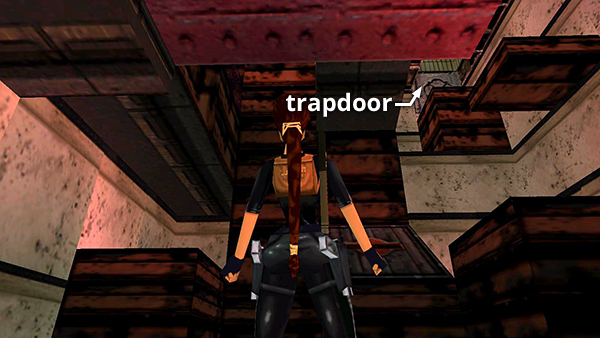
Climb the crates and vertical grating again. This time, instead of monkey swinging across to the drill, climb up to the trapdoor in the corner of the ceiling. It will be open if you pressed the button in the BRICK SHAFT WITH FLAME TRAPS. (If you need a refresher for this climb, refer to the screenshots for the first time you explored this room.)
NOTE: If you missed the button and the trapdoor is still closed, you'll need to open it now. Directions are included on a separate page to save space.
Copyright © 1998- - Stellalune (
). All rights reserved. Feel free to copy or print this walkthrough for personal use. By all means, share it with friends, but please include this credit line so people can send me their feedback. No part of this walkthrough may be reproduced on another site without permission. Follow this link for details about this site's advertising and privacy policy.