Aldwych - From the Tall Brick Room with Flame Traps
to the First Solomon's Key
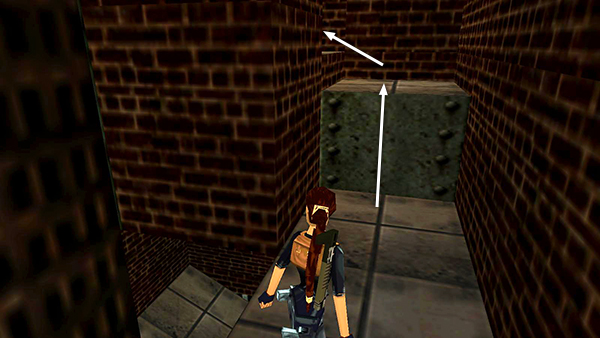
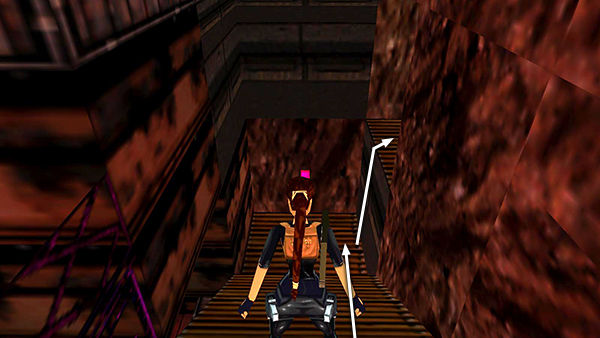
After pressing the button in the alcove and climbing over the ledge beneath the flame trap, as shown in the previous set of screenshots, head to the left and climb a few steps and ledges...
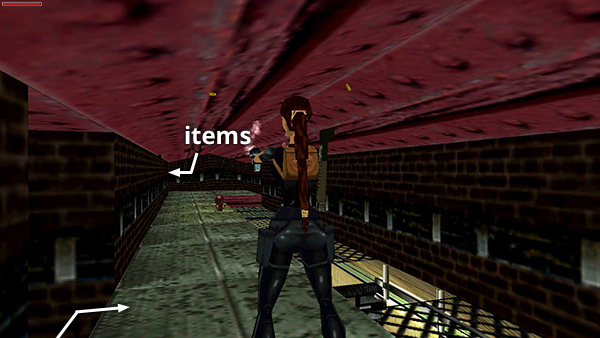
...into a low, dark room above the tracks. Watch out for the hole in the grating floor as you explore. At the far end of the room there's a rat guarding a large medi pack and some shotgun shells in an alcove.
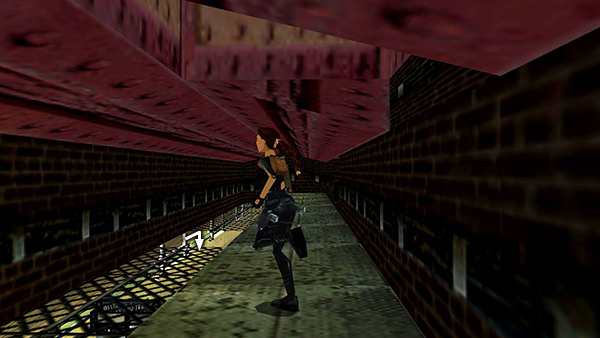
Get the goodies, then safety drop through the hole in the grating onto the platform below.
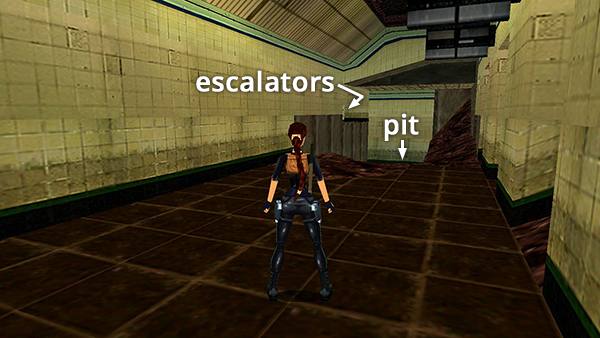
Move to the edge of the dirt-rimmed pit.
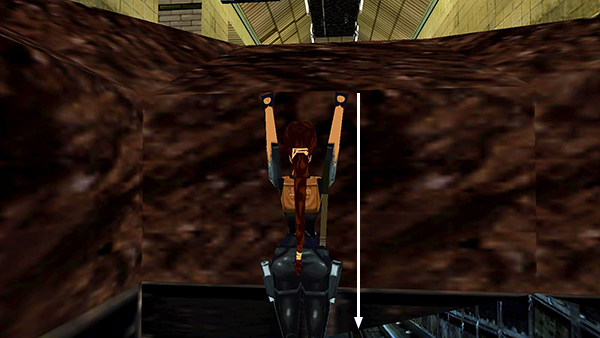
Turn around and safety drop onto the tracks below.
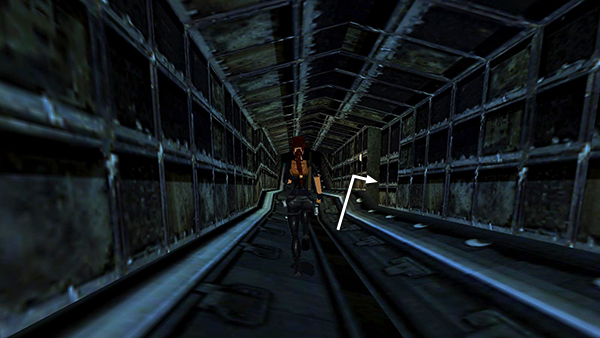
Head forward down the tracks to the doorway on the right and re-enter the WOODEN CRATE ROOM.
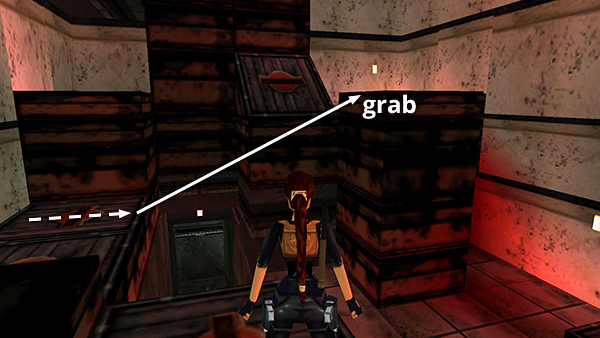
Climb the crates and vertical grating as you did before: First, take a running jump from the ledge above the entrance ramp to to grab the tall stack of crates in the middle of the room. Pull up.
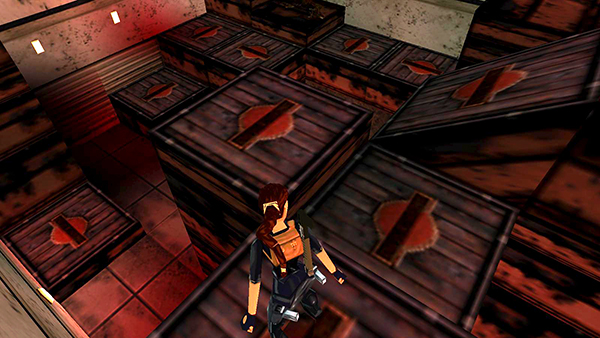
Stand in the middle of the crate that's two to the left of the slope, facing out over the open room.
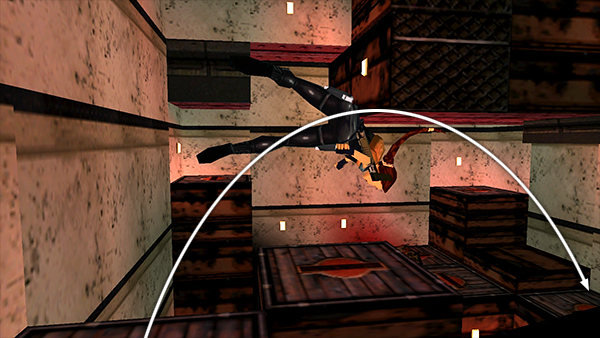
Side flip to the right to land on the
slope...
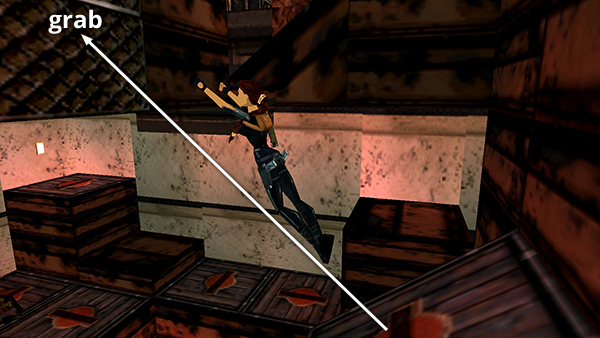
...and immediately jump forward to grab the grating above.
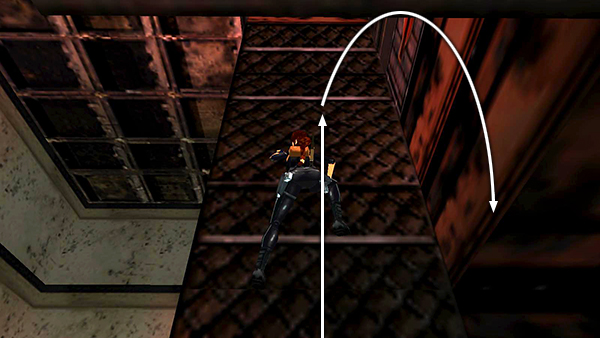
Climb up until Lara's hands are on or around the second horizontal, metal band from the top. Then backflip onto the ledge behind.
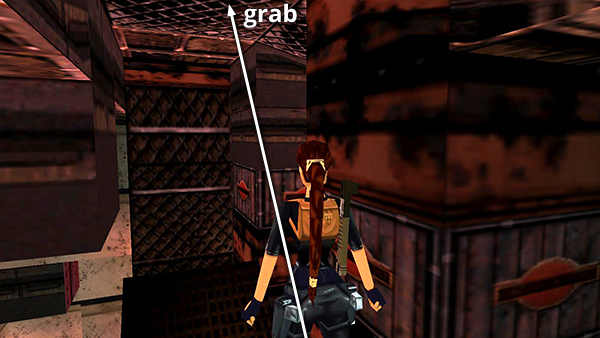
Climb onto the crate above and then jump forward to grab the grating on the ceiling.
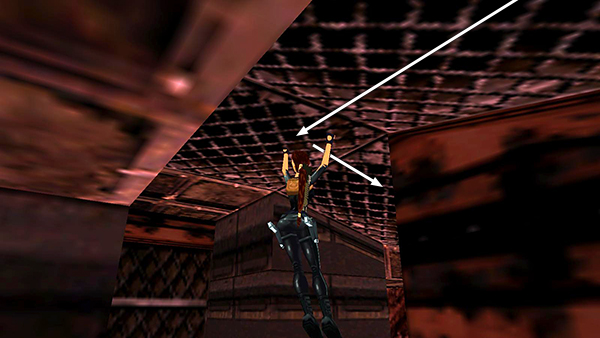
Monkey swing across the room and drop down onto the ledge near the DRILL ROOM.
Slide down the slope and climb up next to the drill.
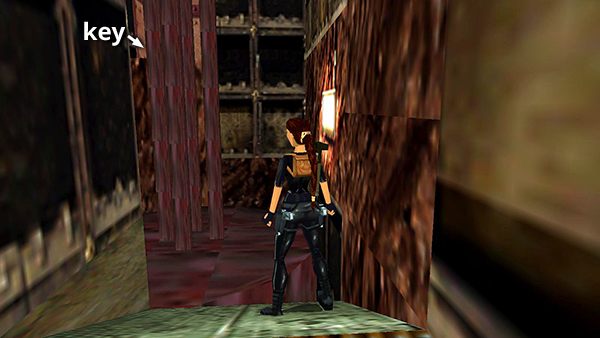
Walk over the drill and climb into the red-and-pink, metal duct, where you'll find the FIRST SOLOMON'S KEY.
Copyright © 1998- - Stellalune (
). All rights reserved. Feel free to copy or print this walkthrough for personal use. By all means, share it with friends, but please include this credit line so people can send me their feedback. No part of this walkthrough may be reproduced on another site without permission. Follow this link for details about this site's advertising and privacy policy.