Crash Site - Alternate Route to Cave with Switches
It's quicker to climb up to the cave entrance from the green wall just below it, as shown in the previous set of screenshots, but if you're having trouble with that, or just want to take the scenic route, try this:
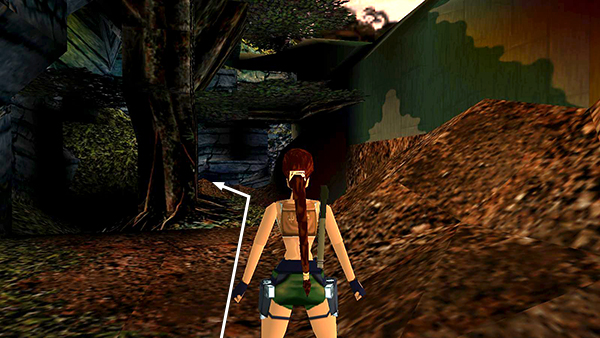
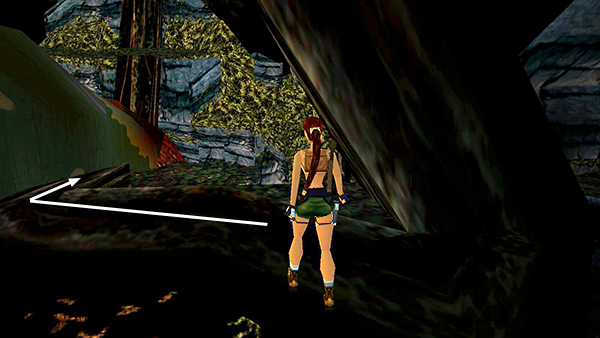
Face the nose of the plane then head for the back left corner (where the second raptor originated).
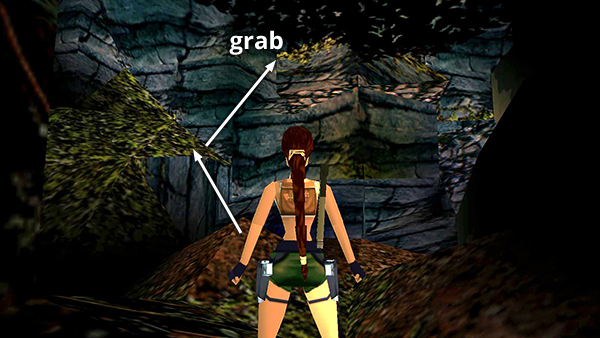
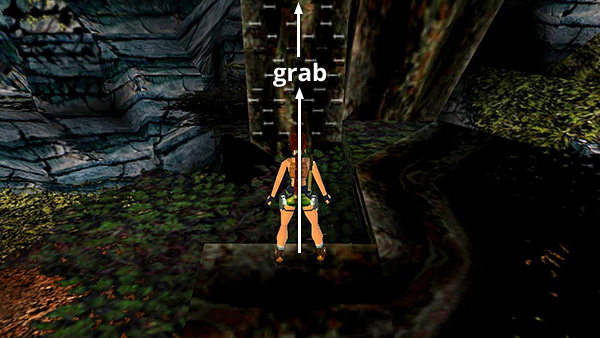
Jump from the pointy brown mound onto the gray stone block jutting out from the green corner. Turn around to face the airplane and jump to grab the ledge above. Pull up and turn right.
Then jump forward to grab the handholds on the tree branch above.
Monkey swing forward to the trunk and drop down.
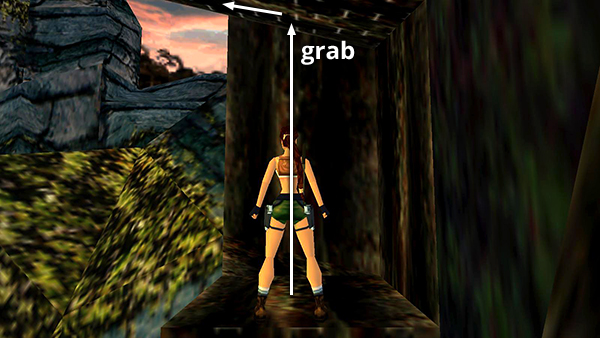
Follow the branch around to the left.
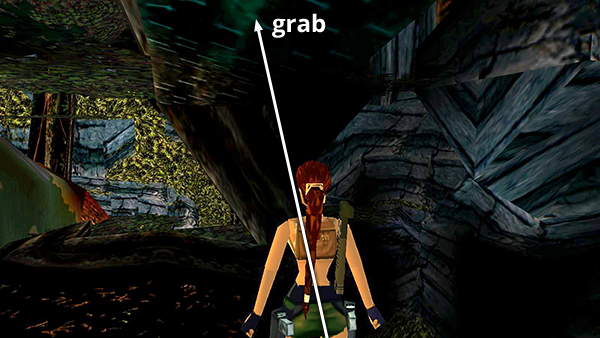
Take a running jump to grab the handholds on the tree trunk. Climb to the top.
Jump to grab the handholds on the branch above.
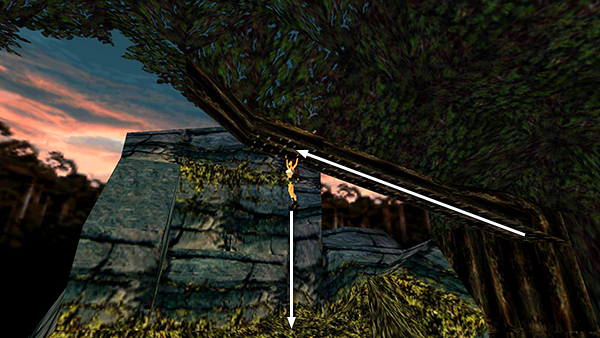
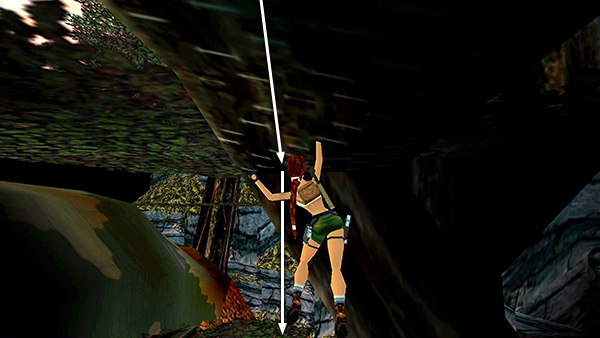
Then monkey swing nearly to the end of the long branch and drop onto the ledge below.
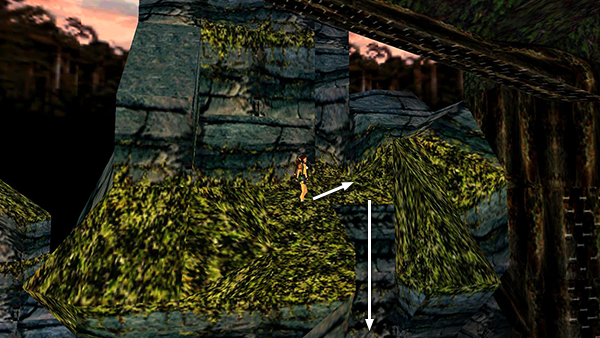
Here you get a wide-angle view of the area, showing a rock ladder leading down.
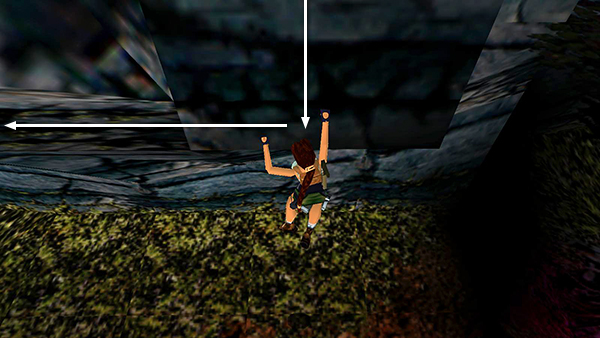
Climb down until Lara is hanging by her hands. Traverse to the left...
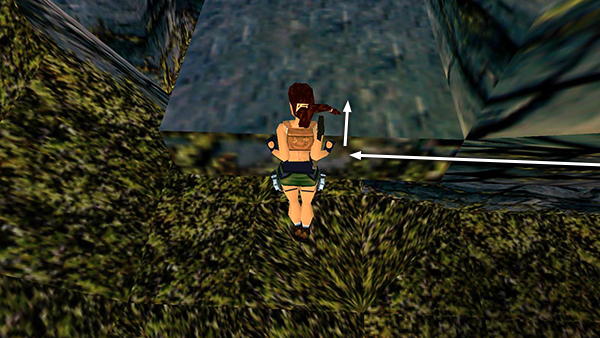
...until you can pull up onto the ledge with the cave entrance.
Copyright © 1998- - Stellalune ( ). All rights reserved. Feel free to copy or print this walkthrough for personal use. By all means, share it with friends, but please include this credit line so people can send me their feedback. No part of this walkthrough may be reproduced on another site without permission. Follow this link for details about this site's advertising and privacy policy.