Crash Site - Cave with Switches (part 3)
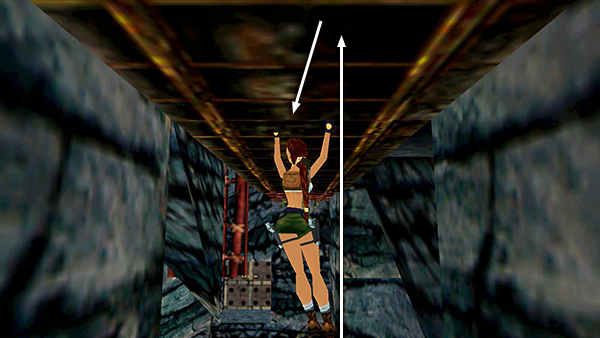
From the doorway, use the ceiling bars to monkey swing straight across to the other side of the cave.
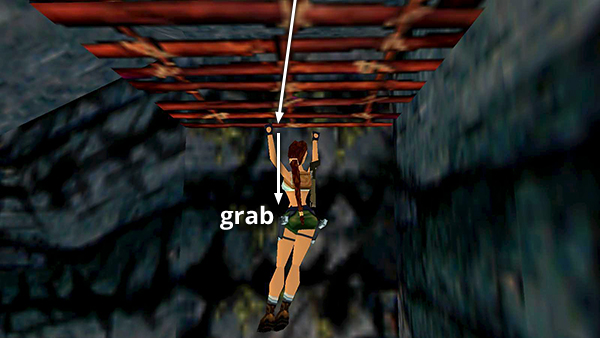
When Lara's chest is against the wall, briefly release Action and then re-press and hold it to grab onto the climbable wall.
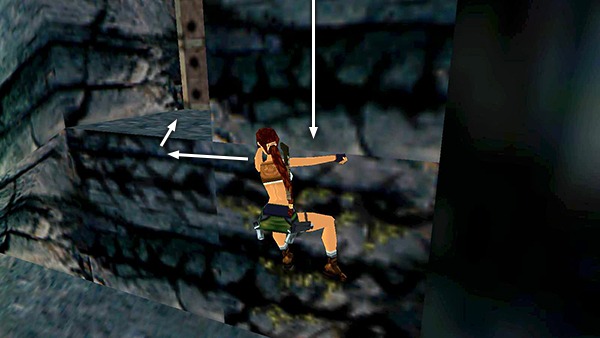
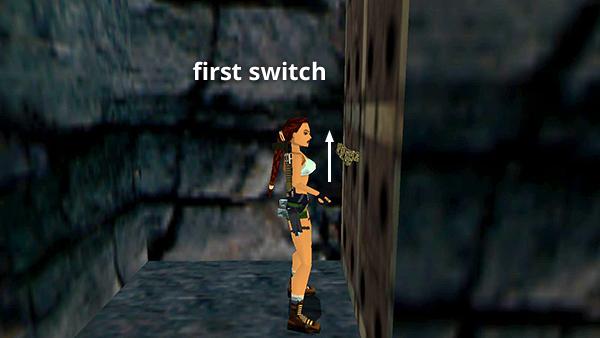
Climb down, left, then up into the alcove with the second switch.
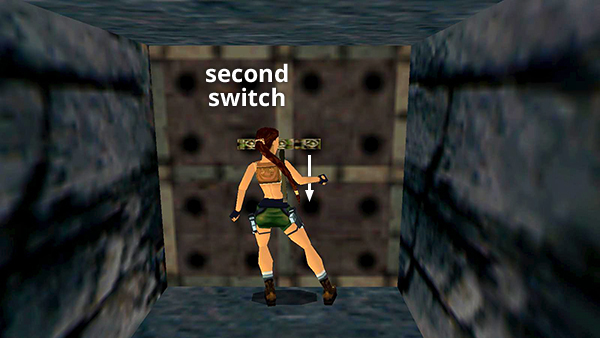
Pull it...
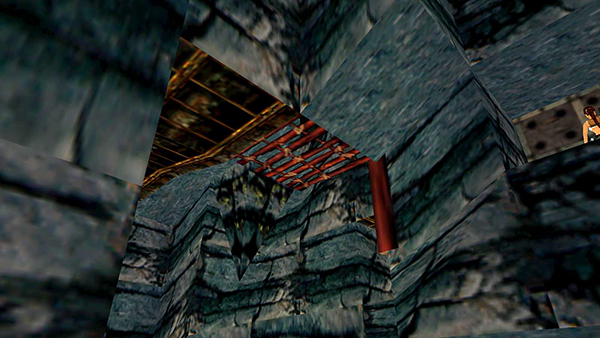
...to rearrange the bars on the ceiling again.
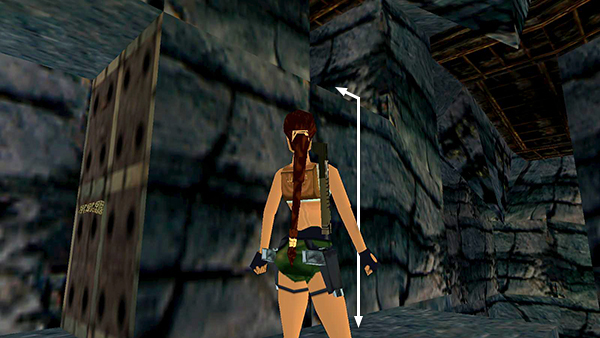
Turn around, walk to the edge of the alcove.

Then take a standing jump down to the pillar in the middle of the room. (You'll get the save/power-up crystal now if you didn't pick it up before.) Jump to grab the ledge below the entrance and pull up. Move into the alcove on the left.
Use the first switch again (i.e., move it into the up position)...
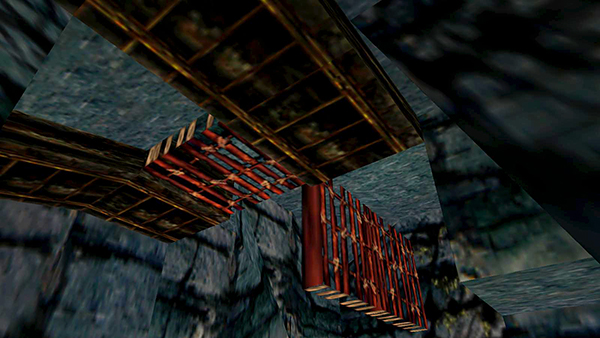
...to rearrange the ceiling bars once more.
Then climb back up into the doorway.
Copyright © 1998- - Stellalune ( ). All rights reserved. Feel free to copy or print this walkthrough for personal use. By all means, share it with friends, but please include this credit line so people can send me their feedback. No part of this walkthrough may be reproduced on another site without permission. Follow this link for details about this site's advertising and privacy policy.