Nevada Desert - Secret #1 (part 2)
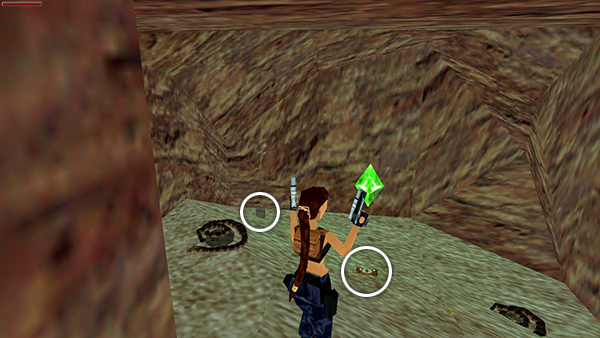
This is SECRET #1. Shoot the 2 rattlesnakes from a safe distance before retrieving the save/power-up crystal, flares, and small medi pack.
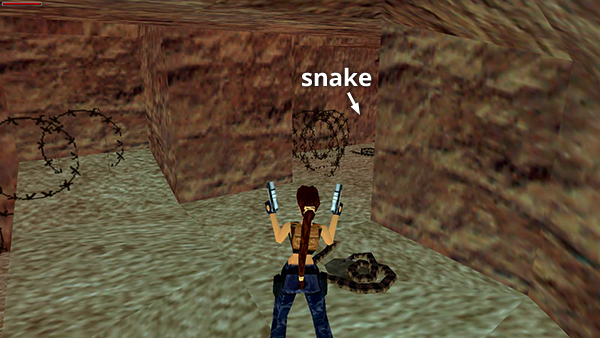 There's another snake near the low step on the other side of the room. Kill it as well.
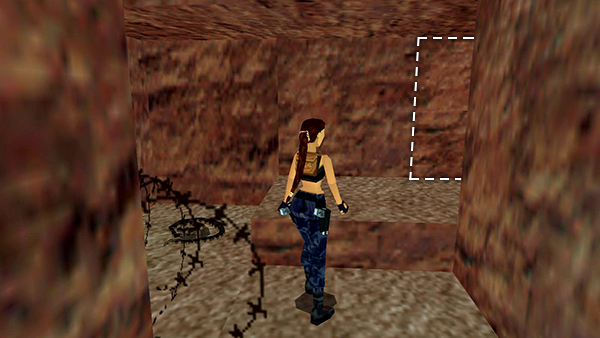
Step up into the alcove and locate the movable block on the long wall. (It's outlined in the screenshot above.)
Push it once to open up the exit.
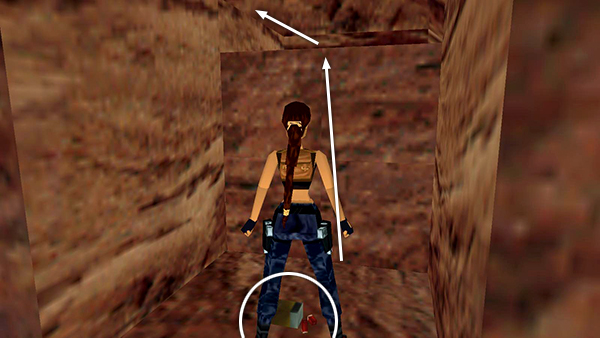
Pick up the shotgun shells that were lying underneath the block and then climb back into the passageway.
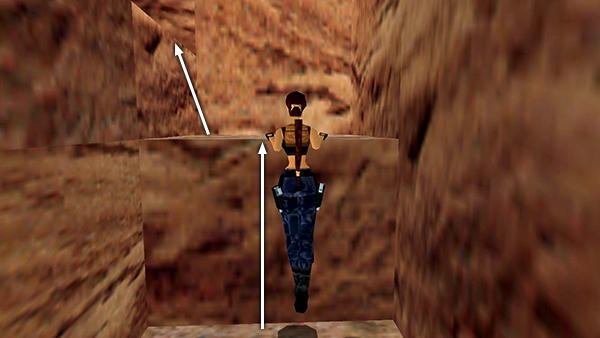
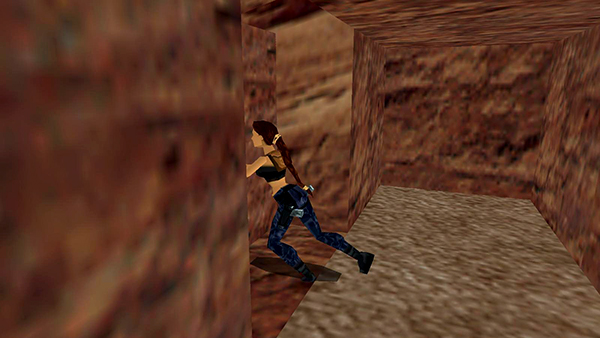
Climb up on the left, the same way you did earlier.
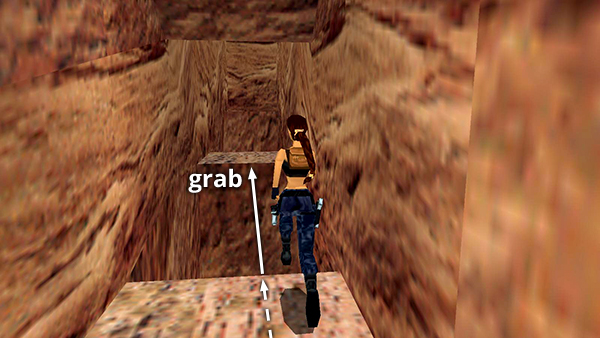
This time don't drop down. Instead, jump over the 2 holes with barbed wire below. For the first one, take a running jump, grab the opposite edge, and pull up.
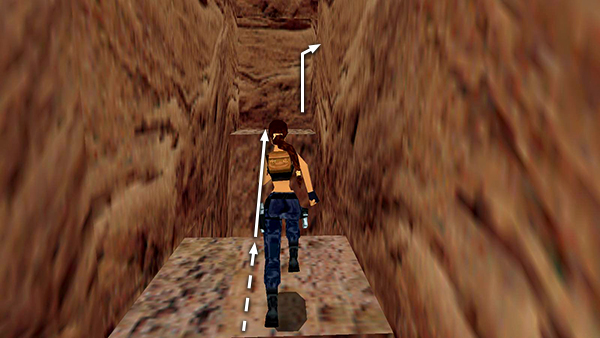
For the second hole, take a running jump without grabbing. Then climb up on the right into the next area.
Copyright © 1998- - Stellalune ( ). All rights reserved. Feel free to copy or print this walkthrough for personal use. By all means, share it with friends, but please include this credit line so people can send me their feedback. No part of this walkthrough may be reproduced on another site without permission. Follow this link for details about this site's advertising and privacy policy.