Temple of Puna - Throne Room - South Pacific Boss
This sequence is also shown in short short video walkthrough, which includes two no-cheat strategies (using Desert Eagle and Pistols) a swell as a version using the TR3 rapid-fire weapons glitch.

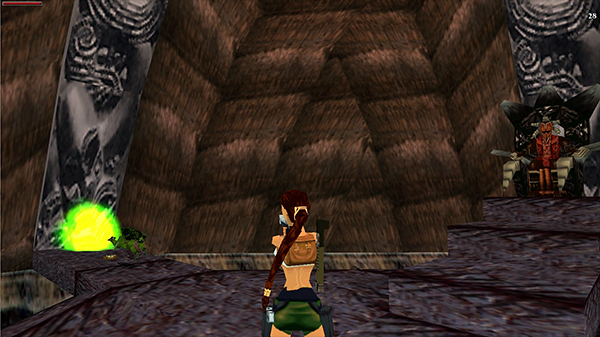
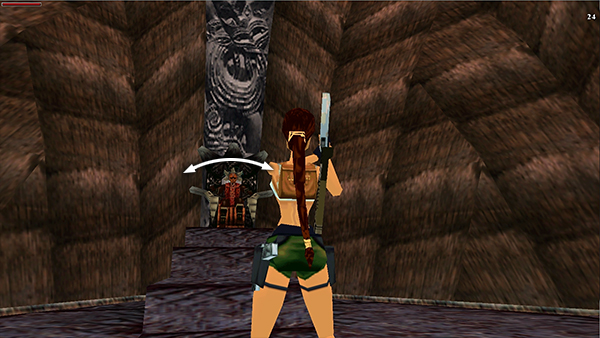
This room has a large, central platform with spokes extending out to the walls on three sides. At the fourth corner sits a throne decorated with a lizard-shaped artifact. Otherwise the edges of the platform are open to the deep pit below. You can pick up the 2 small medi packs on the left and right spokes before or after the fight. When you draw weapons, Lara targets the artifact on the throne, but don't bother shooting at it; you'll just waste ammo.
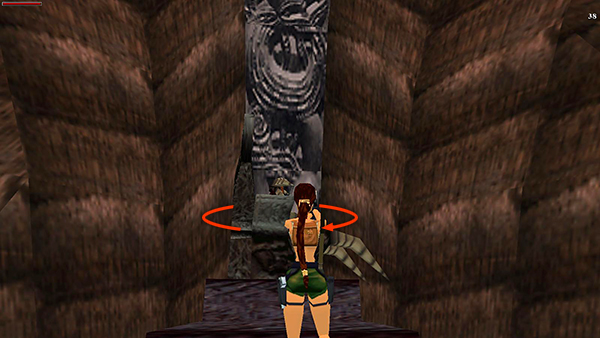
When you climb the steps to the throne, it turns around and the battle with the boss—apparently he's called PUNA, since this is his temple—begins.
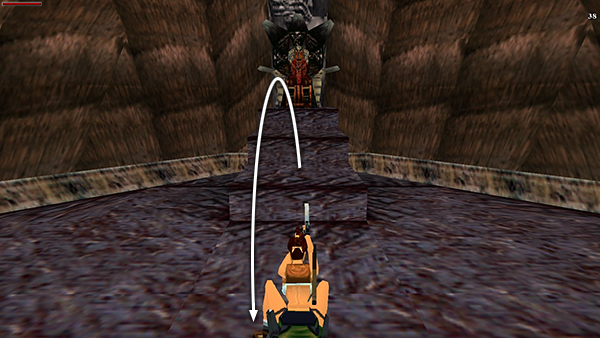
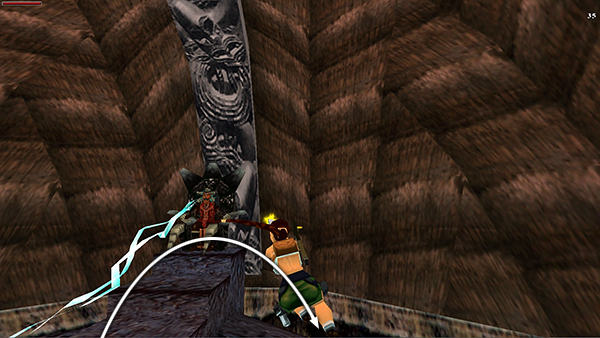
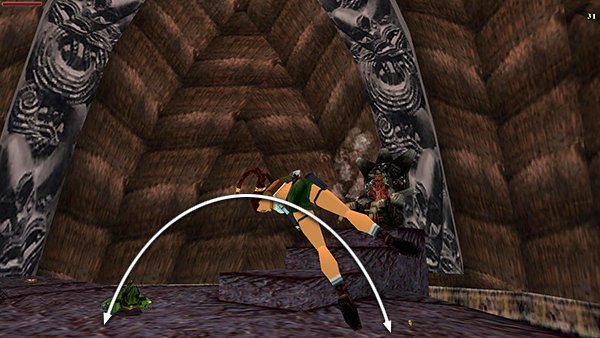
As soon as Puna's chair begins to turn around, backflip to land near the center of the platform.
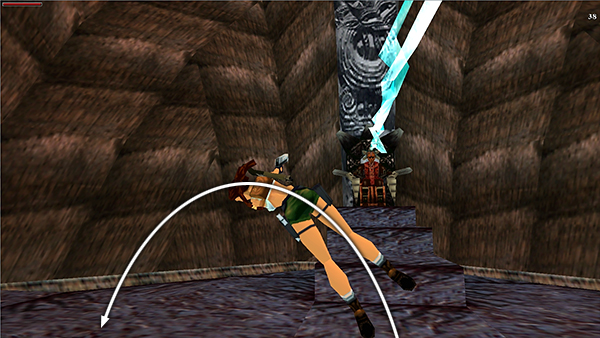
Immediately side flip to the left or right to prevent Puna from targeting Lara with his deadly blue lightning bolts. If one of these bolts hits her, it's an instant kill, so you must keep moving.
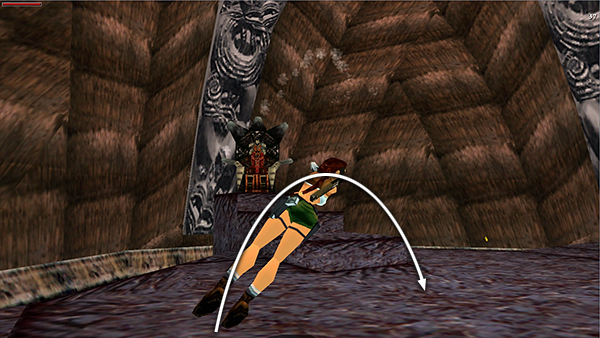
As soon as you land, flip back to the center...
...then to the other side...
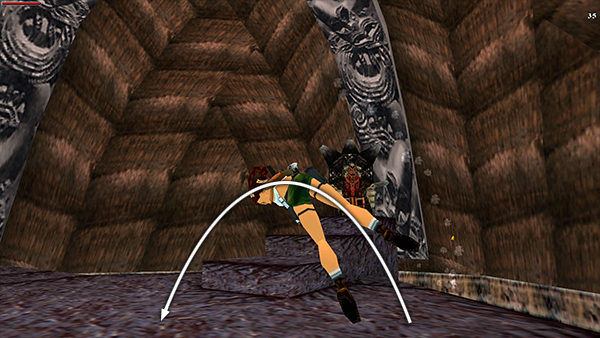
...then back to the center. As long as you keep this up, the lightning should miss Lara.

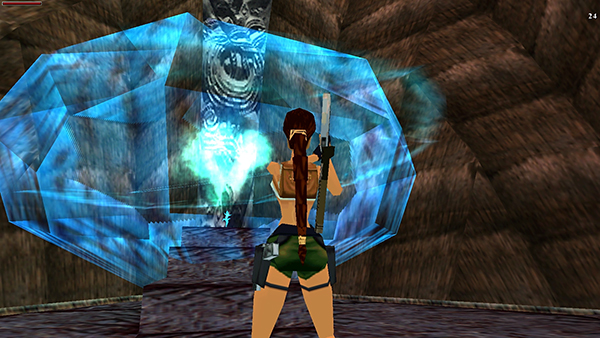
While you're flipping back and forth, try to shoot at Puna each time he unleashes a lightning bolt. If you're using pistols, you can just continue firing the whole time, since you don't need to worry about running out of ammo. With other weapons, try to fire only when Puna is shooting lightning bolts. Between bolts, he puts up a translucent energy shell around himself, which makes him invulnerable. Shooting at the shell only wastes bullets. When your shots are connecting, you'll hear him groan.
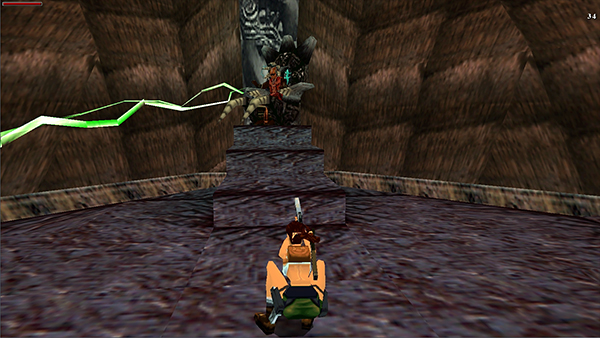
After he's taken a little damage, the throne will turn to one side and Puna will shoot a green lightning bolt at one of the side spokes.
This summons a poison-breathing lizard, which then attacks Lara. Puna will not throw lightning while you fight the lizard, and Lara's bullets can't penetrate his shield at this time anyway. So you can stop jumping around for now. Don't worry too much about taking damage from the lizard. It's more important to stay in the middle of the platform so the lizard can't nudge Lara off the edge. Concentrate on holding your position and killing the lizard.
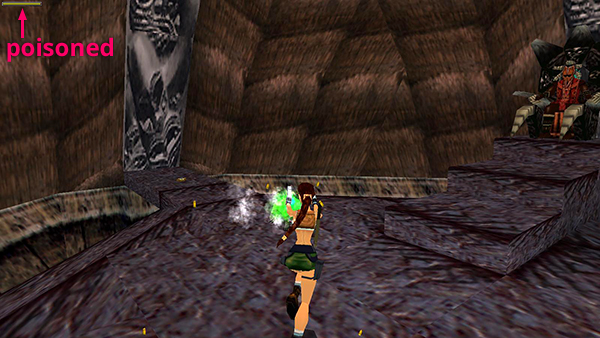
If you do get hit by its poison breath, don't bother healing immediately. Just keep an eye on your health bar. If you can make it to the end of the level, you'll be fine.
Once you've killed the lizard, immediately turn to face the throne and continue side flipping and shooting at Puna. He will resume hurling lightning bolts.
If you're using a more powerful weapon, like the Desert Eagle, you may be able to defeat him before he summons another lizard. (It takes 10 Desert Eagle rounds to destroy him.) If you're using the pistols, the cycle will continue several more times. He'll hurl a few lightning bolts, then summon a lizard—sometimes on the left side of the platform, sometimes on the right. It takes almost 2 minutes of sustained pistol fire to destroy him, so he'll probably have time to summon 5 lizards in all.
When you've finally done enough damage, Puna's throne will start to vibrate.
A moment later, it will explode, taking him with it and leaving behind the ORA DAGGER artifact. If you didn't get the medi packs on the side spokes before, be sure to pick them up before taking the artifact to end the level.
Copyright © 1998- - Stellalune ( ). All rights reserved. Feel free to copy or print this walkthrough for personal use. By all means, share it with friends, but please include this credit line so people can send me their feedback. No part of this walkthrough may be reproduced on another site without permission. Follow this link for details about this site's advertising and privacy policy.