Thames Wharf - Industrial Area - Tank #3
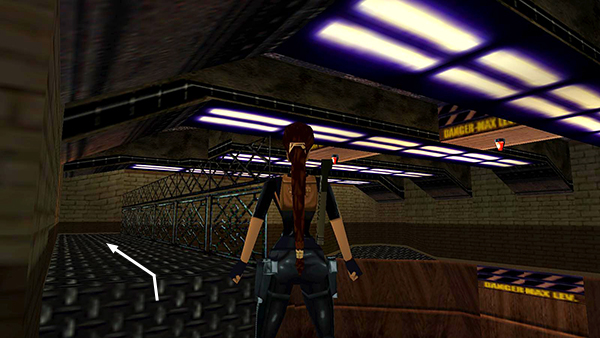
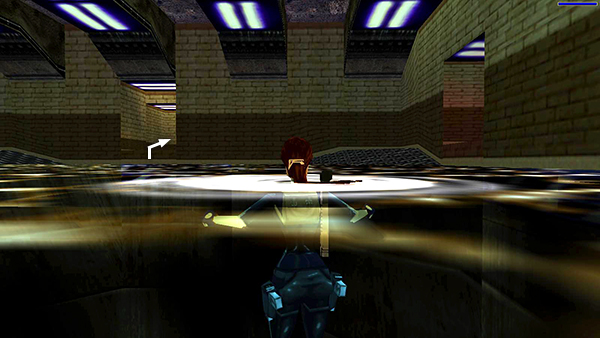
After pressing the button in the room just off tank #3, move out onto the metal walkway overlooking the empty tank.
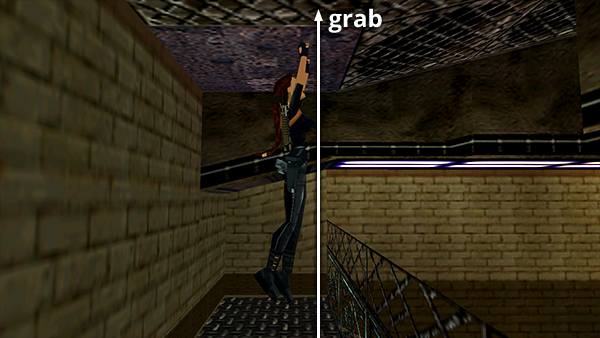
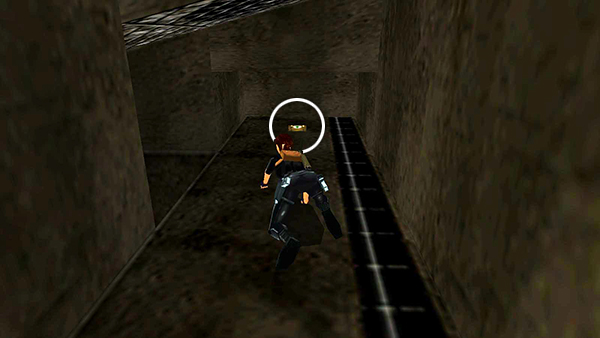
Jump straight up to grab the grates on the ceiling.
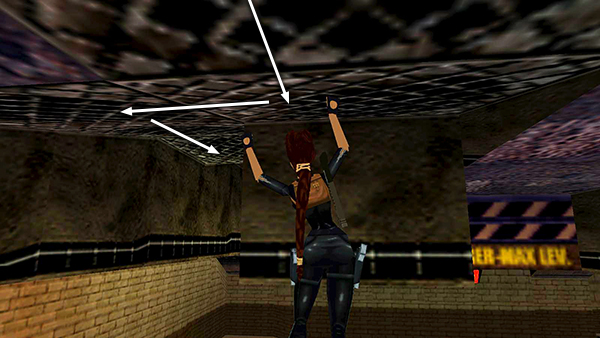
Then monkey swing across the empty pool...
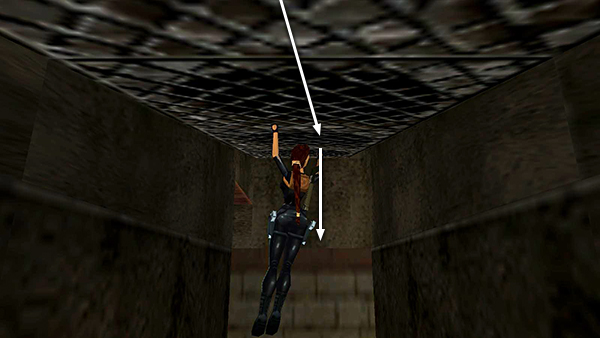
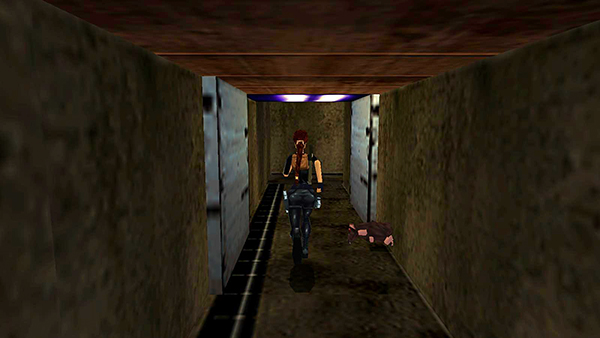
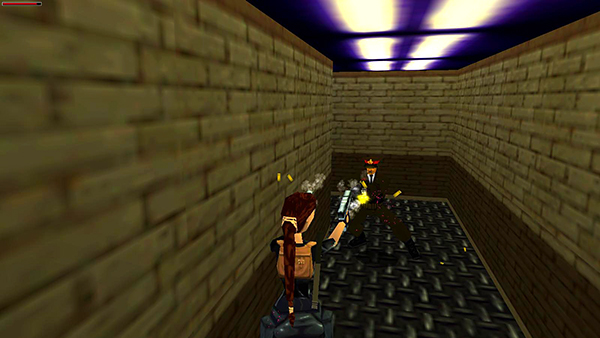
...and drop down in the passageway on the far side.
Shoot the 2 rats on the right.
Turn around and crawl under the low overhang to get a small medi pack.
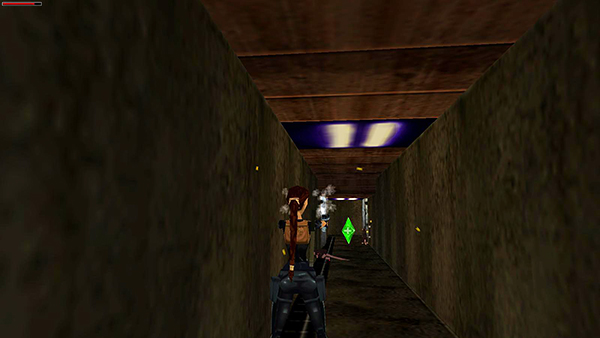
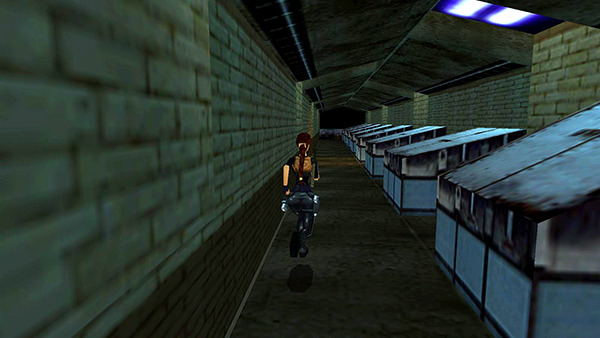
Then continue along the hallway past the save/power-up crystal and through the metal doors, which close behind you.
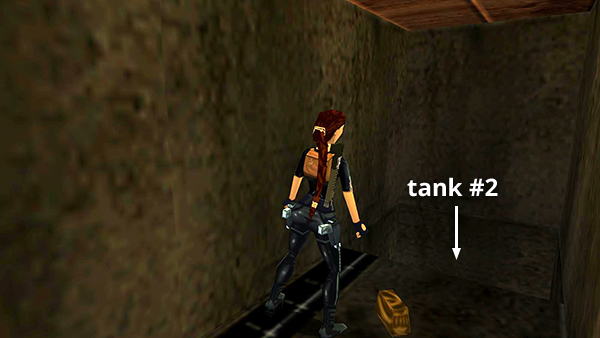
Pick up the large medi pack and drop into tank #2.
Climb out of the tank into the doorway straight ahead. (The one on the right leads back to tank #3).
Take out another guard in the passageway.
Then follow the long corridor back to the room with the buttons and switch.
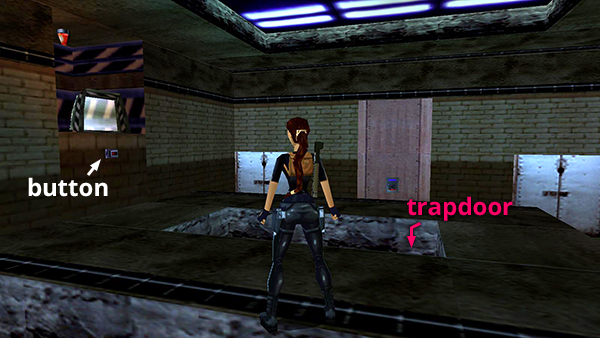
Press the second button, on the left above the raised concrete area with the open trapdoor, to open the hatch at the bottom of tank #3 and refill that tank.
Copyright © 1998- - Stellalune (
). All rights reserved. Feel free to copy or print this walkthrough for personal use. By all means, share it with friends, but please include this credit line so people can send me their feedback. No part of this walkthrough may be reproduced on another site without permission. Follow this link for details about this site's advertising and privacy policy.